
Cut and Fit Handrail
From How to Install a Handrail on a Spiral Staircase · Step 2 of 8 · Video by Jackson Woodturners
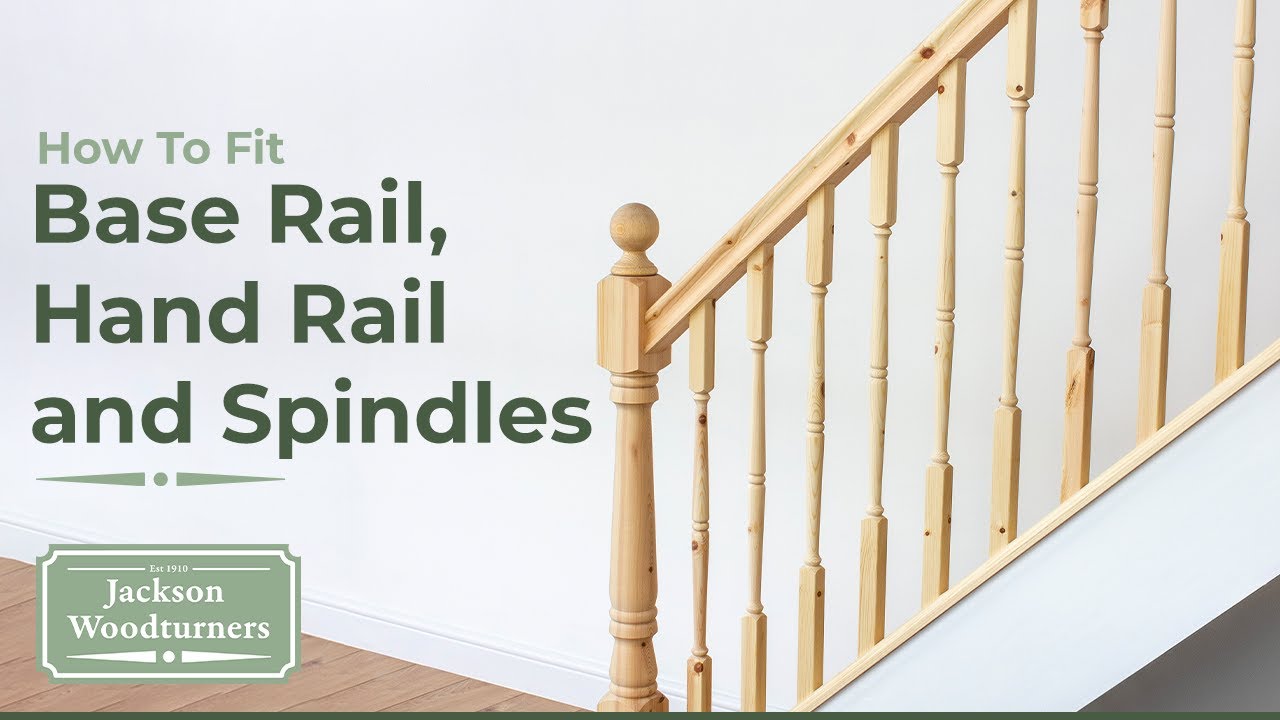
Showing 2:44–3:05 of the source video. Watch the full video with every moment.
What happens in this clip
Next, measure and cut the handrail. Use the same length and angle measurements determined in step 1, but this time apply them to the handrail material. Adjust your miter saw to the precise stair angle and cut both ends of the handrail. Once cut, carefully position the handrail onto the two temporary spindles and the newel posts. Ensure a snug fit and that it aligns correctly with the base rail and newel posts. Secure the handrail to the newel posts by driving screws using an impact driver. These screws should be countersunk for a neat finish.
Goal: Securely install the handrail on the staircase.
What's used
Tools
- Handrail
- Impact Driver DeWalt
- Miter Saw Bosch
- Screws
About the full video
This project guides you through the process of installing a wooden base rail, handrail, and spindles on a staircase. It involves precise measurements, angled cuts, and secure fitting of all components to create a functional and aesthetically pleasing balustrade.
Step 2 of 8: Cut Handrail Material
Using the markings made in the previous step, carefully cut the handrail material to the required lengths. The type of saw used will depend on the handrail material (e.g., miter saw for wood, reciprocating saw or metal-cutting saw for metal). Ensure cuts are clean and precise to facilitate a smooth connection and proper fit along the spiral.
Every video in How to Install a Handrail on a Spiral Staircase
Step 1: Measure and Mark Handrail Length
- 0:07–0:51 Measure Staircase Length and Angle
- 0:00–0:43 Measure and Cut Handrail
- 2:28–2:44 Measure and Mark Railing for Cuts
Step 2: Cut Handrail Material
- 2:44–3:05 Cut and Fit Handrail (this video)
- 0:11–0:13 Cutting Handrail Sections
- 0:00–0:43 Measure and Cut Handrail
Step 3: Prepare Handrail Ends for Connection
Step 4: Locate and Mark Support Brackets
- 2:32–3:05 Mark Top Bracket Location
- 3:05–4:05 Install Mounting Brackets
- 1:23–2:32 Locate Studs and Mark Bottom Bracket
Step 5: Install Handrail Support Brackets
- 2:28–2:44 Install Brackets and Mount Handrail
- 1:13–1:22 Install End Rail Brackets
- 8:12–9:58 Install Handrail Brackets
Step 6: Attach Handrail to Brackets
- 3:35–3:56 Mount Handrail to Brackets
- 2:44–4:28 Attach Handrail to Brackets
- 7:17–9:36 Install Handrail and Brackets
Step 7: Join Handrail Sections (if applicable)
- 0:13–0:20 Initial Handrail Attachment and Joining
- 0:09–0:12 Assemble Handrail Sections
- 0:21–0:27 Completing Handrail Attachment
Step 8: Inspect and Test Handrail Stability
- 5:36–5:45 Final Check
- 9:33–11:59 Final Inspection and Verification
- 0:07–0:08 Secure and Test the Railing Section
How to Install a Handrail on a Spiral Staircase
Install a handrail on a spiral staircase to improve safety and accessibility. This involves measuring, cutting, and securely attaching the handrail to the staircase structure.
Read the full guide Browse all guides
Planning this project? Shop Oak Valley Designs.

Subscribe for exclusive updates
Be the first to know about promotions, new products, and sales.