
Turn Off Power at Circuit Breaker
From How to Replace a Flush-Mount Ceiling Light on a Stair Landing · Step 1 of 6 · Video by Engineered Mojo
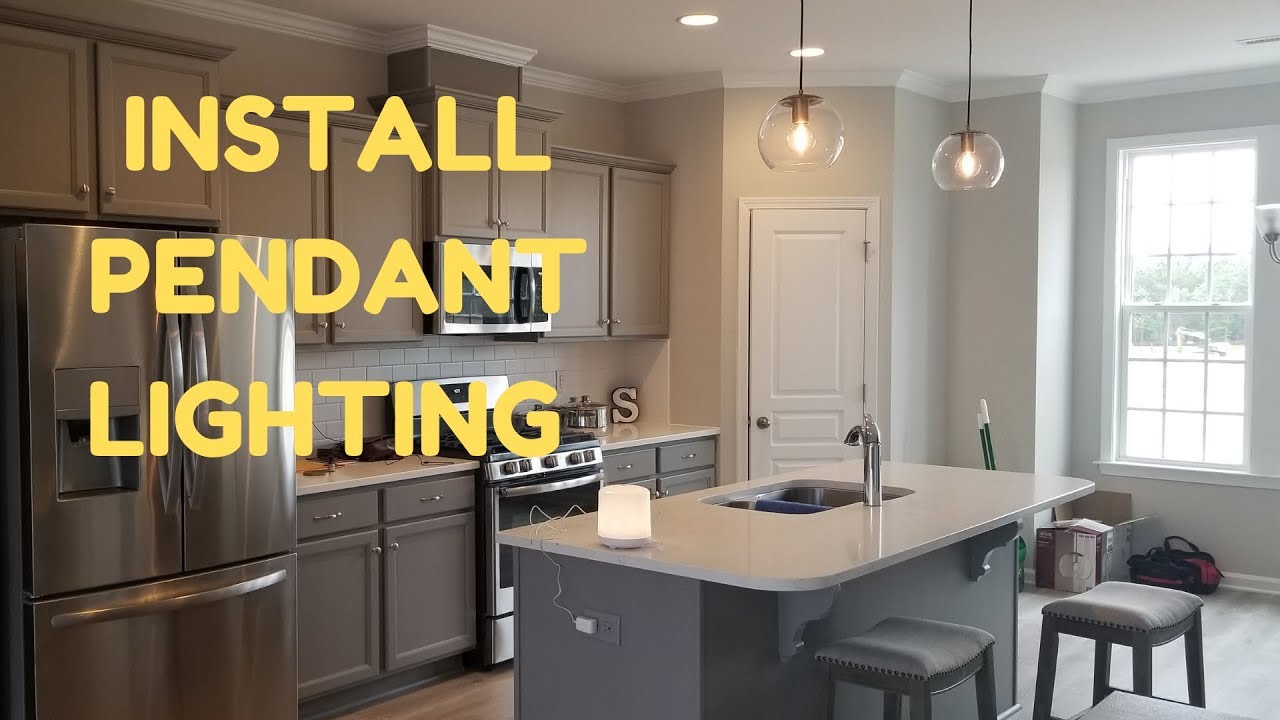
Showing 0:42–0:49 of the source video. Watch the full video with every moment.
What happens in this clip
Before working on any electrical fixture, go to the main circuit breaker panel of your home. Identify the circuit breaker that controls the lighting fixture you are working on. Flip the circuit breaker to the 'OFF' position to completely cut power to that specific circuit. This crucial step ensures electrical safety and prevents accidental electrocution while working with the wiring.
Goal: Ensure electrical safety by cutting power to the light circuit.
About the full video
This project provides detailed, step-by-step instructions for safely installing pendant lighting in a home. It covers essential electrical safety precautions, identifying live and neutral wires, mounting the fixture's bracket, connecting electrical wires, adjusting the pendant's height, and securing the final canopy. The process emphasizes safe electrical practices and proper installation techniques.
Step 1 of 6: Turn off power at the breaker
Locate your home's main electrical panel. Identify the circuit breaker that controls the power to the stair landing light fixture. Flip this breaker to the 'OFF' position. This is a critical safety step to prevent electrical shock.
Every video in How to Replace a Flush-Mount Ceiling Light on a Stair Landing
Step 1: Turn off power at the breaker
- 0:42–0:49 Turn Off Power at Circuit Breaker (this video)
- 0:50–1:05 Turn Off Power at Circuit Breaker
- 0:10–0:12 Turn Off Power at Circuit Breaker
Step 2: Remove the old light fixture
- 0:39–1:37 Remove Old Fixture and Wiring
- 0:11–0:30 Turn Off Power & Remove Old Fixture
- 0:38–1:17 Remove Old Light Fixture and Bracket
Step 3: Install the new fixture's mounting bracket
- 3:51–4:53 Remove Old Mounting Bracket and Install New One
- 1:17–1:30 Replace Mounting Bracket
- 0:40–0:42 Install Mounting Bracket
Step 4: Wire the new light fixture
- 0:54–1:04 Attach New Fixture Wires
- 2:46–3:50 Connect New Light Fixture Wiring
- 6:28–7:18 Connect New Fixture's Electrical Wires
Step 5: Mount the new fixture and attach covers
- 1:04–1:17 Mount New Fixture Base
- 2:29–2:55 Mount the Fixture and Attach Shade
- 2:29–2:55 Mount the Fixture and Attach Shade
Step 6: Restore power and test the new fixture
- 10:35–10:39 Restore Power and Test the New Fixtures
- 5:24–5:39 Restore Power and Test
- 5:02–5:17 Restore Power and Test Light
How to Replace a Flush-Mount Ceiling Light on a Stair Landing
Outline for replacing a flush-mount ceiling light fixture on a stair landing, covering safety precautions, fixture removal, new fixture installation, and testing.
Read the full guide Browse all guides
Planning this project? Shop Oak Valley Designs.

Subscribe for exclusive updates
Be the first to know about promotions, new products, and sales.