
Remove Old Mounting Bracket and Install New One
From How to Replace a Flush-Mount Ceiling Light on a Stair Landing · Step 3 of 6 · Video by Home Repair Tutor
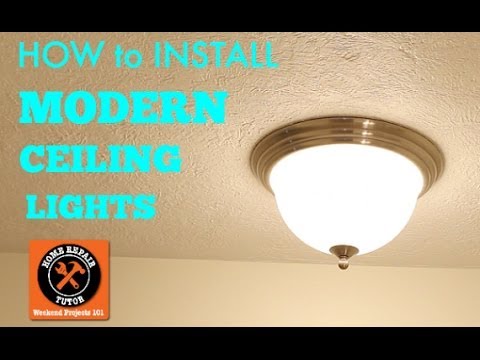
Showing 3:51–4:53 of the source video. Watch the full video with every moment.
What happens in this clip
Using a flathead or Phillips head screwdriver (depending on the screw type), remove the old mounting bracket from the ceiling junction box. Take the new mounting bracket provided with your new light fixture. It typically comes with two longer mounting screws and one green ground screw. Insert the longer mounting screws into the inner holes of the new bracket and turn them clockwise 3-4 revolutions so they protrude slightly, ready to hold the fixture. Ensure the green ground screw on the bracket is facing outwards. Attach the new mounting bracket to the junction box using the shorter screws provided, ensuring it is securely fastened and flush with the ceiling.
Goal: Prepare the junction box for the new light fixture
What's used
Tools
- Flathead Screwdriver
- Green Ground Screw
- Longer Mounting Screws
- New Mounting Bracket
- Shorter Mounting Screws
About the full video
This project guides you through the process of replacing an old ceiling light fixture with a new, modern one. It covers all necessary steps from ensuring electrical safety by turning off power, to carefully disconnecting the old fixture's wiring, installing a new mounting bracket, wiring the new fixture, and finally assembling the new light and restoring power.
Step 3 of 6: Install the new fixture's mounting bracket
Refer to the instructions provided with your new light fixture. Typically, the mounting bracket screws into the existing electrical box. Ensure the bracket is oriented correctly and is firmly attached, as it will support the weight of the new fixture.
Every video in How to Replace a Flush-Mount Ceiling Light on a Stair Landing
Step 1: Turn off power at the breaker
- 0:42–0:49 Turn Off Power at Circuit Breaker
- 0:50–1:05 Turn Off Power at Circuit Breaker
- 0:10–0:12 Turn Off Power at Circuit Breaker
Step 2: Remove the old light fixture
- 0:39–1:37 Remove Old Fixture and Wiring
- 0:11–0:30 Turn Off Power & Remove Old Fixture
- 0:38–1:17 Remove Old Light Fixture and Bracket
Step 3: Install the new fixture's mounting bracket
- 3:51–4:53 Remove Old Mounting Bracket and Install New One (this video)
- 1:17–1:30 Replace Mounting Bracket
- 0:40–0:42 Install Mounting Bracket
Step 4: Wire the new light fixture
- 0:54–1:04 Attach New Fixture Wires
- 2:46–3:50 Connect New Light Fixture Wiring
- 6:28–7:18 Connect New Fixture's Electrical Wires
Step 5: Mount the new fixture and attach covers
- 1:04–1:17 Mount New Fixture Base
- 2:29–2:55 Mount the Fixture and Attach Shade
- 2:29–2:55 Mount the Fixture and Attach Shade
Step 6: Restore power and test the new fixture
- 10:35–10:39 Restore Power and Test the New Fixtures
- 5:24–5:39 Restore Power and Test
- 5:02–5:17 Restore Power and Test Light
How to Replace a Flush-Mount Ceiling Light on a Stair Landing
Outline for replacing a flush-mount ceiling light fixture on a stair landing, covering safety precautions, fixture removal, new fixture installation, and testing.
Read the full guide Browse all guides
Planning this project? Shop Oak Valley Designs.

Subscribe for exclusive updates
Be the first to know about promotions, new products, and sales.