
Connect New Fixture's Electrical Wires
From How to Replace a Flush-Mount Ceiling Light on a Stair Landing · Step 4 of 6 · Video by Moore Approved
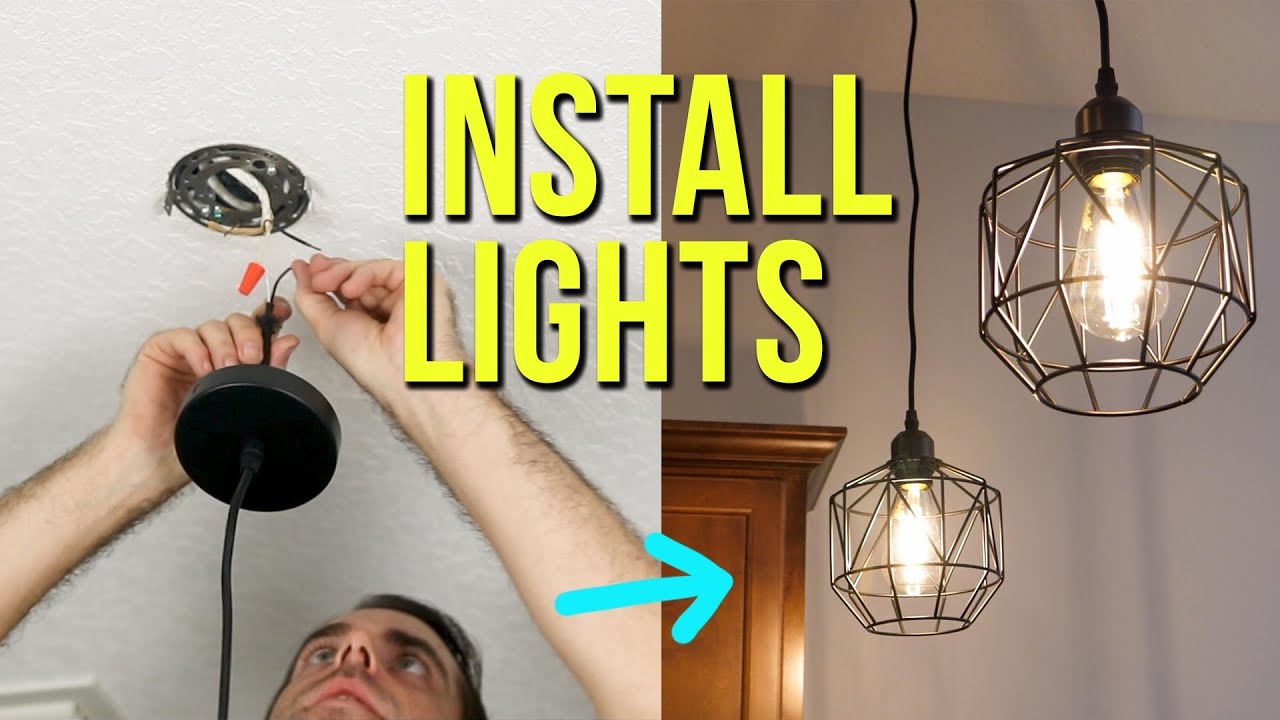
Showing 6:28–7:18 of the source video. Watch the full video with every moment.
What happens in this clip
Before making connections, verify once more that the power is off using your voltage tester. Connect the new fixture's wires to the corresponding house wires. Twist together the bare copper ground wire from the fixture with the bare copper ground wire from the ceiling box, then cover with a wire nut. Connect the white (neutral) wire from the fixture to the white (neutral) wire from the ceiling box, and secure with a wire nut. Finally, connect the black (hot) wire from the fixture to the black (hot) wire from the ceiling box, securing with a wire nut. Ensure each connection is firm by gently tugging on the wires.
Goal: Establish safe and correct electrical connections for the new fixture
What's used
Tools
- Wire Nuts
About the full video
This project provides comprehensive, step-by-step instructions for safely installing new lighting fixtures in your home. It emphasizes critical safety precautions, proper tool usage, and detailed wiring connections, ensuring a secure and functional installation. The guide covers replacing existing flush-mount and pendant-style fixtures.
What's said in this clip
wire will be connected to that bare wire to give mine a little twist to get it started wrench that down pretty tight until the wires start twisting and then you want to give it a pull to make sure nothing comes loose because that would be a bad connection and that's what causes fire black lead all right and now all we have to do is our two bare wires make sure it's a positive connection all we have to do is feed this back up in through the center and as you can see these are all firm connections let's go ahead and feed that up and feed the rest of this up then we just have to line up the screws on the sides you'll see right there and that one's finished
Automatically transcribed from the source video.
Step 4 of 6: Wire the new light fixture
Match the wires from the new fixture to the wires from the ceiling electrical box. Typically, black (hot) connects to black, white (neutral) connects to white, and green or bare copper (ground) connects to green or bare copper. Secure each connection by twisting a wire nut tightly onto the joined wires. Ensure no bare wire is exposed.
Every video in How to Replace a Flush-Mount Ceiling Light on a Stair Landing
Step 1: Turn off power at the breaker
- 0:42–0:49 Turn Off Power at Circuit Breaker
- 0:50–1:05 Turn Off Power at Circuit Breaker
- 0:10–0:12 Turn Off Power at Circuit Breaker
Step 2: Remove the old light fixture
- 0:39–1:37 Remove Old Fixture and Wiring
- 0:11–0:30 Turn Off Power & Remove Old Fixture
- 0:38–1:17 Remove Old Light Fixture and Bracket
Step 3: Install the new fixture's mounting bracket
- 3:51–4:53 Remove Old Mounting Bracket and Install New One
- 1:17–1:30 Replace Mounting Bracket
- 0:40–0:42 Install Mounting Bracket
Step 4: Wire the new light fixture
- 0:54–1:04 Attach New Fixture Wires
- 2:46–3:50 Connect New Light Fixture Wiring
- 6:28–7:18 Connect New Fixture's Electrical Wires (this video)
Step 5: Mount the new fixture and attach covers
- 1:04–1:17 Mount New Fixture Base
- 2:29–2:55 Mount the Fixture and Attach Shade
- 2:29–2:55 Mount the Fixture and Attach Shade
Step 6: Restore power and test the new fixture
- 10:35–10:39 Restore Power and Test the New Fixtures
- 5:24–5:39 Restore Power and Test
- 5:02–5:17 Restore Power and Test Light
How to Replace a Flush-Mount Ceiling Light on a Stair Landing
Outline for replacing a flush-mount ceiling light fixture on a stair landing, covering safety precautions, fixture removal, new fixture installation, and testing.
Read the full guide Browse all guides
Planning this project? Shop Oak Valley Designs.

Subscribe for exclusive updates
Be the first to know about promotions, new products, and sales.