Restore Power and Test
From Recessed Staircase Lighting · Step 7 of 8 · Video by The Home Depot
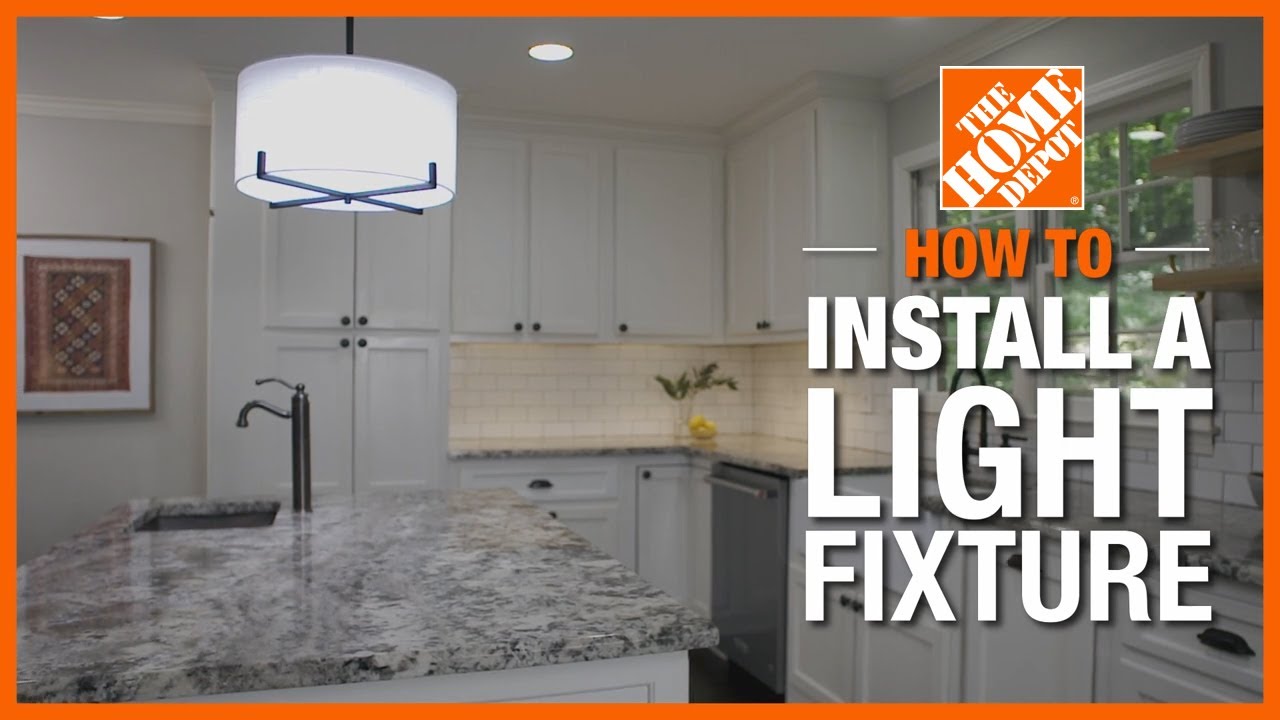
Showing 2:11–2:21 of the source video.
What happens in this clip
For the final step, return to the electrical panel and flip the breaker switch back to the 'on' position to restore power to the circuit. Then, proceed to the light switch in the room and flip it on to activate the newly installed light fixture. Observe the light to ensure it is functioning correctly and providing the desired illumination.
Goal: Verify the new light fixture is functioning correctly
What's used
Tools
- Electrical Panel
- Light Switch
About the full video
This project provides a step-by-step guide on how to safely replace an existing ceiling-mounted light fixture with a new one. It covers unboxing, safely disconnecting power, removing the old fixture, installing the new mounting bracket, wiring the new fixture, and finally assembling and testing the new light.
Step 7 of 8: Test the System
Once all connections are made and fixtures are installed, go to the main electrical panel and turn the power back on to the circuit. Test each light by operating the associated switch. Verify that all lights illuminate properly and consistently. If any light does not work, immediately turn off the power and re-check all wiring connections.
Other videos for this step
Recessed Staircase Lighting
This project involves planning the layout, safely running electrical wiring, cutting holes in the wall, installing the light fixtures, and connecting them to a power source. It's a moderately complex electrical project that requires careful attention to safety and building codes.
Read the full guide Browse all guides
Planning this project? Shop Oak Valley Designs.