
Install Recessed Light Housing
From Recessed Staircase Lighting · Step 5 of 8 · Video by This Old House
Showing 2:04–3:10 of the source video. Watch the full video with every moment.
What happens in this clip
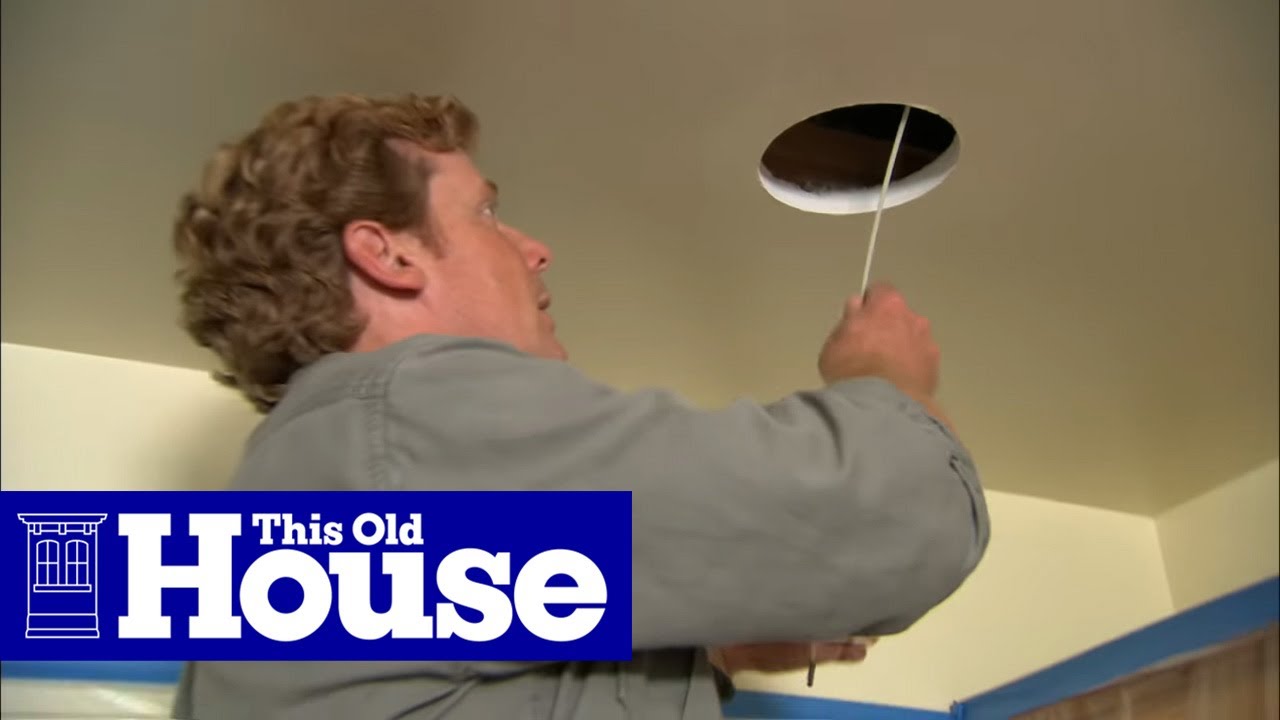
With the wiring connections made and safely enclosed in the junction box, the recessed light housing can now be installed. Push the entire housing assembly up into the previously cut hole in the ceiling. The remodel housing features four internal clips that, when pushed outwards from inside the fixture, will grab onto the drywall, securely holding the fixture in place. Push the housing firmly until it sits flush with the ceiling, ensuring all four clips are engaged.
Step 5 of 8: Install Light Fixtures
Gently feed the electrical cable through the back of the recessed light housing. Insert the fixture into the opening, ensuring it sits flush against the wall. Most recessed lights have spring clips or mounting brackets that will secure the fixture to the drywall. Engage these clips or brackets according to the manufacturer's instructions. Ensure the fixture is stable and securely fastened.
Every video in Recessed Staircase Lighting
Step 1: Plan Lighting Layout
- 0:42–1:17 Mark Recessed Step Light Locations
- 0:00–0:01 Plan and Mark Light Locations
- 0:34–0:49 Mark Light Placement
Step 2: Determine Power Source and Circuit Needs
- 5:24–5:56 Connect to Existing Power
Step 3: Install Wiring
- 4:17–5:10 Run NM Electrical Cable for Lighting
- 1:10–1:28 Install Electrical Wiring
- 16:51–21:10 Run the Wires in the Ceiling
Step 4: Cut Fixture Openings
- 1:37–2:29 Cut Opening for Light Fixture and Drill Wiring Path
- 3:50–4:15 Cut Openings for Fixture Boxes
- 4:11–5:24 Cut Drywall Openings
Step 5: Install Light Fixtures
- 2:04–3:10 Install Recessed Light Housing (this video)
- 4:46–5:24 Install LED Light Fixture
- 0:17–0:23 Install LED Lights into Ceiling
Step 6: Connect Wiring
- 3:29–4:49 Connect Electrical Wires
- 0:28–0:36 Make Wire Connections with Wire Nuts
- 2:18–2:55 Make Wire Connections
Step 7: Test the System
- 3:42–3:55 Test the Light Fixture
- 2:11–2:21 Restore Power and Test
- 2:16–2:20 Power On and Test
Step 8: Install Trim or Covers
- 2:05–2:23 Install Light Bulbs and Trim
- 0:16–0:33 Install Decorative Trim
- 3:57–4:29 Install Trim and Bulb
Questions about Recessed Staircase Lighting
What are the most critical safety precautions I need to take for this electrical project?
Always ensure the power is off at the circuit breaker before starting any electrical work. Use a voltage/circuit tester to confirm wires are dead before touching them. Familiarize yourself with local electrical codes and wear appropriate safety gear, including insulated gloves and eye protection. If you are uncertain about any step, hire a licensed electrician.
What specialized tools are absolutely essential for installing recessed staircase lighting?
Beyond basic tools, you'll need a voltage/circuit tester for safety and a good drill. A fish tape (like the Klein Tools 100 ft. Non-Conductive Fiberglass Fish Tape) is crucial for running wires through finished walls. A specialized auger bit (e.g., DIABLO 1/2 in. x 7-1/2 in. Auger Bit) is recommended for drilling through studs, and a cable stapler helps secure wiring correctly.
How important is the initial planning for light placement, and what's a common mistake to avoid?
Planning the light layout is crucial for achieving even illumination and avoiding glare, especially on stairs. A common mistake is not considering the light beam spread or stair dimensions, resulting in inadequate lighting or harsh hot spots. Use painter's tape or temporary lights to visualize the effect before cutting any holes.
The project is estimated to take '3 days'; what contributes most to that time, and can it be shortened?
The 3-day estimate accounts for careful planning, safely running new wiring, precise hole cutting, fixture installation, and potentially patching or painting. Much of the time is dedicated to ensuring electrical safety and code compliance. While careful work takes time, having all tools and materials ready can prevent delays, but rushing electrical work is never recommended.
Are there any less invasive or easier alternatives to recessed lighting for staircases?
Yes, if cutting into walls for recessed fixtures seems too daunting, consider surface-mount step lights or LED strip lighting. LED strips can be installed under stair nosings or along handrails, offering a softer, diffused light. These options generally require less structural modification but still involve proper electrical connections.
Recessed Staircase Lighting
This project involves planning the layout, safely running electrical wiring, cutting holes in the wall, installing the light fixtures, and connecting them to a power source. It's a moderately complex electrical project that requires careful attention to safety and building codes.
Read the full guide Browse all guides
Planning this project? Shop Oak Valley Designs.

Subscribe for exclusive updates
Be the first to know about promotions, new products, and sales.