Cut Opening for Light Fixture and Drill Wiring Path
From Recessed Staircase Lighting · Step 4 of 8 · Video by The Slow Build
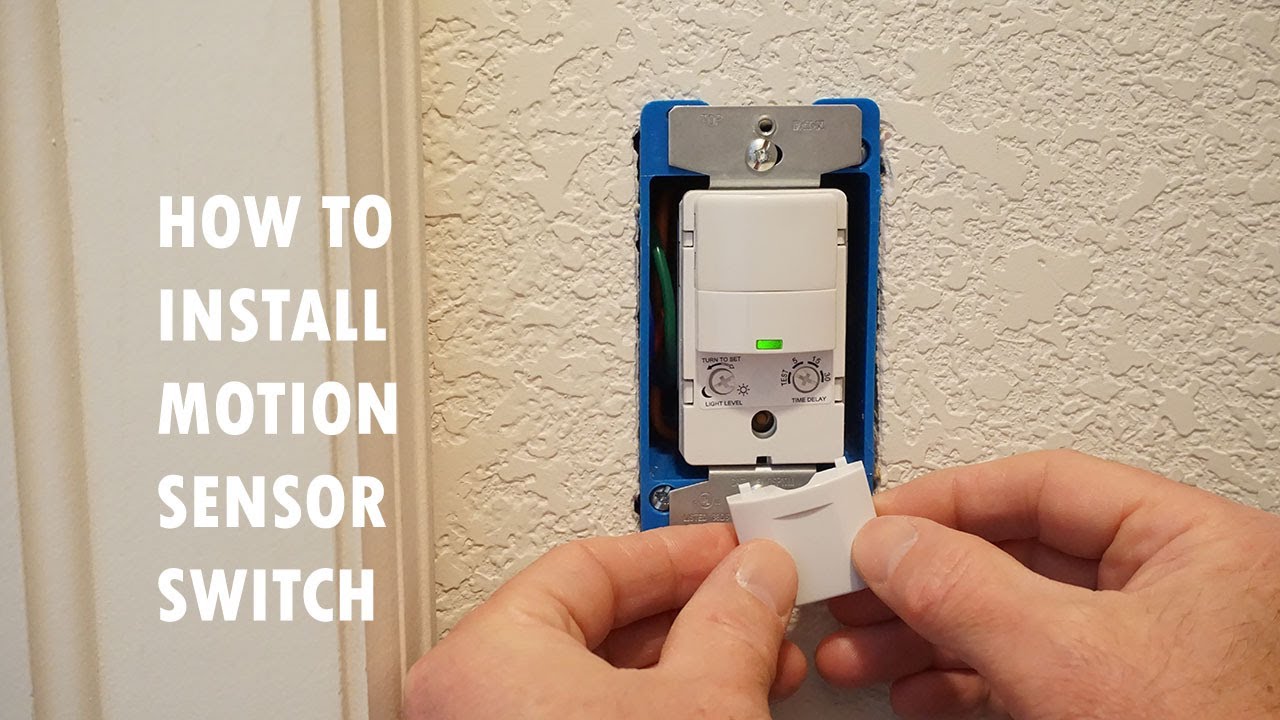
Showing 1:37–2:29 of the source video.
What happens in this clip
Similar to the switch box, drill pilot holes at several points along the marked circular outline for the LED light fixture in the ceiling. Then, use a drywall saw to carefully cut along the traced circle, creating a clean opening. The inspection camera can be used again to ensure the path for wiring from the light fixture to the switch box is clear, especially if there are fire blocks (2x4s and OSB) where the wall and ceiling meet. Use a long flexible drill bit (flex bit) with a cordless drill to bore a hole through any fire blocking or framing members, creating a channel for the wire.
Goal: Create the ceiling opening for the light and a clear path for wiring from light to switch.
What's used
Tools
- Cordless Drill Bosch
- Drill Bit
- Drywall Saw Milwaukee
- Flex Bit
- Inspection Camera Bosch
About the full video
This project details the installation of a motion sensor light switch and a new LED light fixture in a dark hallway closet. The process involves creating openings for the switch and light, running new electrical wiring through walls and ceilings, connecting to an existing power source, wiring the motion sensor switch and LED fixture, and finally testing the system for automatic operation.
Step 4 of 8: Cut Fixture Openings
Using a template provided with the light fixture or by measuring precisely from your markings, trace the outline of the fixture on the wall surface. Carefully cut along the traced line using a drywall saw or oscillating multi-tool. Be precise to ensure a snug fit for the light fixtures. Avoid cutting into existing wiring or plumbing within the walls.
Other videos for this step
Recessed Staircase Lighting
This project involves planning the layout, safely running electrical wiring, cutting holes in the wall, installing the light fixtures, and connecting them to a power source. It's a moderately complex electrical project that requires careful attention to safety and building codes.
Read the full guide Browse all guides
Planning this project? Shop Oak Valley Designs.