Install Decorative Trim
From Recessed Staircase Lighting · Step 8 of 8 · Video by Refresh Home Improvements
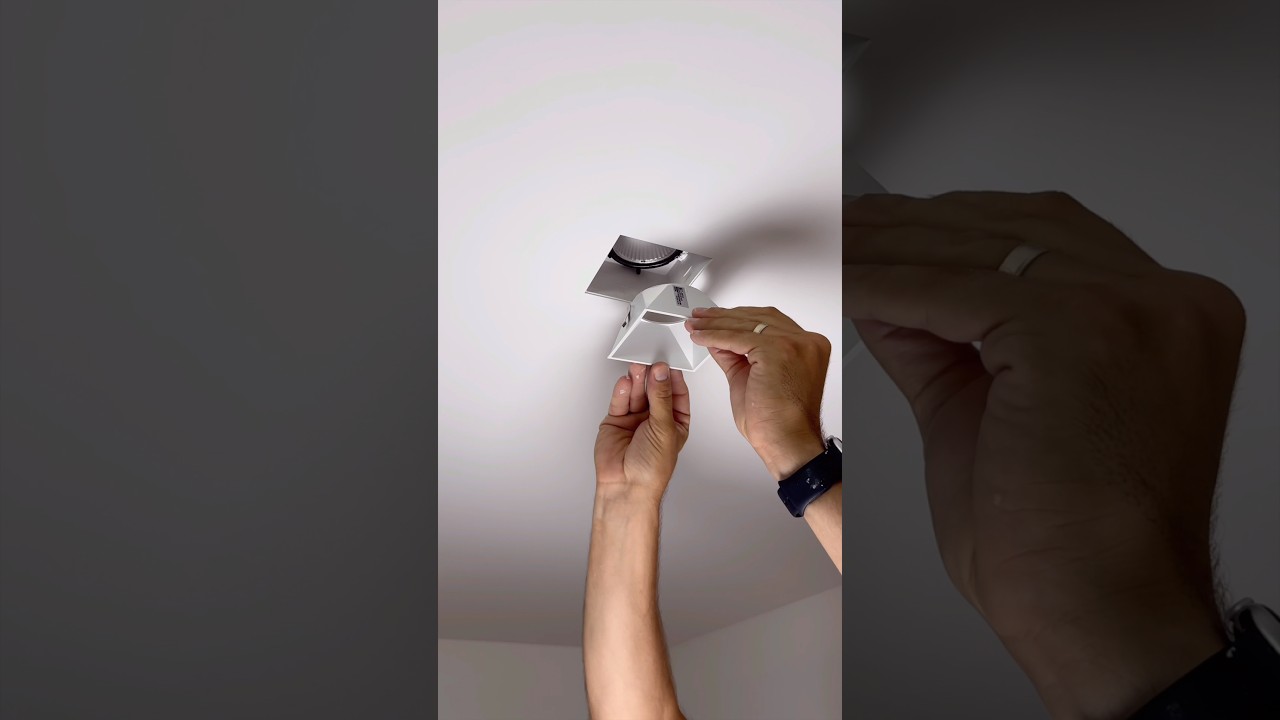
Showing 0:16–0:33 of the source video.
What happens in this clip
With the light engine wired and installed, you can now customize the appearance of your recessed light. Select your preferred decorative trim piece, such as a white baffle, a gold cone, or any other style that matches your aesthetic. Gently align the trim with the opening of the recessed housing and push it firmly into place until it clicks or sits securely and flush with the finished ceiling surface. Once installed, restore power at the breaker and test the light to ensure it functions correctly.
Goal: Complete the recessed light installation with the desired aesthetic trim
What's used
Materials
- Decorative Trim (Gold Cone)
- Decorative Trim (White Baffle)
- Gold cone
- Square trim
About the full video
This DIY project provides a detailed, step-by-step guide for installing trimless recessed lighting in a drywall ceiling. The process covers everything from precisely cutting the openings and installing the light housings, to seamlessly finishing the drywall, painting, performing electrical wiring, and finally inserting the light engines and decorative trim pieces for a clean, modern aesthetic.
Step 8 of 8: Install Trim or Covers
Many recessed light fixtures come with a trim or cover that snaps or screws into place to conceal the drywall edge and the fixture housing. Install these components as per the manufacturer's instructions to complete the installation and provide a clean, professional appearance.
Other videos for this step
Recessed Staircase Lighting
This project involves planning the layout, safely running electrical wiring, cutting holes in the wall, installing the light fixtures, and connecting them to a power source. It's a moderately complex electrical project that requires careful attention to safety and building codes.
Read the full guide Browse all guides
Planning this project? Shop Oak Valley Designs.