
Position Gate and Check Initial Gap
From How to Install a Pressure-Mounted Gate at the Bottom of Stairs · Step 4 of 6 · Video by Safety 1st Europe
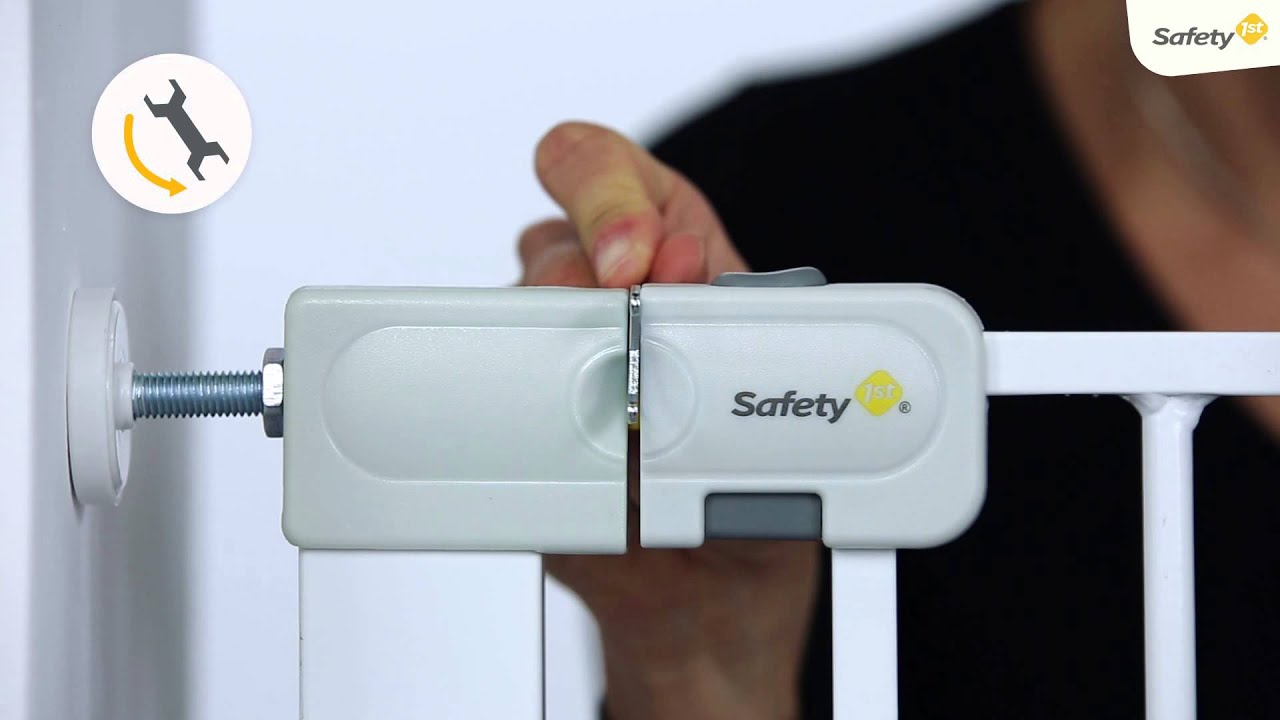
Showing 0:32–1:06 of the source video. Watch the full video with every moment.
What happens in this clip
Carefully lift the assembled gate and place it into the doorway opening. Position the gate so that it is centered within the opening and the bottom bar is as close to the floor as possible. Observe the gap at the bottom of the gate; it should be very small, ideally less than 3mm (0.12 inches). This small gap is necessary for the gate to function correctly and is not a flaw.
Goal: Place the gate in the opening and ensure initial proper spacing.
What's used
Tools
- Safety 1st Easy Close Metal Baby Gate Safety 1st
About the full video
This project provides a comprehensive guide on how to properly install a Safety 1st Easy Close Metal pressure-fit baby gate. It covers measuring the doorway, assembling the gate, tightening the pressure mounts, verifying correct alignment and latch function, and using optional extensions for wider openings.
Step 4 of 6: Position Gate and Adjust Height
Carefully position the assembled gate in the opening at the bottom of the stairs. Extend the pressure-mount posts so that the gate is held loosely in place, and the top of the gate is slightly higher than its final intended position. This allows for easier final adjustments.
Every video in How to Install a Pressure-Mounted Gate at the Bottom of Stairs
Step 1: Choose Gate Location
- 0:30–0:56 Install Gate (Pressure Mounting)
- 0:04–0:06 Position the Gate Frame in Opening
- 1:32–1:39 Position Gate in Opening
Step 2: Assemble Gate Components
- 0:27–1:10 Assemble Gate Frame and Door
- 0:56–1:19 Install Gate Door and Optional Extensions
- 0:28–0:56 Measure Opening and Assemble Gate Frame
Step 3: Install Pressure-Mount Posts
- 0:15–0:31 Install the Gate Using Pressure Mount
- 0:25–0:32 Attach Pressure Mounts to Gate
- 1:31–1:52 Pressure Mount the Child Safety Gate
Step 4: Position Gate and Adjust Height
- 0:04–0:06 Position the Gate Frame in Opening
- 0:32–1:06 Position Gate and Check Initial Gap (this video)
- 0:05–0:08 Position and Secure the Gate
Step 5: Apply Pressure and Secure
- 1:27–1:39 Tighten Spindle Rods for Secure Installation
- 0:06–0:09 Adjust and Secure Pressure Mounts
- 0:54–1:14 Finalize Tension and Security Check
Step 6: Test Gate Operation and Stability
- 1:51–1:59 Test Gate Operation
- 1:11–1:59 Verify Gate Functionality and Safety
- 3:05–3:19 Test Gate Operation and SecurTech Lock
How to Install a Pressure-Mounted Gate at the Bottom of Stairs
Outline for installing a pressure-mounted safety gate at the bottom of stairs to prevent unauthorized access, particularly for children or pets.
Read the full guide Browse all guides
Planning this project? Shop Oak Valley Designs.

Subscribe for exclusive updates
Be the first to know about promotions, new products, and sales.