Paint the Walls
From Reading Nook Conversion · Step 6 of 9 · Video by The Home Depot
Showing 6:28–8:45 of the source video.
What happens in this clip
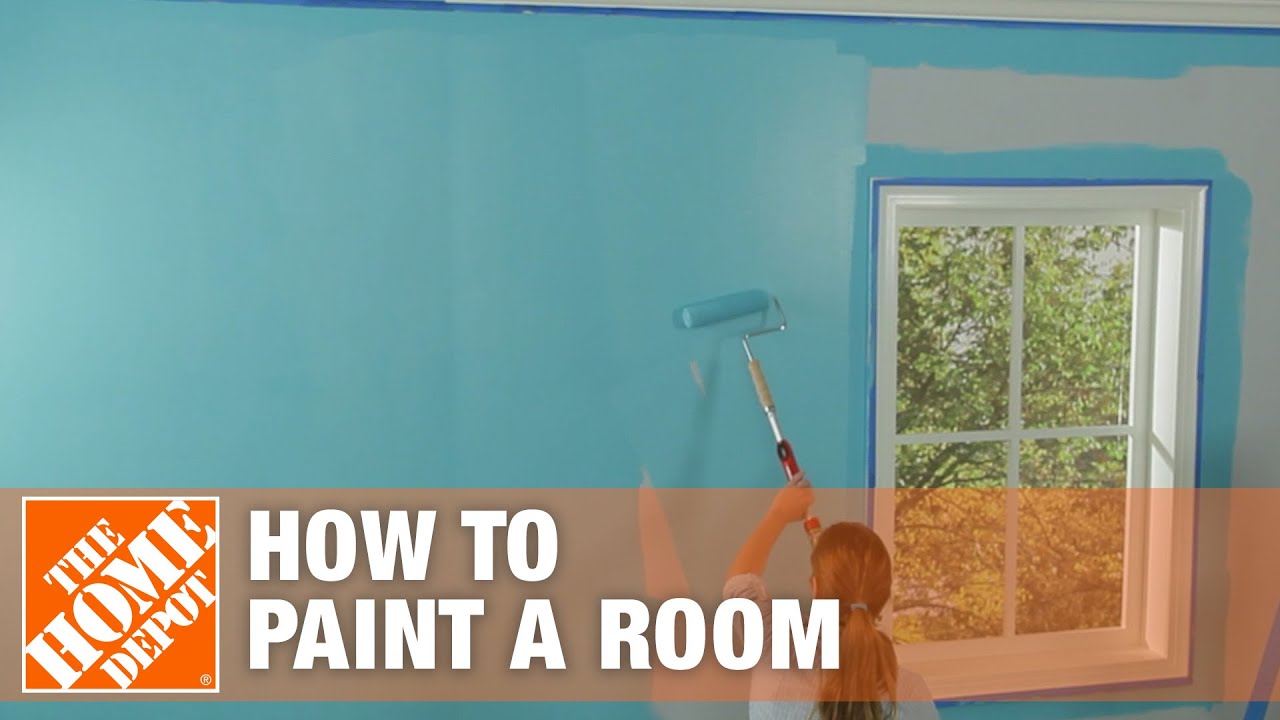
Before starting your paint application, remix your chosen paint, such as 'BEHR PREMIUM PLUS INTERIOR FLAT', using a mixing stick or paint mixing tool. Do this anytime the paint has been sitting for an extended period. Pour the paint into a small paint container. First, 'cut in' the room again using a good quality paintbrush, applying paint to the edges and corners as you did with the primer. If you left your painter's tape on after priming, you can paint directly over it. If you removed it, reapply it before this step. To avoid overloading your brush and causing drips, begin by brushing paint onto the wall first, not directly onto the tape. Brush back and forth until most of the paint is applied, then use the remaining paint on the brush to carefully paint the area next to the tape, overlapping your strokes onto the tape itself. This ensures there's minimal paint on the brush when you get to the tape, preventing seepage. Next, use a paint roller with an extension pole to apply paint to the main wall sections. Work in small, manageable 3-foot by 3-foot areas from ceiling to floor, and from one side of the wall to the other. Load your roller fully but not to the point of dripping. Roll back and forth across the wall in a series of 'V' or 'W' shaped strokes until the section is covered. After covering a section, use smooth, continuous strokes from top to bottom and back and forth without lifting the roller. These smoothing strokes even the coat and cover roller tracks. Lightly lift the roller off the wall as you overlap already painted areas to avoid end marks and blend seamlessly. Avoid painting straight up and down in rows, as this can make it harder to blend evenly and result in a striped appearance.
Goal: Apply an even, streak-free coat of paint to all wall surfaces for a professional finish.
What's used
Tools
- 5-Gallon Bucket Unknown (orange bucket shown)
- Extension Pole Unknown (red/black pole shown)
- Mixing Stick or Paint Mixing Tool
- Paint Container Unknown (blue container shown)
- Cup
- Paint Grid
- Paint Roller
- Paintbrush
- Roller Tray
Materials
- Paint BEHR PREMIUM PLUS INTERIOR FLAT
- Paint with different sheen
About the full video
This project provides a detailed guide on how to prepare a room for painting, including surface preparation, masking with painter's tape, protecting floors and furniture, and then applying primer and paint using proper techniques to achieve professional-looking results. Emphasizes the importance of thorough preparation to avoid common mistakes and ensure a high-quality finish.
Step 6 of 9: Paint or Wallpaper Walls
Apply primer if necessary, especially if changing colors dramatically or covering stains. Apply your chosen paint color or wallpaper according to manufacturer instructions. Ensure even coverage and allow adequate drying time between coats.
Other videos for this step
Reading Nook Conversion
Transform an under-stair closet into a cozy and functional reading space by clearing, potentially modifying walls, adding lighting, comfortable seating, and shelving.
Read the full guide Browse all guides
Planning this project? Shop Oak Valley Designs.