Measure and Mark Shelf Location
From Reading Nook Conversion · Step 7 of 9 · Video by Organized Living
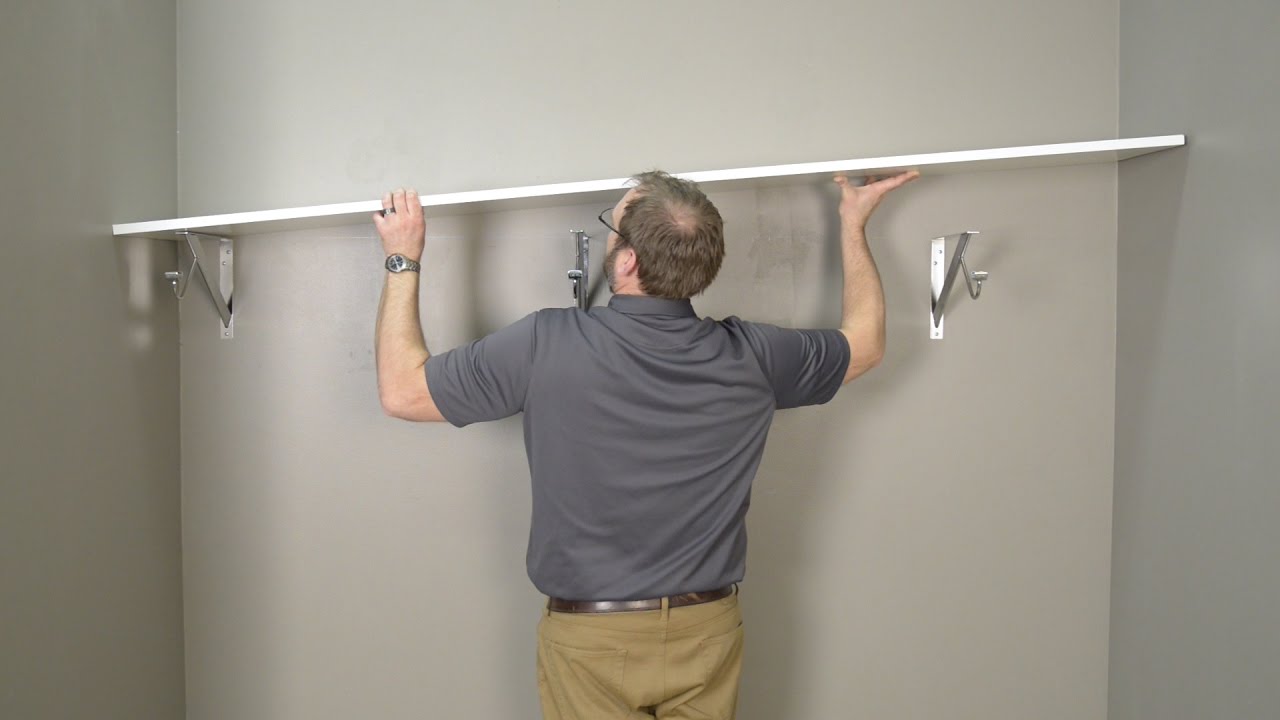
Showing 0:14–0:18 of the source video.
What happens in this clip
Begin by measuring the desired height for your shelf on the wall. Once you have determined the height, mark this point on the wall with a pencil. Use a level to draw a straight, horizontal line across the wall at the marked height. This line will serve as a guide for installing the shelf supports.
Goal: Establish the precise height and horizontal alignment for the shelf
What's used
Tools
- Level
- Pencil
- Tape Measure
About the full video
This project provides detailed instructions for installing wood shelves with hanging rods in two common configurations: a wall-to-wall setup and a wall-to-open end setup. It covers essential steps such as measuring and marking, locating wall studs, pre-drilling holes, securely mounting support brackets, installing the wood shelf, and finally, installing the hanging rod with appropriate end fittings for each configuration.
Step 7 of 9: Install Shelving
Measure and mark the desired locations for shelves. Install shelf brackets securely into wall studs or use appropriate anchors. Attach the shelves to the brackets.
Other videos for this step
Reading Nook Conversion
Transform an under-stair closet into a cozy and functional reading space by clearing, potentially modifying walls, adding lighting, comfortable seating, and shelving.
Read the full guide Browse all guides
Planning this project? Shop Oak Valley Designs.