
Inspect for Rot and Soft Spots
From How to Check Stairs for Rot or Damage Before Covering Them · Step 2 of 5 · Video by Blacktail Studio
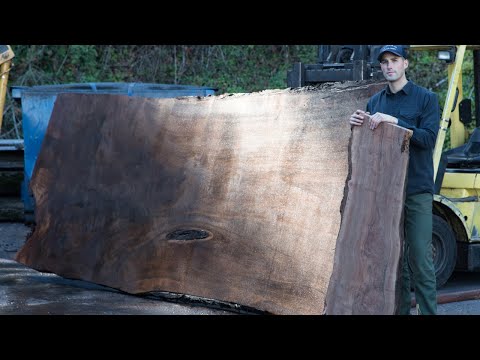
Showing 3:55–4:18 of the source video. Watch the full video with every moment.
What happens in this clip
Visually inspect the wood for any signs of rot or soft spots, which can sometimes be less obvious than expected. To physically test for rot, take a car key or a similar sharp, slender object and try to push it into the wood. If the key penetrates the wood easily and deeply, it indicates the presence of rot. If the wood is solid and healthy, the key will not enter easily. Be aware of any soft spots found, as they will need to be addressed. This might involve removing the rotted material and replacing it with a stable filler like epoxy or a well-matched piece of wood.
Goal: Identify and plan to address any areas of decay or compromised wood integrity.
What's used
Tools
- Car Key (or similar sharp
- slender object)
- Small screwdriver
- Strong
- thin metal pick
About the full video
This guide provides essential steps for conducting an initial moisture assessment of reclaimed or live edge wood, primarily through visual inspection, supplemented by basic tools, to identify signs of decay, insect damage, and high moisture content before use. It covers checking for overall dryness, uniform moisture distribution, proper acclimation to climate, presence of rot, and past or present insect infestations.
What's said in this clip
even from reputable slab suppliers now rot seems like it's fairly easy to tell it's not always as obvious as you think I've actually gotten slides almost all the way ready to finish and found a soft spot of wood and there's a really simple easy way to check this is take your car keys out stick them into the wood if it goes in it's rotted if it doesn't it's fine so make sure you're aware of any soft spots that you do need to address either by removing that replacing with something like epoxy or even another matching piece of wood bugs probably ruin as many projects as
Automatically transcribed from the source video.
Step 2 of 5: Probe for Soft Spots and Rot
After the visual inspection, systematically probe the surfaces of the treads, risers, and the visible portions of the stringers. Insert the tip of a sturdy screwdriver or an awl into the wood and apply moderate pressure. Move the probe in short increments. Listen for any unusual sounds like crunching or squishing, which can signal decay. Feel for any areas that feel soft, spongy, or give way easily under pressure. If the probe penetrates the wood with little resistance, it's a strong indication of rot or significant damage. Pay special attention to areas near the nosing of the treads and where the stringers meet the treads.
Every video in How to Check Stairs for Rot or Damage Before Covering Them
Step 1: Inspect Treads and Risers for Surface Damage
- 0:00–0:53 Assess Damage & Prepare for Repair
- 1:02–1:35 Visually Inspect for Staircase Wear and Damage
Step 2: Probe for Soft Spots and Rot
- 3:55–4:18 Inspect for Rot and Soft Spots (this video)
- 0:35–0:51 Test Suspected Decayed Areas
- 0:00–0:53 Assess Damage & Prepare for Repair
Step 3: Check Stringer Integrity
- 3:26–4:07 Prioritize Maintenance and Safety
- 0:54–1:40 Identify Stringer Cracks
- 0:05–0:14 Identify and Assess Damage
Step 4: Assess Fastener Security
- 0:00–0:53 Assess Damage & Prepare for Repair
- 3:26–4:07 Prioritize Maintenance and Safety
- 0:12–0:14 Final Test and Inspection
Step 5: Test for Stability and Squeaks
- 0:12–0:14 Final Test and Inspection
- 4:28–5:00 Test the Repaired Stairs
- 3:29–3:39 Eliminate Squeaks from Treads
How to Check Stairs for Rot or Damage Before Covering Them
A high-level outline for a DIY project to inspect stairs for rot or damage before covering them. This involves visual inspection, probing for softness, checking for structural integrity, and assessing the condition of treads, risers, and stringers.
Read the full guide Browse all guides
Planning this project? Shop Oak Valley Designs.

Subscribe for exclusive updates
Be the first to know about promotions, new products, and sales.