

How to Check Stairs for Rot or Damage Before Covering Them
About This Guide
A high-level outline for a DIY project to inspect stairs for rot or damage before covering them. This involves visual inspection, probing for softness, checking for structural integrity, and assessing the condition of treads, risers, and stringers.
Tools & Materials
Steps
Inspect Treads and Risers for Surface Damage
Begin by thoroughly examining the surface of each stair tread and riser. Look for any visible cracks, deep gouges, splintering wood, or areas where the finish has worn away. Discoloration, especially dark spots or staining, can be an early indicator of moisture intrusion or rot. Focus on the front edge of the treads and the areas where the riser meets the tread, as these are high-traffic zones and prone to damage. Use a bright flashlight to enhance visibility, especially in dimly lit stairwells.

Probe for Soft Spots and Rot
After the visual inspection, systematically probe the surfaces of the treads, risers, and the visible portions of the stringers. Insert the tip of a sturdy screwdriver or an awl into the wood and apply moderate pressure. Move the probe in short increments. Listen for any unusual sounds like crunching or squishing, which can signal decay. Feel for any areas that feel soft, spongy, or give way easily under pressure. If the probe penetrates the wood with little resistance, it's a strong indication of rot or significant damage. Pay special attention to areas near the nosing of the treads and where the stringers meet the treads.
Check Stringer Integrity
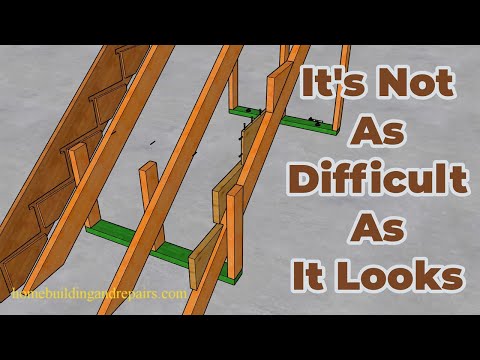
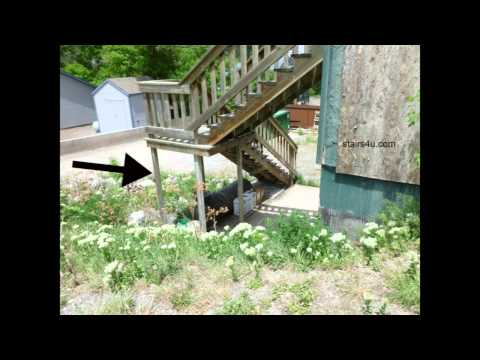
Locate the stair stringers, which are the diagonal boards that support the treads and risers. These are typically visible from the sides of the staircase. Visually inspect the entire length of each stringer for any longitudinal cracks, splits, or evidence of rot, particularly at the top and bottom where they connect to the structure. Gently try to wiggle the stringers; they should feel solid and securely fastened. If possible and safe to do so, apply some downward pressure to the treads near the stringers to check for any visible sagging or excessive flex in the stringers themselves. Ensure the stringers are firmly attached to the upper and lower framing members.
Assess Fastener Security
Inspect all connection points where treads meet risers and stringers, and where risers meet each other. Look closely at the fasteners used, whether they are screws, nails, or staples. Check if any are protruding, loose, or missing entirely. Gently try to rock or lift treads and risers to feel for play that indicates a failed connection. If you find loose fasteners, tighten them appropriately. Note any areas where wood may have deteriorated around a fastener, suggesting the fastener can no longer hold securely. Examine glue joints for signs of separation.
Test for Stability and Squeaks
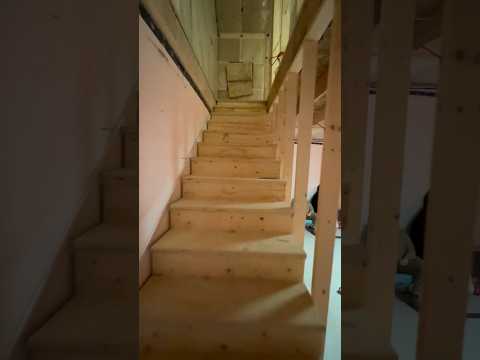
After visually and physically inspecting the components, perform a functional test. Walk up and down the stairs at a normal pace, deliberately putting weight on different parts of each step, especially near the edges and center. Listen carefully for any creaking or squeaking sounds. These noises often indicate that treads are rubbing against stringers or that fasteners have loosened. Try to pinpoint the exact location of the noise. Also, pay attention to any noticeable wobble or excessive flex in the stairs as you walk. Significant instability or loud, persistent squeaks warrant further investigation into the cause.
Questions about your project or which product fits? Oak Valley Designs's team is happy to help. Mon–Fri 9–5 ET
Related Guides
See All



Subscribe for exclusive updates
Be the first to know about promotions, new products, and sales.