Attaching Drawer Pulls (Knobs)
From Under Stair Storage · Step 7 of 7 · Video by Stuff I Made
Showing 6:31–6:47 of the source video.
What happens in this clip
Align and attach the drawer pulls (knobs) to the front of each drawer. Use masking tape to mark the desired position for each pull, ensuring consistent spacing and height across all drawers. Pre-drill pilot holes through the drawer fronts at the marked spots using a small drill bit. Then, secure the drawer pulls by threading their screws through the inside of the drawer fronts and tightening them with a screwdriver or impact driver. Carefully remove the masking tape once all pulls are securely attached.
Goal: Install knobs on all drawer fronts for aesthetic and functional purposes.
What's used
Tools
- Drawer Pulls/Knobs
- Bar pulls
- Drill/Impact Driver Bosch
- Masking Tape
- Pencil
- Screwdriver
- Small Drill Bit
Materials
- Drawer Fronts (on installed drawers)
About the full video
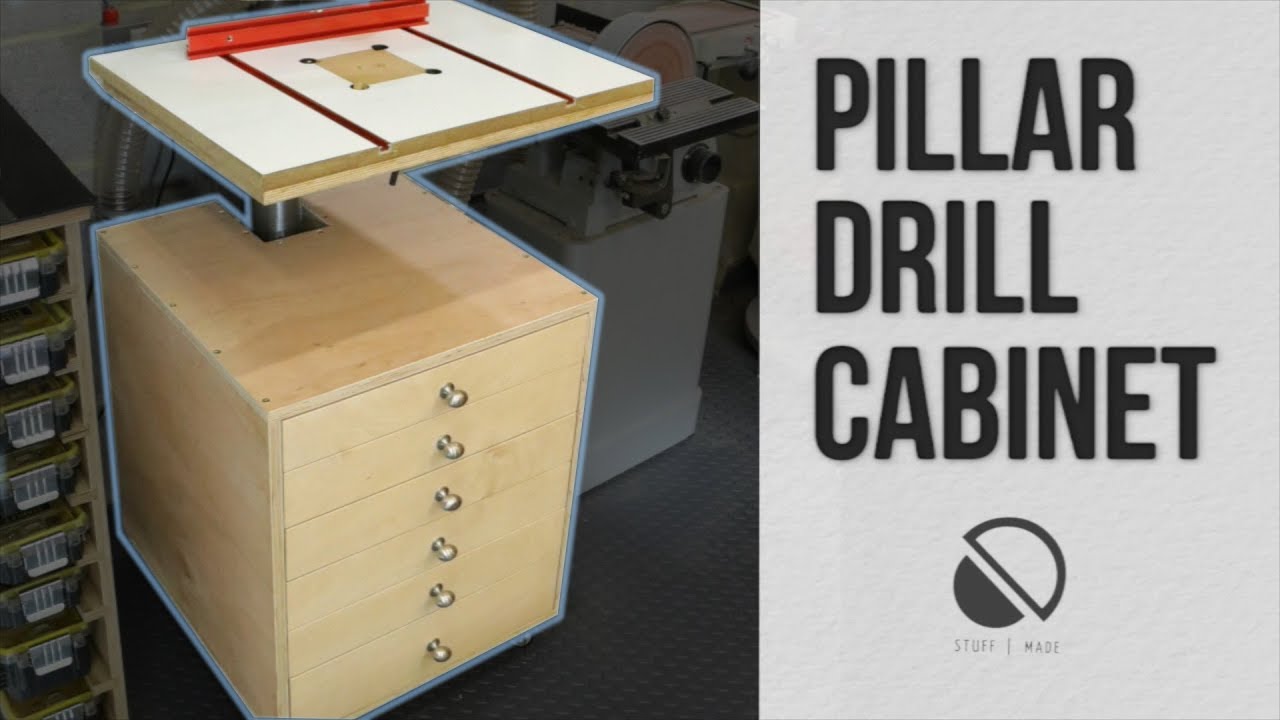
This project details the construction of a custom wooden cabinet designed to fit under a pillar drill (drill press). The cabinet features multiple drawers, including specially designed drill bit storage drawers, to organize workshop tools and accessories. It also includes casters for mobility and a U-shaped cutout on the top surface to accommodate the drill press column.
Step 7 of 7: Attach Handles and Finish
Measure and mark the placement for the handles or pulls on the front of each drawer or cart. Drill pilot holes and attach the hardware. If you plan to paint or stain the wood, do so now. Apply primer, followed by your chosen paint or stain, and a protective topcoat for durability. Ensure adequate ventilation during finishing.
Other videos for this step
Under Stair Storage
This project involves designing and building custom drawers or pull-out carts to maximize storage space within the often-underutilized area beneath a staircase. The process includes measuring the space, designing the storage units, selecting appropriate materials, cutting and assembling the components, and installing them into the stair cavity.
Read the full guide Browse all guides
Planning this project? Shop Oak Valley Designs.