Planning the Layout and Design Considerations
From Under Stair Storage · Step 2 of 7 · Video by Home Improvement Woodworking
Showing 0:56–3:20 of the source video.
What happens in this clip
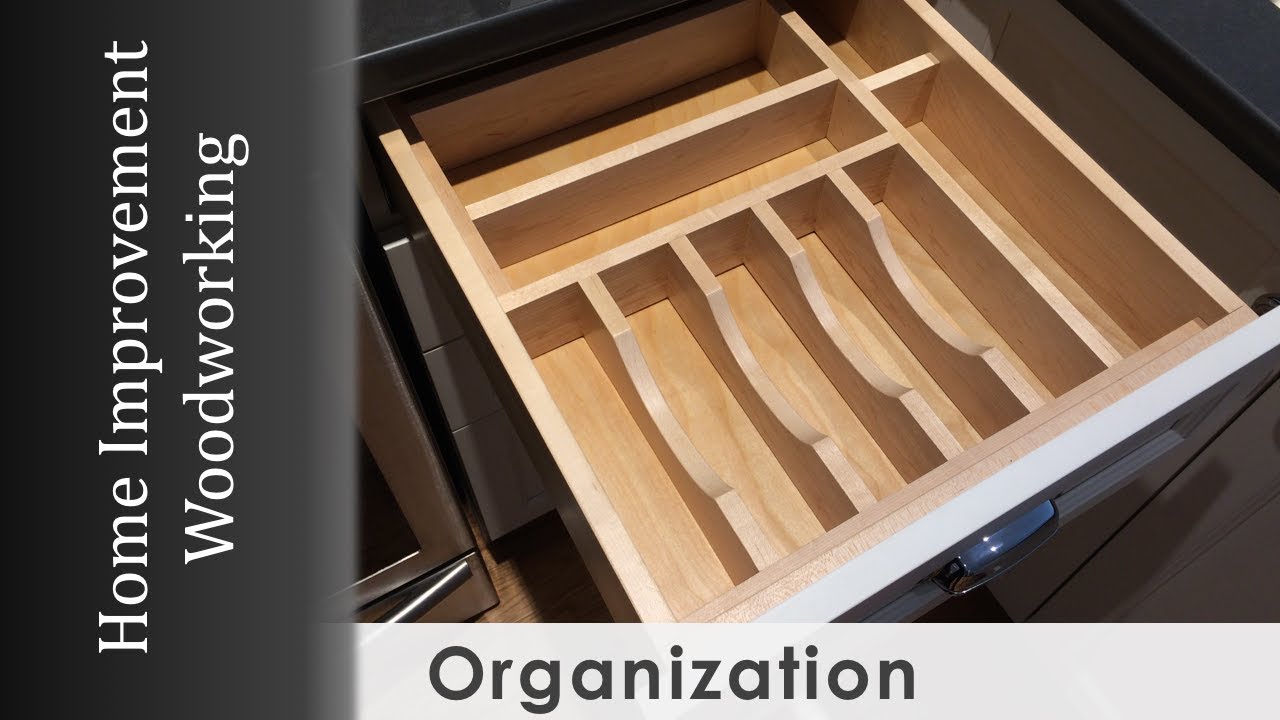
Lay out the paper on the workbench and tape it down using painter's tape to prevent movement. Place the drawer on the paper and trace its internal dimensions to create an accurate template. Using a carpenter's square and a pencil, mark the outline of the drawer. Then, arrange the cutlery (spoons, forks, knives) on the paper within the traced outline, experimenting with different configurations to maximize space and accessibility. Once a satisfactory layout is found, use a pencil and square to draw the lines for the dividers around the cutlery. The presenter uses a permanent marker to make these lines more visible for demonstration. He also carefully marks the perimeter areas that are 'outside' the actual drawer to ensure the organizer fits precisely within the drawer box, creating tension for a snug fit. He indicates where additional internal dividers will be needed to provide side-to-side tension.
Goal: Design the internal layout of the drawer organizer for a snug fit and optimal cutlery placement.
What's used
Tools
- Carpenter's Square Unspecified
- Cutlery Unspecified
- Kitchen Drawer Unspecified
- Measuring Tape Unspecified
- Painter's Tape Unspecified
- Paper Roll Unspecified
- Pencil Unspecified
- Permanent Marker Sharpie
- visible layout lines.
About the full video
This project guides you through creating custom wooden drawer organizers for kitchen cutlery, focusing on precise measurements, efficient layout, ergonomic design with curved cutouts, and sturdy assembly, culminating in a finished product that fits snugly without permanent drawer alterations.
Step 2 of 7: Design Storage Units
Based on the measurements, sketch out the design for your drawers or pull-out carts. Determine the number of units, their dimensions, and how they will operate (e.g., slides, wheels). Consider the type of storage needed (e.g., deep drawers for larger items, shallower ones for smaller items). You can use graph paper for detailed plans or design software if you are comfortable with it. Ensure the design accounts for any sloped ceilings or walls.
Other videos for this step
Under Stair Storage
This project involves designing and building custom drawers or pull-out carts to maximize storage space within the often-underutilized area beneath a staircase. The process includes measuring the space, designing the storage units, selecting appropriate materials, cutting and assembling the components, and installing them into the stair cavity.
Read the full guide Browse all guides
Planning this project? Shop Oak Valley Designs.