Crosscut Plywood for Drawer Components
From Under Stair Storage · Step 4 of 7 · Video by Robert J. Keller
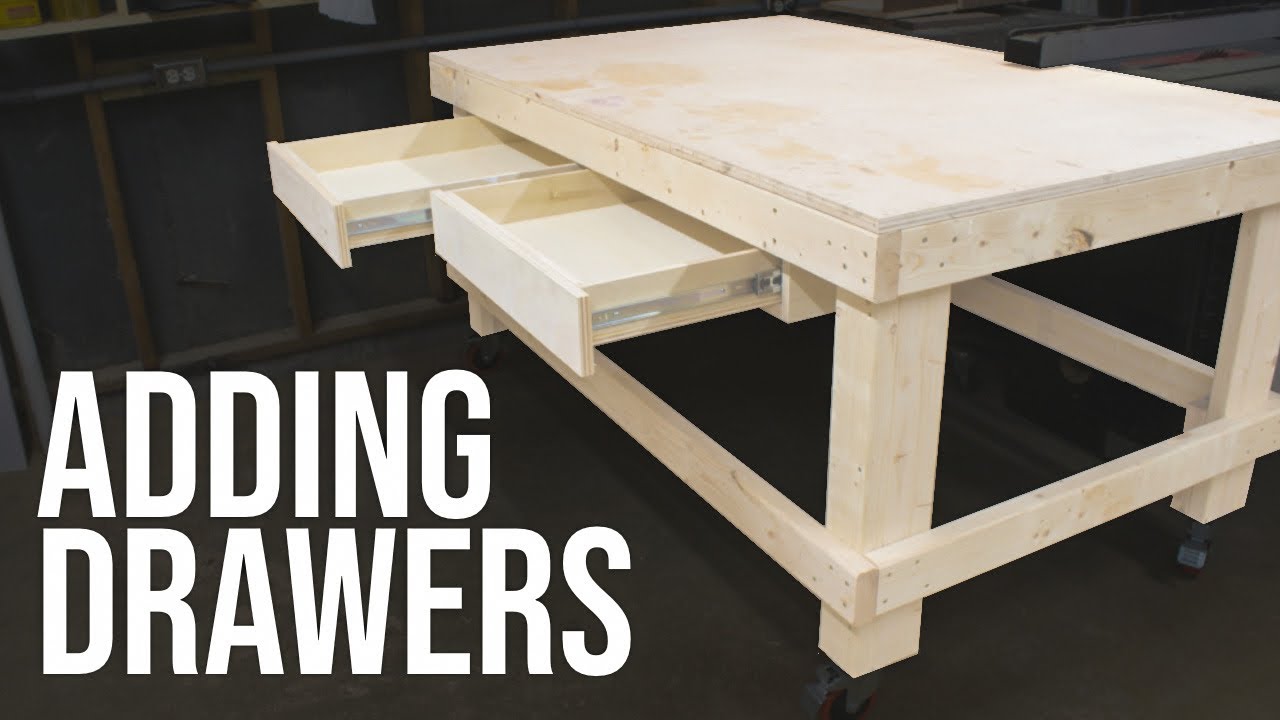
Showing 0:29–0:54 of the source video.
What happens in this clip
After ripping the plywood to width, use a miter saw to crosscut the pieces to their final lengths. This is done for the side pieces and the front/back pieces of the drawer boxes. Stack multiple pieces together to make identical cuts efficiently. Use a measuring tape and pencil to mark the cut lines, then align with the miter saw blade for precise cuts.
Goal: Cut drawer components to precise lengths
What's used
Tools
- Measuring Tape Milwaukee
- Yardstick
- Miter Saw Dewalt
- Track saw
- Pencil
- Woodpeckers Woodworking Square Woodpeckers
- Speed square
Materials
- Plywood Strips
- fronts
- and backs.
About the full video
This project guides you through building a sturdy and mobile workbench equipped with multiple drawers for storage. It involves precise cutting of plywood and lumber, assembly using pocket holes and fasteners, installation of drawer slides, and the addition of casters for portability. The workbench is designed to optimize workshop organization and efficiency.
Step 4 of 7: Cut Components
Using a circular saw, table saw, or jigsaw, carefully cut all the pieces for the drawer boxes, frames, and any other structural elements. Ensure all cuts are straight and accurate to ensure a good fit during assembly. If cutting large panels, consider having them cut at the lumberyard to save time and ensure precision.
Other videos for this step
Under Stair Storage
This project involves designing and building custom drawers or pull-out carts to maximize storage space within the often-underutilized area beneath a staircase. The process includes measuring the space, designing the storage units, selecting appropriate materials, cutting and assembling the components, and installing them into the stair cavity.
Read the full guide Browse all guides
Planning this project? Shop Oak Valley Designs.