Insert Pull-out Shelves
From Under Stair Storage · Step 6 of 7 · Video by Dan Pattison
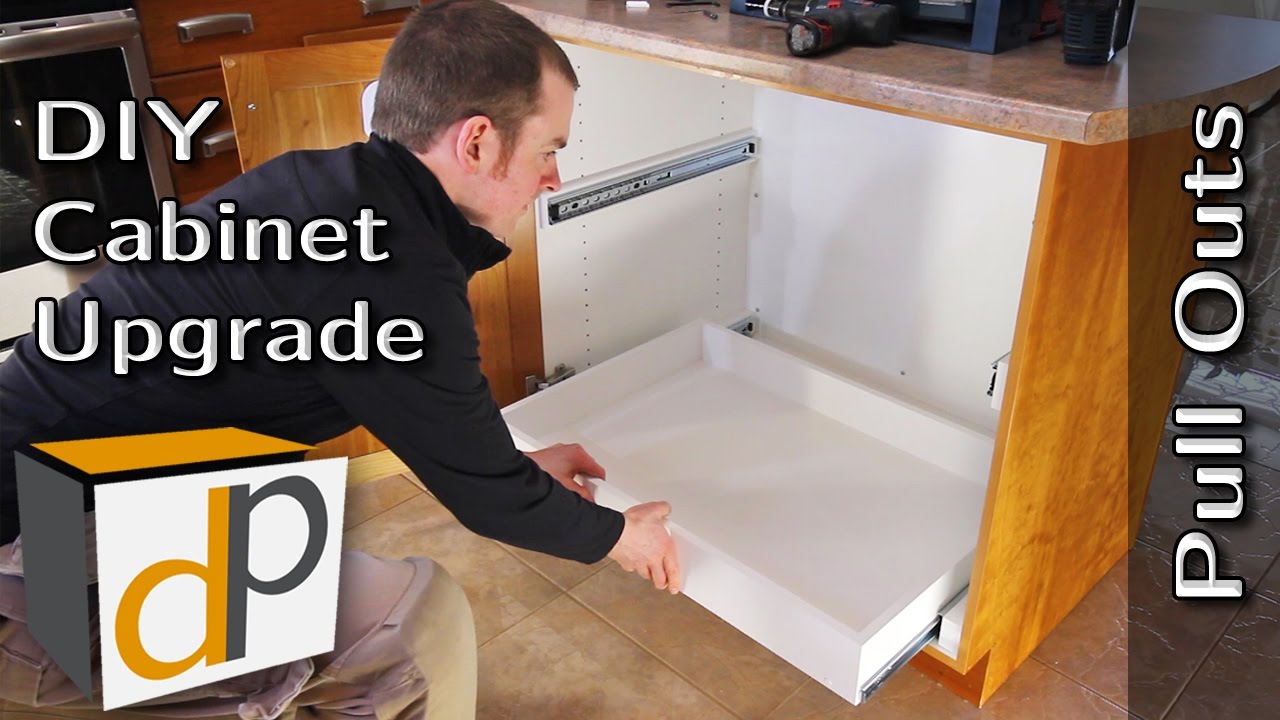
Showing 12:07–12:15 of the source video.
What happens in this clip
Once both sets of slides are installed in the cabinet, it's time to insert the assembled pull-outs. Simply align the pull-out with its respective slides and gently push it in until it engages. This is where the careful measurements and calculations pay off, ensuring a smooth and functional fit.
About the full video
This project guides through the process of installing pull-out shelves with drawer slides in custom cabinets to enhance storage efficiency and ergonomics. It covers measuring the cabinet, designing the pull-outs, calculating dimensions, preparing a cut list, cutting and edge banding the melamine pieces, assembling the pull-out boxes, installing full-extension drawer slides, and finally, installing the completed pull-outs into existing kitchen cabinets using spacer strips for a precise fit.
Step 6 of 7: Install Storage Units
Carefully slide the assembled drawers or pull-out carts into their designated positions. If they are built-in, you may need to secure them to the floor or wall framing using screws. For drawer slides that attach to the frame, ensure they are aligned correctly before screwing them in place. Test the movement of each unit to ensure it operates smoothly.
Other videos for this step
Under Stair Storage
This project involves designing and building custom drawers or pull-out carts to maximize storage space within the often-underutilized area beneath a staircase. The process includes measuring the space, designing the storage units, selecting appropriate materials, cutting and assembling the components, and installing them into the stair cavity.
Read the full guide Browse all guides
Planning this project? Shop Oak Valley Designs.