
Trace and Cut Skirt Boards
From How to Scribe and Cut a Stair Skirt Board to Fit · Step 3 of 5 · Video by JL Wood Artistries
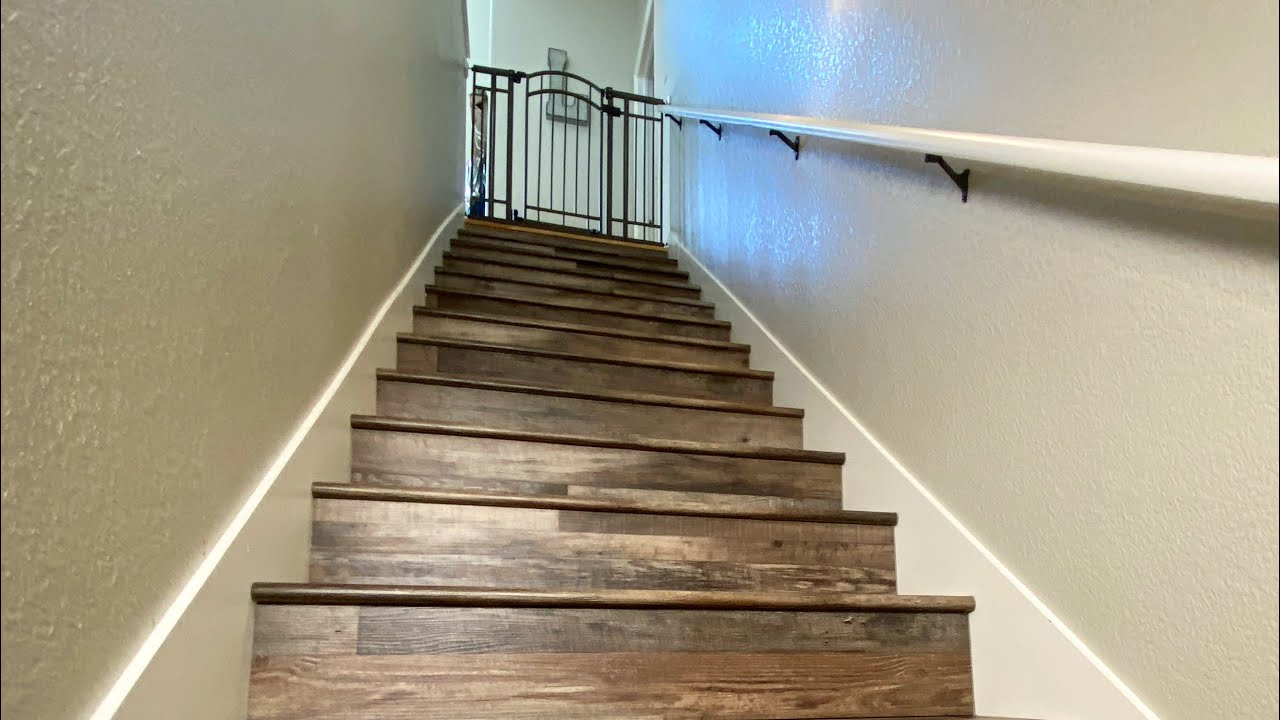
Showing 1:15–2:34 of the source video. Watch the full video with every moment.
What happens in this clip
Carefully place the previously cut paper template onto the ripped MDF board. Ensure the chalk line edge of the template is flush against one edge of the MDF, then tape it down securely. Using a pencil, trace the entire outline of the template onto the MDF. Once traced, use a jigsaw to cut out the skirt board. When cutting, intentionally 'overcut' the skirt board slightly, leaving small gaps, as these will be hidden by the later flooring installation. The video notes to keep the overcuts within an eighth of an inch or so. After cutting, hold a small level vertically against the bottom step of the staircase to mark a vertical line on the skirt board. Use a miter saw to make a clean, straight cut along this vertical line to finish the bottom edge of the skirt board. Off-camera, a file is used to shave off a small amount of material where the skirt board meets the baseboard for a smooth transition.
Goal: Cut out the first skirt board from MDF, incorporating necessary clearances and finishing cuts.
What's used
Tools
- Blue Painter's Tape
- File
- Sanding block
- Jigsaw Black & Decker
- Miter Saw DEWALT
- Pencil
- Small Level
About the full video
This project details the process of installing new skirt boards and Stone Polymer Composite (SPC) flooring on a staircase. It covers creating precise templates, cutting MDF, painting the skirt boards, installing them, laying the new flooring, and re-installing the handrail to complete a staircase renovation.
Step 3 of 5: Cut the Skirt Board
Carefully cut the skirt board material along the pencil lines transferred from the stairs. Use a jigsaw or a handsaw for precise cutting. Take your time to ensure clean cuts that accurately follow the scribed profile.
Every video in How to Scribe and Cut a Stair Skirt Board to Fit
Step 1: Measure and Mark Riser Heights
- 0:00–0:26 Understand Stair Dimensions
- 7:29–11:09 Measure and Determine Cut Angles
- 4:48–7:28 Layout Straight Skirt Board
Step 2: Transfer Stair Profile to Skirt Board
- 0:26–1:49 Layout Skirt Board Profile
- 5:39–9:34 Mark Riser and Tread Cut Lines Using a Jig
- 0:03–0:07 Mark Initial Stair Profile
Step 3: Cut the Skirt Board
- 1:15–2:34 Trace and Cut Skirt Boards (this video)
- 2:44–4:14 Cut and Install the Skirt Board
- 19:55–24:58 Cut and Sand Skirt Board
Step 4: Dry Fit and Adjust
- 2:14–2:33 Test Fit and Adjust Skirt Board (Method 1)
- 11:24–12:39 Test Fit the Straight Skirt Board
- 25:53–26:23 Test Fit the "Open" Skirt Board
Step 5: Install the Skirt Board
- 1:58–2:58 Secure Skirtboard
- 13:28–15:24 Install Skirt Boards
- 3:40–4:14 Install Skirt Boards
How to Scribe and Cut a Stair Skirt Board to Fit
Outline for scribing and cutting a stair skirt board to achieve a snug fit against the wall and risers.
Read the full guide Browse all guides
Planning this project? Shop Oak Valley Designs.

Subscribe for exclusive updates
Be the first to know about promotions, new products, and sales.