
Install Skirt Boards
From How to Scribe and Cut a Stair Skirt Board to Fit · Step 5 of 5 · Video by JL Wood Artistries
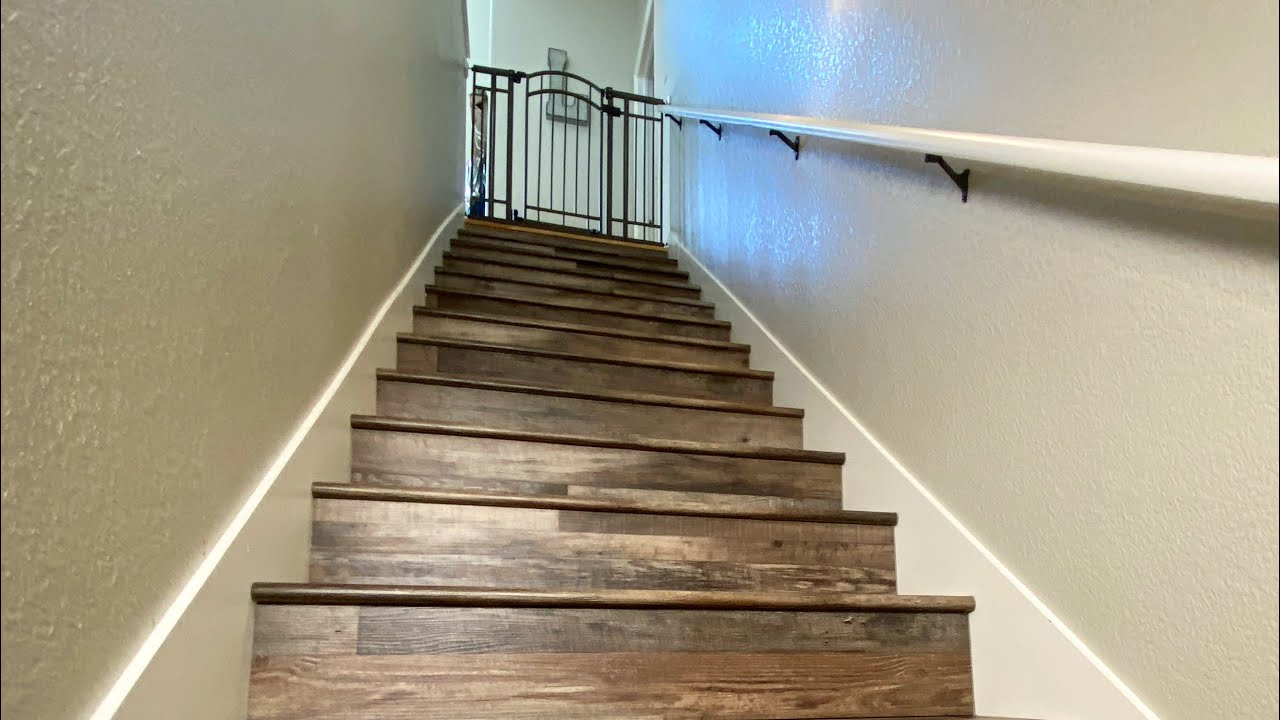
Showing 3:40–4:14 of the source video. Watch the full video with every moment.
What happens in this clip
Align the primed and painted skirt board pieces along the staircase. Use super glue to join the ends of any MDF pieces that need to be butt-joined to extend the length of the skirt board. Using a putty knife, carefully lift and position the skirt board into place against the wall and steps. Secure the skirt board by shooting 2-inch brad nails into the wall, ensuring you hit the studs for a strong hold. Continue this process along the entire length of the skirt board for both sides of the staircase.
Goal: Permanently attach the finished skirt boards to the staircase.
What's used
Tools
- 2-inch Brad Nails
- Brad Nailer (pneumatic) Metabo HPT
- Hammer and finishing nails
- Putty Knife
- Pry bar
- Stud Finder
- Super Glue
About the full video
This project details the process of installing new skirt boards and Stone Polymer Composite (SPC) flooring on a staircase. It covers creating precise templates, cutting MDF, painting the skirt boards, installing them, laying the new flooring, and re-installing the handrail to complete a staircase renovation.
Step 5 of 5: Install the Skirt Board
Apply wood glue to the back of the skirt board where it will contact the wall and risers. Position the skirt board in place and secure it by driving finish nails or screws through the skirt board into the wall studs and the stair stringer. Ensure the fasteners are countersunk slightly below the surface.
Every video in How to Scribe and Cut a Stair Skirt Board to Fit
Step 1: Measure and Mark Riser Heights
- 0:00–0:26 Understand Stair Dimensions
- 7:29–11:09 Measure and Determine Cut Angles
- 4:48–7:28 Layout Straight Skirt Board
Step 2: Transfer Stair Profile to Skirt Board
- 0:26–1:49 Layout Skirt Board Profile
- 5:39–9:34 Mark Riser and Tread Cut Lines Using a Jig
- 0:03–0:07 Mark Initial Stair Profile
Step 3: Cut the Skirt Board
- 1:15–2:34 Trace and Cut Skirt Boards
- 2:44–4:14 Cut and Install the Skirt Board
- 19:55–24:58 Cut and Sand Skirt Board
Step 4: Dry Fit and Adjust
- 2:14–2:33 Test Fit and Adjust Skirt Board (Method 1)
- 11:24–12:39 Test Fit the Straight Skirt Board
- 25:53–26:23 Test Fit the "Open" Skirt Board
Step 5: Install the Skirt Board
- 1:58–2:58 Secure Skirtboard
- 13:28–15:24 Install Skirt Boards
- 3:40–4:14 Install Skirt Boards (this video)
How to Scribe and Cut a Stair Skirt Board to Fit
Outline for scribing and cutting a stair skirt board to achieve a snug fit against the wall and risers.
Read the full guide Browse all guides
Planning this project? Shop Oak Valley Designs.

Subscribe for exclusive updates
Be the first to know about promotions, new products, and sales.