
Prepare Surface for Adhesive Application
From How to Choose Between Carpet Treads, Grip Tape and Anti-Slip Coatings · Step 2 of 9 · Video by Ezvid Wiki
Showing 0:28–0:32 of the source video. Watch the full video with every moment.
What happens in this clip
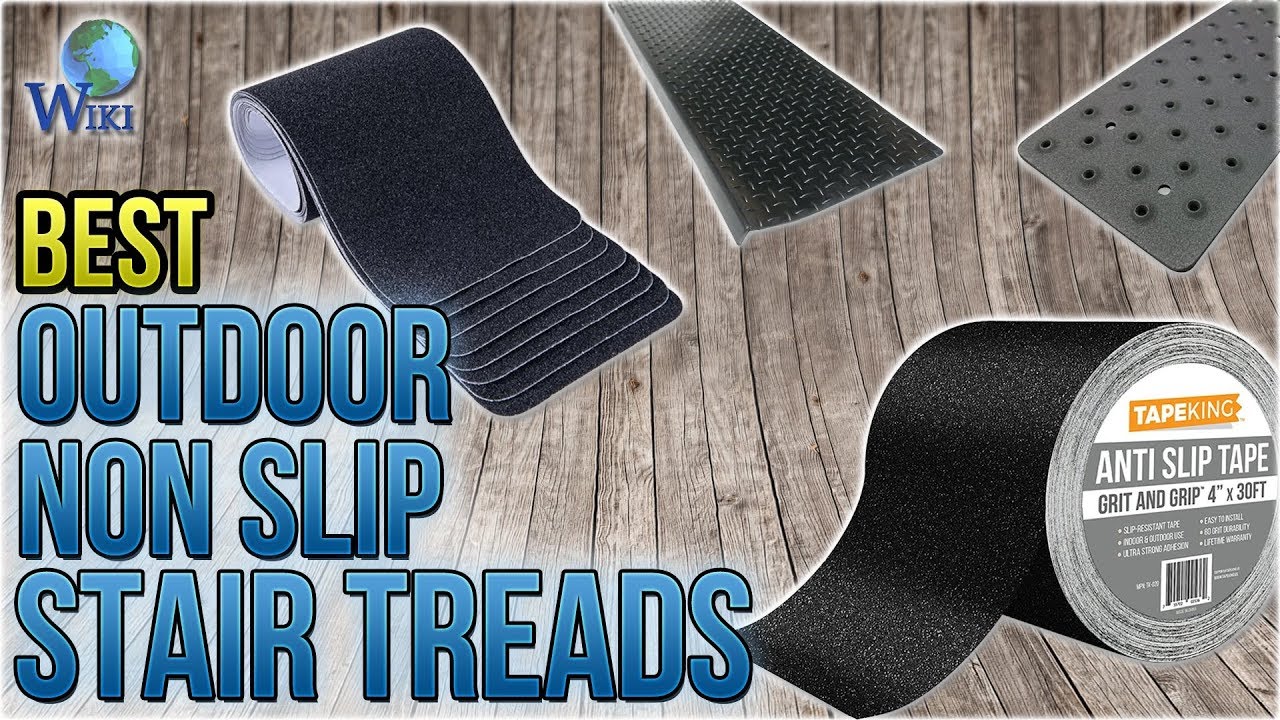
For any adhesive-backed anti-slip material, thorough surface preparation is crucial for optimal adhesion and long-term performance. Ensure the surface where the product will be applied is completely clean, dry, and free from any grime, dust, oils, or moisture. This prevents the adhesive from failing prematurely and ensures a secure bond. Examples of products requiring this meticulous preparation include anti-slip tapes like the 'Tape King Step'.
Goal: Create an ideal surface for anti-slip product adhesion.
What's used
Tools
- Cleaning cloth
- Surface cleaner
About the full video
This guide compiles information from a product review video to offer generalized steps for selecting and installing various outdoor anti-slip stair treads and tapes that predominantly utilize adhesive bonding or are made of rubberized materials. While the video primarily showcases different commercial products, these instructions extrapolate best practices for surface preparation, customization, and application of such materials for enhanced safety on stairs and walkways, adhering to the context of rubber walkway installation with adhesive bond.
Step 2 of 9: Determine Application Environment and Use
Consider where the anti-slip solution will be applied and how it will be used. Will it be exposed to direct sunlight, rain, snow, or extreme temperatures? Is it an indoor or outdoor application? What kind of substances might spill on it (e.g., grease, oil, cleaning chemicals)? What kind of traffic will it endure, and how heavy or frequent will it be? Understanding these factors is crucial for selecting a durable and effective solution.
Every video in How to Choose Between Carpet Treads, Grip Tape and Anti-Slip Coatings
Step 1: Assess Surface Type and Condition
- 0:28–0:32 Prepare Surface for Adhesive Application
- 0:51–4:06 Apply Adhesive-Backed Anti-Slip Products
Step 2: Determine Application Environment and Use
- 0:09–0:15 Understand Anti-Slip Product Options
- 0:03–0:16 Understand Anti-Slip Standards and Product
- 0:28–0:32 Prepare Surface for Adhesive Application (this video)
Step 3: Compare Anti-Slip Solution Options
- 0:09–0:15 Understand Anti-Slip Product Options
- 1:47–1:57 Ensure Drainage and Durability
- 0:46–0:59 Spray Clear Anti-Slip Coating
Step 4: Select Primary Anti-Slip Solution
- 0:46–0:59 Spray Clear Anti-Slip Coating
- 2:27–3:10 Apply Paint to Stairs
- 0:09–0:15 Understand Anti-Slip Product Options
Step 5: Prepare Surface for Selected Solution
- 0:00–0:20 Clean and Prepare Stair Surface
- 0:28–0:32 Prepare Surface for Adhesive Application
- 0:02 Prepare Stair Surface
Step 6: Install Carpet Treads (if selected)
- 0:16–0:21 Apply Peel-and-Stick Carpet Treads
- 1:16–2:09 Install Carpet Treads with Adhesive
- 0:06–0:14 Install Carpet Treads
Step 7: Apply Grip Tape (if selected)
- 3:46–6:05 Apply Grip Tape to the Deck
- 2:18–5:35 Apply Grip Tape to the Deck (Dry Method)
- 5:14–5:43 Apply Grip Tape
Step 8: Apply Anti-Slip Coating (if selected)
- 0:33–0:39 Apply Tuff Grip Anti-Slip Coating
- 0:18–0:45 Apply the Non-Skid Coating
- 0:26–0:28 Apply Anti-Skid Paint
Step 9: Cure and Inspect
How to Choose Between Carpet Treads, Grip Tape and Anti-Slip Coatings
Outline the process for evaluating and selecting the most suitable anti-slip solution among carpet treads, grip tape, and coatings for a given surface and application.
Read the full guide Browse all guides
Planning this project? Shop Oak Valley Designs.

Subscribe for exclusive updates
Be the first to know about promotions, new products, and sales.