
Attaching Tread Boards
From Deck Stairs · Step 6 of 8 · Video by Everyday Home Repairs
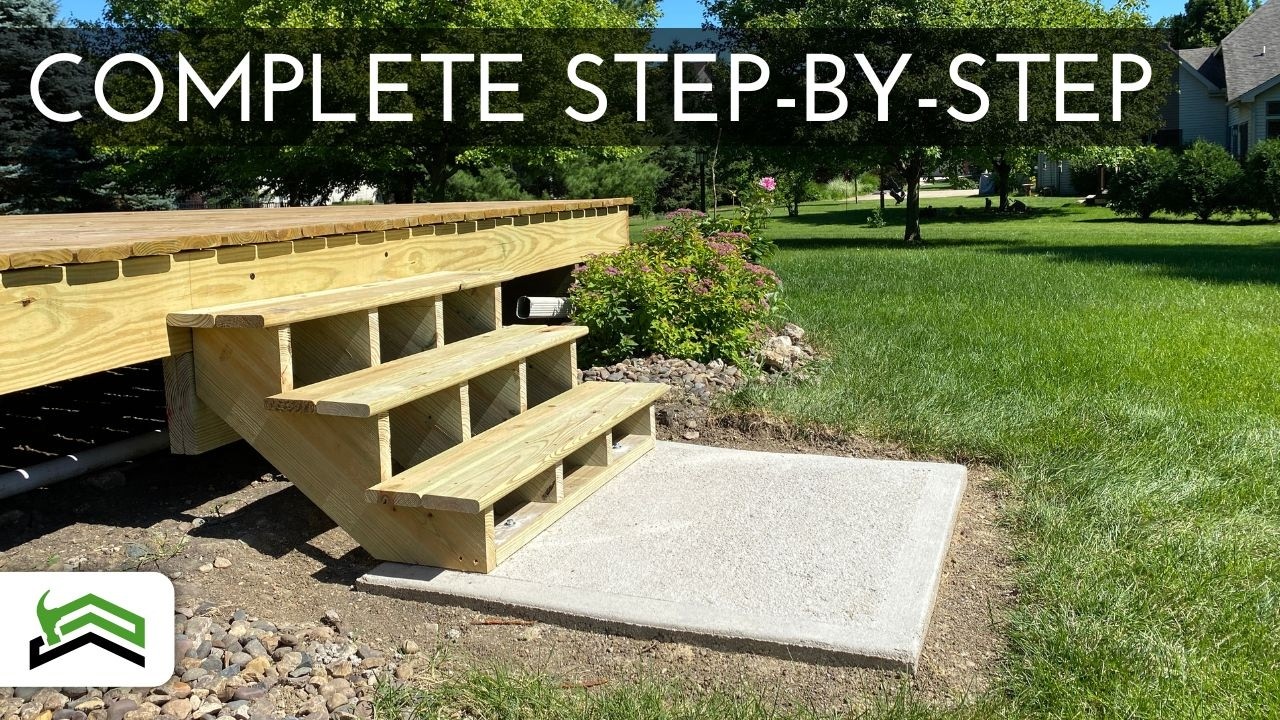
Showing 11:12–11:54 of the source video.
What happens in this clip
With the stringers securely in place, it's time to attach the tread boards. Position the first tread board onto the top step of the stringers, ensuring a 1-inch overhang as planned. Use a cordless drill and appropriate deck screws to fasten the tread board securely to the stringers. Repeat this process for each step, ensuring each tread is evenly spaced and aligned. Once all tread boards are installed, the stairs are complete and ready for use.
Goal: Install the deck boards onto the stringers to complete the stairs.
What's used
Tools
- Cordless Drill
- Deck Screws
- Measuring Tape
- Pencil
- Tread Boards
About the full video
This project provides detailed, step-by-step instructions for constructing a set of wooden stairs for a deck. It covers crucial initial measurements like rise and run, preparing the deck's rim joists for stringer attachment, marking and cutting stair stringers from 2x12 pressure-treated lumber using specific tools, and finally, assembling and securing the stairs to both the deck and a landing pad.
Step 6 of 8: Install Treads
Place the first tread board onto the front of the stringers, ensuring it overhangs slightly at the front and sides as desired. Secure the tread to the stringers using deck screws, driving them through the tread and into the stringer support. Continue installing subsequent treads, ensuring they are level and evenly spaced, with a consistent overhang.
Other videos for this step
Deck Stairs
This project outlines the process of building deck stairs using pre-cut stringers. It covers site preparation, attaching the stringers to the deck, securing them to the ground, and installing treads and railings. Safety is paramount throughout the process, and it's recommended to consult local building codes and consider hiring a professional for complex steps.
Read the full guide Browse all guides
Planning this project? Shop Oak Valley Designs.

Subscribe for exclusive updates
Be the first to know about promotions, new products, and sales.