
Attach Treads and Risers
From Deck Stairs · Step 5 of 8 · Video by The Art of Craft
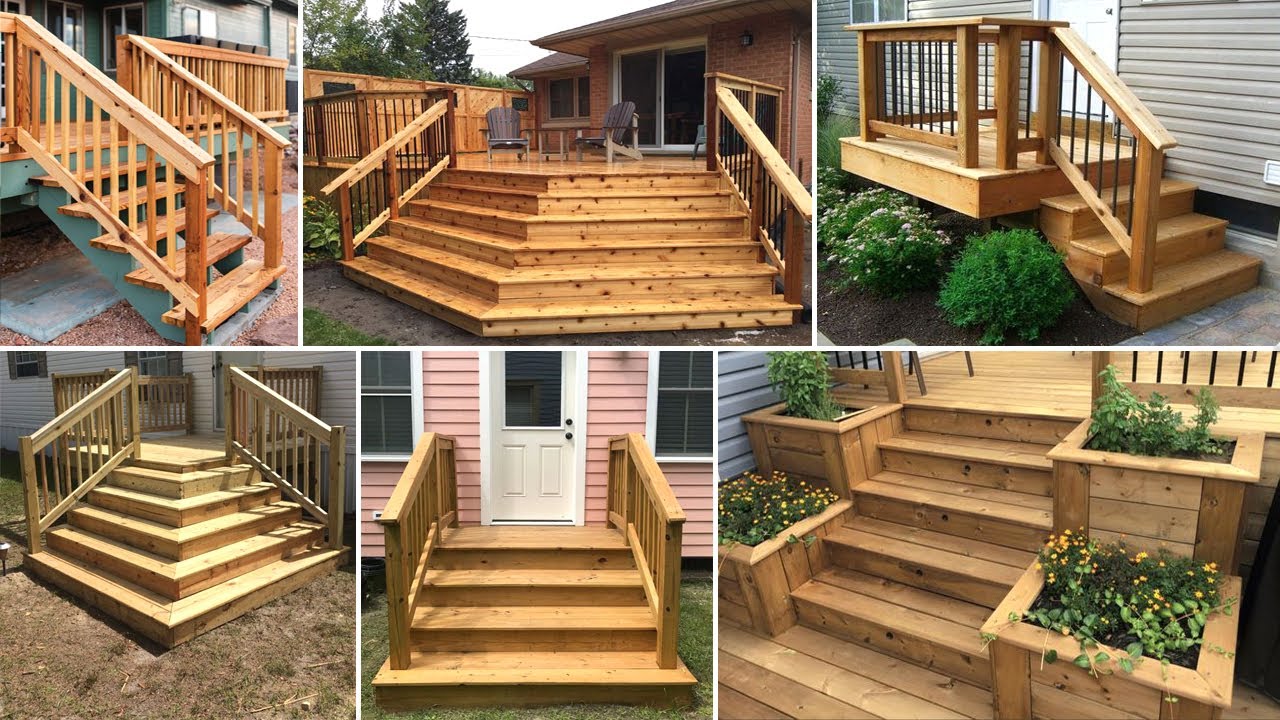
Showing 3:00–3:09 of the source video.
What happens in this clip
With the stringers firmly in place, the next step is to attach the treads and risers to complete the stair structure. Cut the pressure-treated lumber for the treads (the flat surfaces you step on) and risers (the vertical panels between treads, or optional if open-riser design is preferred). Carefully fit and fasten each tread and riser securely to the stringers, ensuring they are evenly spaced and perfectly level. Use weather-resistant fasteners to guarantee a strong and lasting connection, creating a safe and consistent stepping surface for the entire staircase.
What's used
Tools
- Circular Saw or Miter Saw
- Drill/Driver
- Level
Materials
- Galvanized or Exterior-Grade Deck Screws/Nails
- Pressure-Treated Lumber (for treads and risers)
About the full video
This project provides general guidance for constructing durable and weather-resistant outdoor deck steps using pressure-treated wood. It covers the essential steps from initial planning and measurement to gathering materials, installing a stable foundation with footings, framing the steps with stringers, attaching treads and risers, and finally incorporating safety and aesthetic features like handrails, balusters, and lighting.
Step 5 of 8: Cut and Attach Risers (Optional)
If desired, measure and cut pieces of wood to fit vertically between each tread. These are the risers. Attach them securely to the front of each tread support on the stringer, using screws or nails. Ensure they are level and evenly spaced.
Other videos for this step
Deck Stairs
This project outlines the process of building deck stairs using pre-cut stringers. It covers site preparation, attaching the stringers to the deck, securing them to the ground, and installing treads and railings. Safety is paramount throughout the process, and it's recommended to consult local building codes and consider hiring a professional for complex steps.
Read the full guide Browse all guides
Planning this project? Shop Oak Valley Designs.

Subscribe for exclusive updates
Be the first to know about promotions, new products, and sales.