Remove Damaged Trim
From Stair Skirt Boards and Trim Refresher · Step 1 of 10 · Video by The Honest Carpenter
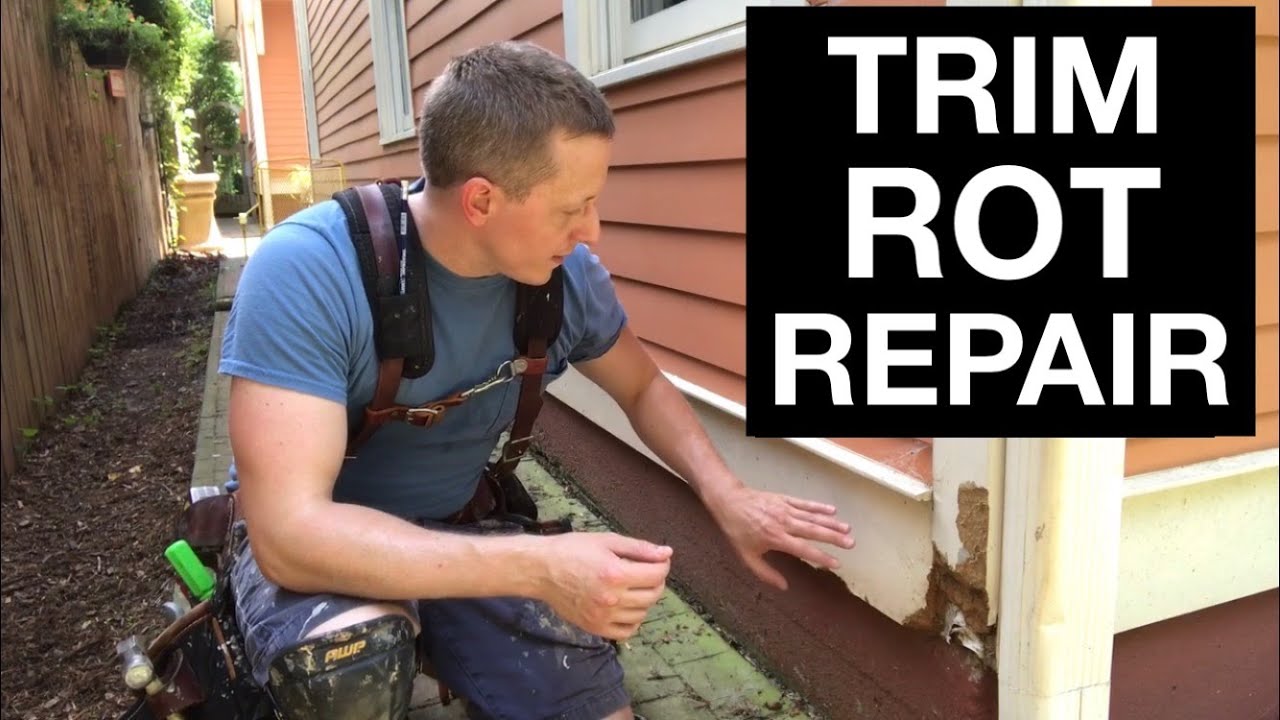
Showing 2:23–3:43 of the source video.
What happens in this clip
After the cuts are made, carefully begin prying out the damaged trim pieces. Use a 5-in-1 painter's tool (or similar prying tool) to gently separate the boards from the wall. Listen for any stress in the surrounding lumber or siding to avoid accidental damage. Once partially pulled out, switch to a claw hammer to fully remove the skirt board. If nails remain partially pried, carefully pull them out using the hammer's claw or bend them down to prevent injury before discarding the old trim. For the corner board, if it's very deteriorated, you might be able to get behind it and pry it out in one large chunk. Remove any nails remaining in the wall using a nail puller to ensure the new pieces sit flush.
Goal: Safely remove the cut sections of the skirt board and corner board
What's used
Tools
- 5-in-1 Painter's Tool
- Pry bar
- Claw Hammer
- Nail Puller
- End nippers
About the full video
This project provides detailed instructions on how to repair damaged exterior trim, specifically focusing on a rotted skirt board and a section of the corner board. The repair involves cutting out the compromised sections, preparing new treated wood replacements, sealing exposed end grain, back priming the new pieces for enhanced weather resistance, and then installing, caulking, and painting the new trim for a seamless and durable finish.
Step 1 of 10: Remove Old Skirt Boards
Begin by inserting a putty knife between the skirt board and the wall to break any paint seal. Then, slide a pry bar into the gap and gently lever the skirt board away from the wall, working in sections. Use a second putty knife or a thin piece of wood to protect the wall surface from the pry bar. Continue this process along the entire length of the skirt board and any associated trim until it is completely detached.
Other videos for this step
Stair Skirt Boards and Trim Refresher
This project involves removing old stair skirt boards and trim, preparing the wall and stairs, and installing new skirt boards and trim for a refreshed look. It includes measuring, cutting, fitting, fastening, and finishing the new trim pieces.
Read the full guide Browse all guides
Planning this project? Shop Oak Valley Designs.