
Mount LED Strip and Consider Extrusion
From How to Connect LED Light Strips to a Controller and Power Supply · Step 4 of 4 · Video by TIGER POWER SUPPLIES
Showing 6:21–7:00 of the source video. Watch the full video with every moment.
What happens in this clip
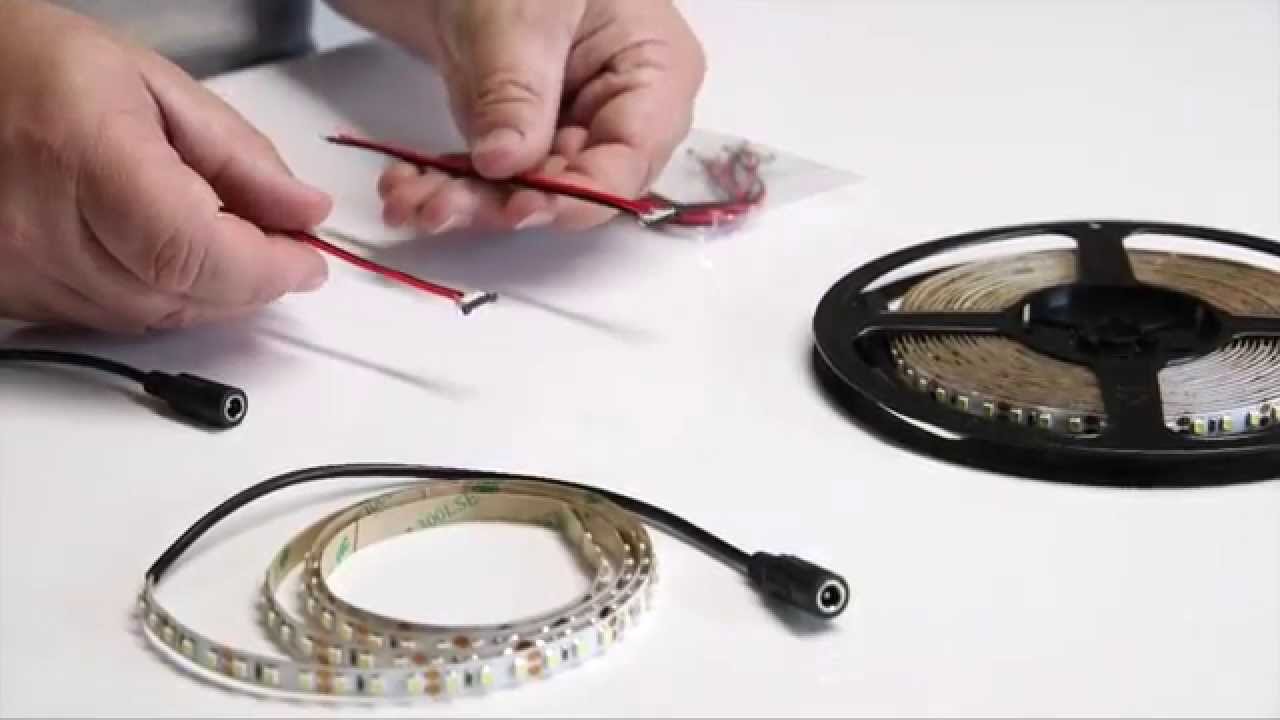
For mounting, non-waterproof LED strips typically come with a sticky tape backing. Peel off this backing and firmly press the LED strip onto a clean, flat surface such as wood, metal, or plastic. For a more professional finish and enhanced product longevity, consider using aluminum extrusion. Aluminum extrusion helps protect the LED strip, diffuses the light, and aids in heat dissipation, which is crucial for the long life of the LEDs.
Goal: Securely install the LED strip and explore options for improved aesthetics and durability.
What's used
Tools
- Aluminum Extrusion
- diffusing light
- and aiding in heat management.
- Non-waterproof LED Strip
About the full video
This project provides comprehensive instructions on how to cut, connect, and properly power LED light strips for various DIY applications. It covers essential safety guidelines, different connection methods (clip-on connectors and soldering), and crucial power supply calculations to ensure longevity and prevent damage to the LED strips.
Step 4 of 4: Mount LED Strips and Controller
For LED light strips with an adhesive backing, ensure the mounting surface is clean, dry, and smooth. Remove the protective film from the adhesive and carefully press the strip into place, applying firm pressure along its entire length. If the adhesive is not sufficient, consider using mounting clips or double-sided tape designed for heavier-duty applications. For the controller, mount it in a convenient and accessible location, preferably near the power source and where the LED strips can be easily routed. Use screws, double-sided tape, or zip ties to secure the controller, ensuring it is stable and protected from damage.
Every video in How to Connect LED Light Strips to a Controller and Power Supply
Step 1: Connect LED Strips to Controller
- 0:20–0:23 Connect LED Light Strips to Controller
- 0:27–0:42 Connect LED Strips to Controller
- 4:49–5:59 Connect LED Strip to Controller
Step 2: Connect Controller to Power Supply
- 0:05–0:12 Connect LED Controller to Power Supply
- 0:23–0:34 Connect Power Adapter to LED Controller
- 0:09–0:12 Connect Power Supply to LED Controller
Step 3: Test the Lighting System
- 1:11–1:33 Power Up and Test
- 0:12–0:15 Power On and Test LED Strip
- 1:20–1:50 Power On and Initial Test
Step 4: Mount LED Strips and Controller
- 0:01–0:07 Mount the LED Strips
- 0:01–0:02 Mount the LED Controller
- 6:21–7:00 Mount LED Strip and Consider Extrusion (this video)
How to Connect LED Light Strips to a Controller and Power Supply
This project outlines the steps for connecting LED light strips to a controller and power supply for a DIY lighting setup.
Read the full guide Browse all guides
Planning this project? Shop Oak Valley Designs.

Subscribe for exclusive updates
Be the first to know about promotions, new products, and sales.