
Connect LED Strip to Controller
From How to Connect LED Light Strips to a Controller and Power Supply · Step 1 of 4 · Video by Home Automation Guy
Showing 4:49–5:59 of the source video. Watch the full video with every moment.
What happens in this clip
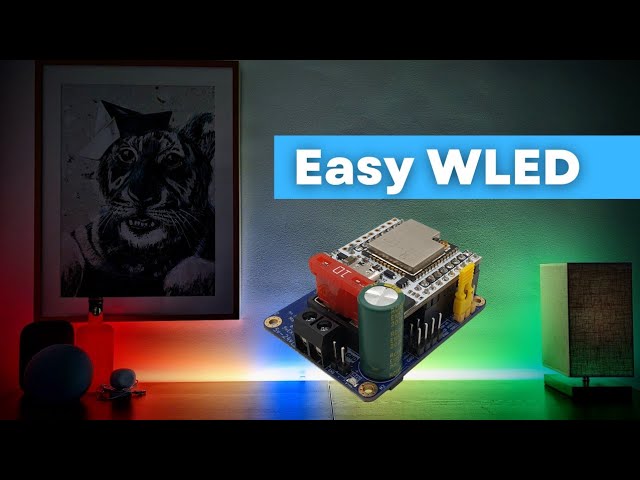
Take the wired connector clip that came with your LED strip. It typically has three wires: red for 5V positive, a colored wire (e.g., green or blue) for the data channel, and a white or black wire for ground. Pull these wires apart slightly and strip the ends. Connect the red wire to a 5V output terminal on the QuinLED controller, the data wire (green) to the data channel 1 terminal, and the ground wire (white/black) to a ground output terminal. Ensure the data wire is connected to channel 1 as recommended.
Goal: Connect the LED strip's connector to the controller's output.
What's used
Tools
- LED Strip with Wired Connector Clip
- QuinLED-Dig-Uno Controller
- Small Screwdriver
- Wire Strippers
About the full video
This project provides detailed, step-by-step instructions for installing individually addressable LED strips using a pre-assembled QuinLED-Dig-Uno controller and WLED open-source software. The guide covers wiring the power supply and LED strip to the controller, configuring the WLED software via a web interface, and physically mounting the LED strips, including a neat corner-folding technique. It also touches on integrating the setup with Home Assistant for dynamic lighting effects and notifications, all without requiring any soldering.
Step 1 of 4: Connect LED Strips to Controller
Locate the input ports on the LED controller, typically labeled for 'R', 'G', 'B', and 'W' (or similar, depending on the controller type, e.g., single color, RGB, RGBW). Identify the corresponding connectors on the LED light strips. For RGBW strips, there will be separate connections for red, green, blue, and white LEDs. For single or dual-color strips, connect the appropriate wires to the designated ports. Pay close attention to the polarity markings (+ and -) on both the controller and the strip connectors to ensure they are matched correctly. If using solderless connectors, slide the strip into the connector, ensuring the copper contacts align with the pins. If soldering, carefully solder the wires to the designated pads on the strip, again observing polarity.
Every video in How to Connect LED Light Strips to a Controller and Power Supply
Step 1: Connect LED Strips to Controller
- 0:20–0:23 Connect LED Light Strips to Controller
- 0:27–0:42 Connect LED Strips to Controller
- 4:49–5:59 Connect LED Strip to Controller (this video)
Step 2: Connect Controller to Power Supply
- 0:05–0:12 Connect LED Controller to Power Supply
- 0:23–0:34 Connect Power Adapter to LED Controller
- 0:09–0:12 Connect Power Supply to LED Controller
Step 3: Test the Lighting System
- 1:11–1:33 Power Up and Test
- 0:12–0:15 Power On and Test LED Strip
- 1:20–1:50 Power On and Initial Test
Step 4: Mount LED Strips and Controller
- 0:01–0:07 Mount the LED Strips
- 0:01–0:02 Mount the LED Controller
- 6:21–7:00 Mount LED Strip and Consider Extrusion
How to Connect LED Light Strips to a Controller and Power Supply
This project outlines the steps for connecting LED light strips to a controller and power supply for a DIY lighting setup.
Read the full guide Browse all guides
Planning this project? Shop Oak Valley Designs.

Subscribe for exclusive updates
Be the first to know about promotions, new products, and sales.