
Fill Screw Holes with Wood Putty
From How to Stop a Stair Tread from Creaking and Shifting · Step 5 of 5 · Video by Teho Fix
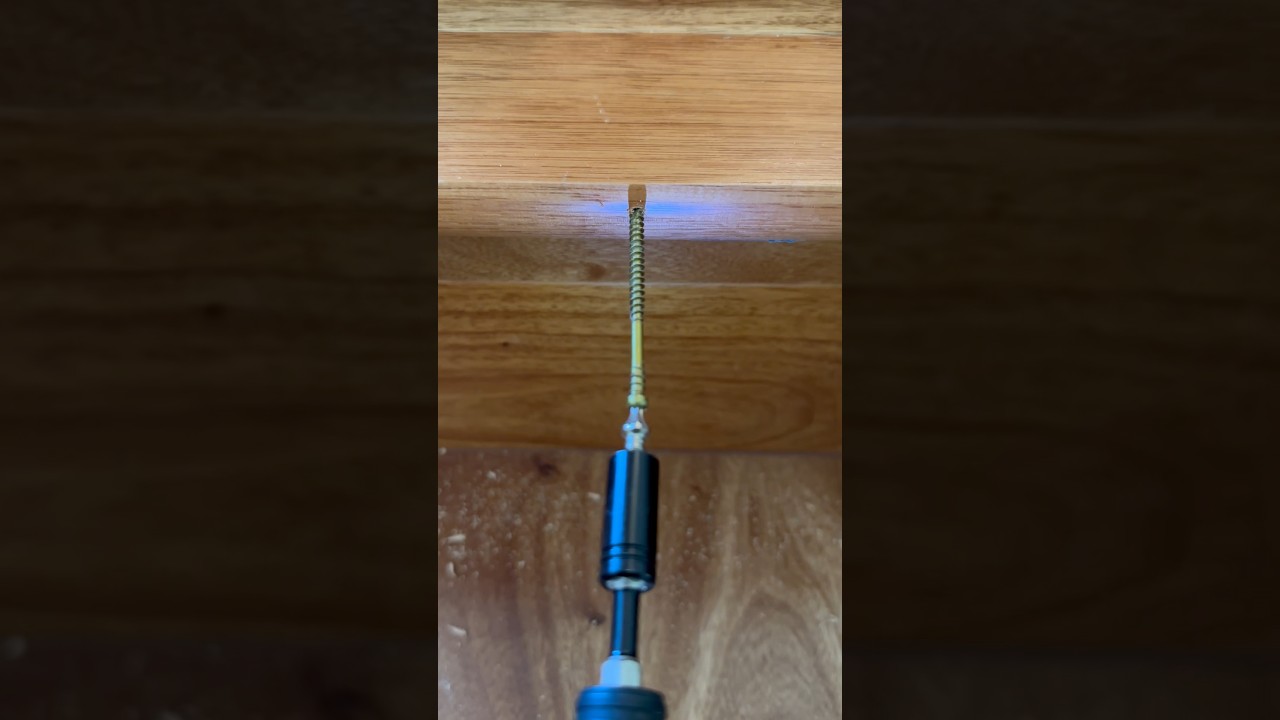
Showing 0:22–0:30 of the source video. Watch the full video with every moment.
What happens in this clip
After the stair nosing is securely fastened, use color-matched wood putty to fill all the visible screw holes. Apply the putty with a putty knife or your finger, pressing it firmly into each hole and smoothing the surface to match the surrounding wood. This step conceals the fasteners and restores a clean, finished appearance to the nosing.
Goal: Conceal the screw holes in the stair nosing
What's used
Tools
- Putty Knife
Materials
- Minwax Wood Putty Minwax
- Elmer's Wood Filler
About the full video
This DIY project details how to fix a loose and dangerous stair nosing by drilling pilot holes, securely fastening it to the tread with trim head screws, and then concealing the screw holes with color-matched wood putty for a solid and finished look.
What's said in this clip
along the front of the nosing Use trim head screws to fasten the nosing to the treads Use color-matched wood putty to fill all of the holes in the stair-nosing Finished solid is a rock. Thanks for watching
Automatically transcribed from the source video.
Step 5 of 5: Fill Screw Holes and Finish
After all repairs are complete and the adhesive has dried, fill any visible screw or nail holes. Use a wood putty or wood filler that matches the color of your stair tread. Apply the filler with a putty knife, pressing it into the holes. Once the filler is dry, sand it smooth so it is flush with the surrounding wood. If necessary, touch up the area with matching wood stain or paint.
Every video in How to Stop a Stair Tread from Creaking and Shifting
Step 1: Inspect the Stair Tread
- 2:21–3:48 Diagnose Creaking Causes
Step 2: Secure Loose Tread Edges
- 6:29–7:31 Drive Screws to Secure Tread to Riser
- 6:13–6:27 Secure Front Treads with Screws
- 5:17–6:11 Fasten New Treads with Screws
Step 3: Address Gaps with Shims and Adhesive
- 6:22–6:49 Apply 5-Minute Wood Adhesive
- 6:40–7:13 Apply Wood Glue (Back Risers)
- 2:05–4:08 Reinforce Risers and Treads with Adhesive and Timber
Step 4: Reinforce with Stair Tread Repair Brackets
- 4:51–8:26 Fix with Heavy-Duty Stair Angle Brackets (Method 2)
- 0:15–2:32 Fix with A35 Brackets (Method 1)
- 0:33–0:58 Utilize Prefabricated Metal Brackets
Step 5: Fill Screw Holes and Finish
- 0:22–0:30 Fill Screw Holes with Wood Putty (this video)
- 1:40–2:44 Prepare Surface by Filling Holes
- 4:25–4:47 Fill Gaps and Nail Holes
Questions about How to Stop a Stair Tread from Creaking and Shifting
How difficult is it to fix a creaking stair tread, and how long should it take for a beginner?
This DIY project is considered beginner-friendly. Most individuals can complete the repair for one or two treads within approximately 3 hours, including inspection, repair, and basic finishing. The main challenges are accurately locating the source of the creak and working in tight spaces.
What are the most crucial tools or materials I absolutely shouldn't skip for this project?
While a hammer and drill are basic, don't skip wood glue/epoxy and shims, as these directly address gaps causing creaks. A countersink set ensures screws sit flush and prevent wood splitting. Stair tread repair brackets are also highly effective for providing long-term stability and should be used if the tread shifts significantly.
What are common mistakes people make when trying to fix a creaking stair and how can I avoid them?
A common mistake is not fully identifying all points of movement; thoroughly inspect with a flashlight. Another is overtightening screws, which can split the wood. Ensure shims are snug but not forced, and use ample wood glue to secure them. Not using a countersink drill bit for screws can also lead to an uneven finish or exposed screw heads.
Are there any safety precautions I should take when working on stairs?
Always ensure the stairs are clear of clutter and well-lit. If you are working on a main staircase, consider blocking it off temporarily to prevent anyone from stepping on unstable treads during the repair. Wear appropriate safety glasses when drilling or using a chisel to protect your eyes from debris.
My stair tread is severely damaged, or the creaking returns after trying this fix. What should I do next?
If a tread is severely damaged, rotting, or the creaking persists after a thorough repair, it might indicate a larger structural issue with the stringers or risers supporting the stairs. In such cases, this DIY fix might not be sufficient, and it's best to consult a professional carpenter or stair builder for a more comprehensive assessment and repair.
How do I pinpoint the exact location of the creak and know where to apply shims or screws?
Have someone slowly walk up and down the stairs while you listen closely and visually inspect for movement in the tread, riser, or stringer. Use a flashlight to look underneath the tread for gaps between the tread and the stringers or risers. The areas with visible movement or audible creaks are where shims, adhesive, or screws should be applied.
How to Stop a Stair Tread from Creaking and Shifting
Outline for a DIY project to fix a creaking and shifting stair tread.
Read the full guide Browse all guides
Planning this project? Shop Oak Valley Designs.

Subscribe for exclusive updates
Be the first to know about promotions, new products, and sales.