
Calculate Rise and Run
From How to Lay Out a Stair Stringer with a Framing Square · Step 3 of 6 · Video by Building and DIY
Showing 0:29–1:07 of the source video. Watch the full video with every moment.
What happens in this clip
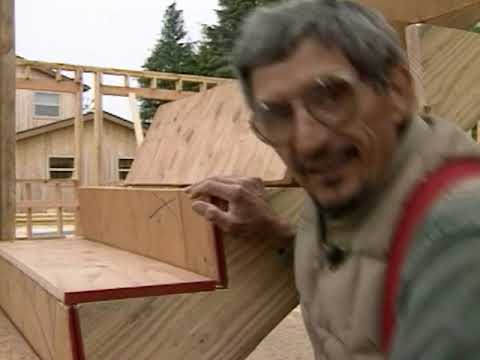
Using the total rise measurement (109 inches), calculate the individual rise and run for each step. Start by dividing the total rise by a standard comfortable riser height (e.g., 7 inches). This gives an approximate number of risers (109 / 7 = 15.5). Since you can't have half a riser, round to the nearest whole number (15 risers). Divide the total rise by the number of risers to get the exact individual riser height (109 / 15 = 7.26 inches, or approximately 7 1/4 inches). Then, determine the run (tread depth). A common rule for comfortable stairs is that the rise plus the run should total between 17 and 18 inches. With a 7 1/4 inch rise, a 10-inch run gives 17 1/4 inches, which is within the comfortable range.
Goal: Determine the precise dimensions for each individual step (rise and run)
About the full video
This project provides a step-by-step guide on how to build a flight of straight stairs, including measuring the total rise, calculating individual step dimensions, laying out and cutting stringers, installing structural supports, and finally installing the risers and treads.
Step 3 of 6: Calculate Riser and Tread Dimensions
Now that you have the exact number of risers and treads, calculate the precise height for each riser and the depth for each tread. Divide the total rise by the number of risers to get the exact riser height. For example, if your total rise is 108 inches and you've decided on 15 risers, each riser will be 108 / 15 = 7.2 inches. To determine the tread depth (also known as going), divide the total run by the number of treads. Ensure that the tread depth meets local building code requirements, which typically range from 9 to 10 inches for comfortable use. The sum of one riser height and one tread depth should ideally be between 17 and 18 inches for comfortable walking.
Every video in How to Lay Out a Stair Stringer with a Framing Square
Step 1: Determine Total Rise and Run
- 0:15–0:29 Measure Total Rise
- 0:16–1:17 Measure and Calculate Total Rise
- 0:04–0:30 Measure Total Rise
Step 2: Calculate Number of Risers and Treads
- 2:59–6:51 Calculate Number of Risers and Treads
- 0:32–0:54 Calculate Number of Risers
- 8:59–9:54 Calculate Number of Risers and Treads
Step 3: Calculate Riser and Tread Dimensions
- 2:05–2:24 Calculate Individual Riser Height & Tread Depth
- 0:29–1:07 Calculate Rise and Run (this video)
- 3:02–4:45 Calculate Rise and Run Dimensions
Step 4: Mark the Stair Stringer with a Framing Square
- 2:53–7:59 Mark the Stringers and Adjust for Treads
- 6:42–8:10 Lay Out the Stringer Using a Framing Square
- 6:59–9:34 Mark the Stair Stringer for Cutting
Step 5: Mark the Nosing and Final Cut
- 3:45–4:47 Correct Straight Stringer Layout
- 8:10–9:35 Mark Top and Bottom Stringer Cuts
- 3:10–3:59 Mark the Stringer Board
Step 6: Cut the Stair Stringer
- 0:42–0:53 Cut the Stringers
- 15:12–19:27 Cutting the Stair Stringer
- 2:42–3:34 Cut Stair Stringers
How to Lay Out a Stair Stringer with a Framing Square
This project outlines the process of accurately marking and laying out a stair stringer using a framing square, a crucial step for ensuring safe and correctly proportioned stairs.
Read the full guide Browse all guides
Planning this project? Shop Oak Valley Designs.

Subscribe for exclusive updates
Be the first to know about promotions, new products, and sales.