
Remove Old Balusters and Clean Area
From Baluster Replacement · Step 2 of 6 · Video by NuStair
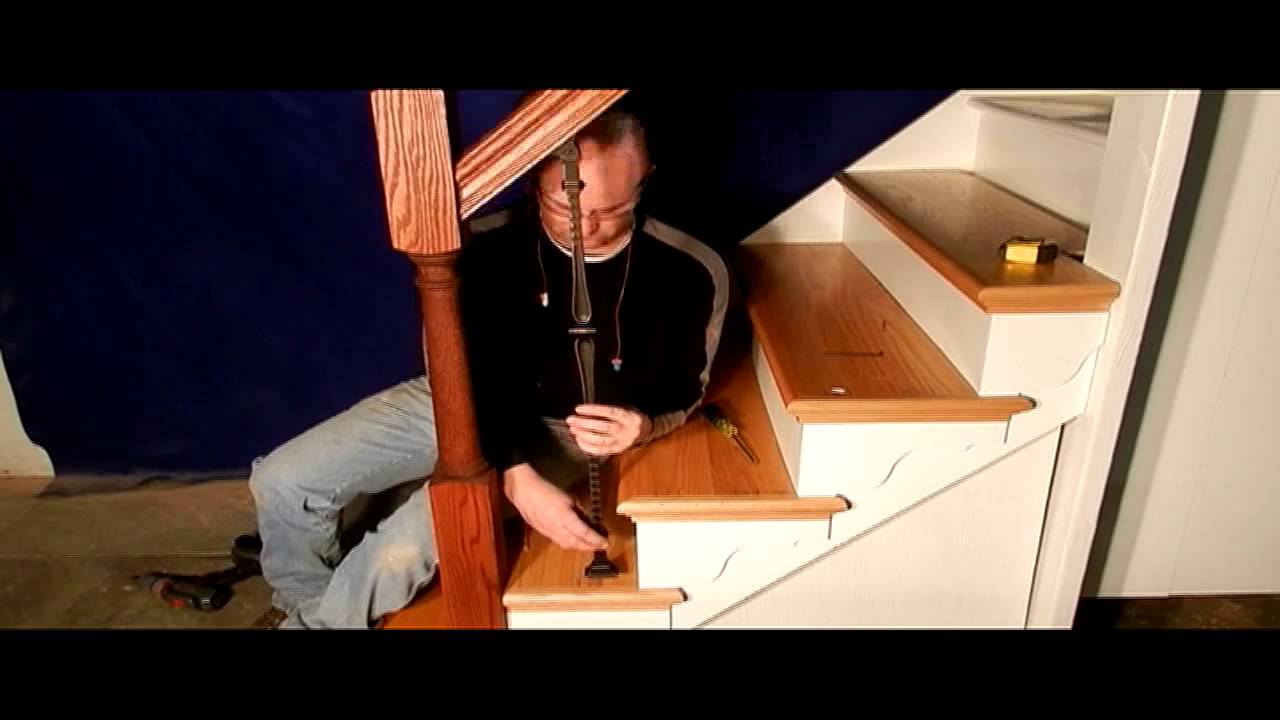
Showing 0:08–0:23 of the source video.
What happens in this clip
Begin the installation process by removing any existing balusters from the railing system. This may involve prying them out, cutting them, or unscrewing them depending on their original installation method. After removal, carefully inspect the handrail and stair tread for any remaining nails, glue, or debris and remove them using pliers or a utility knife to ensure a clean surface for the new hardware.
Goal: Clear the handrail and stair tread for new balusters
What's used
Tools
- Pliers
- Pry bar
- Utility Knife
- Scraper
About the full video
This project provides step-by-step instructions for installing adjustable balusters, which are a type of decorative and functional vertical support commonly used in stair railings. The process involves removing old balusters, carefully measuring and cutting new balusters to fit, and then securing them in place using specialized top and bottom hardware with set screws for a secure and aesthetically pleasing finish.
Step 2 of 6: Remove Existing Balusters
Gently pry off any decorative caps or trim that might be covering the baluster attachment points. Use a pry bar or chisel to carefully loosen the balusters from their secured positions, working from the top and bottom. If balusters are glued or screwed, you may need to cut them into smaller pieces for easier removal. Be cautious not to damage the surrounding railing or stair components.
Other videos for this step
Baluster Replacement
This project involves removing existing wooden balusters and installing new wrought iron balusters for a staircase or railing. The process typically includes measuring, cutting, and securely attaching the new balusters while ensuring they meet safety and code requirements.
Read the full guide Browse all guides
Planning this project? Shop Oak Valley Designs.

Subscribe for exclusive updates
Be the first to know about promotions, new products, and sales.