
Measure and Mark Baluster for Cutting
From Baluster Replacement · Step 1 of 6 · Video by NuStair
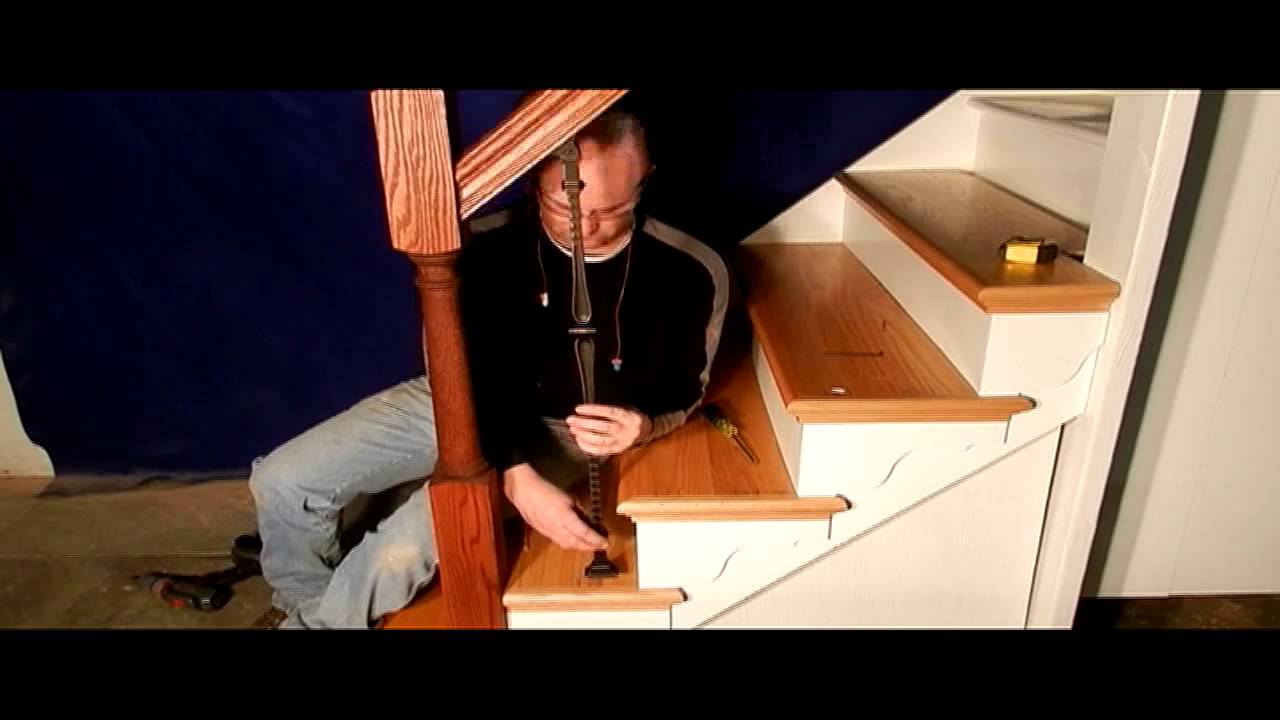
Showing 0:24–0:40 of the source video.
What happens in this clip
Take one of the new adjustable balusters and position it in the location where it will be installed. Hold it vertically between the handrail and the stair tread, ensuring it is centered. Using a pencil, mark the top and bottom points of the baluster where it meets the handrail and tread. These marks will serve as references for the cut. According to the instructions, measure 0.5 inches below the top mark for the actual top cut line and 1.5 inches above the bottom mark for the actual bottom cut line. This accounts for the space needed by the hardware.
Goal: Determine precise cut lines for the baluster
What's used
Tools
- Adjustable Baluster
- Pencil
- Tape Measure Stanley
About the full video
This project provides step-by-step instructions for installing adjustable balusters, which are a type of decorative and functional vertical support commonly used in stair railings. The process involves removing old balusters, carefully measuring and cutting new balusters to fit, and then securing them in place using specialized top and bottom hardware with set screws for a secure and aesthetically pleasing finish.
Step 1 of 6: Measure Existing Balusters
Select an average-sized wooden baluster and carefully measure its total length from the top to the bottom. This measurement will be crucial for cutting the new balusters to the correct size.
Other videos for this step
Baluster Replacement
This project involves removing existing wooden balusters and installing new wrought iron balusters for a staircase or railing. The process typically includes measuring, cutting, and securely attaching the new balusters while ensuring they meet safety and code requirements.
Read the full guide Browse all guides
Planning this project? Shop Oak Valley Designs.

Subscribe for exclusive updates
Be the first to know about promotions, new products, and sales.