
Prepare LED Strips
From Staircase Lighting · Step 2 of 7 · Video by Smart Bright LEDs
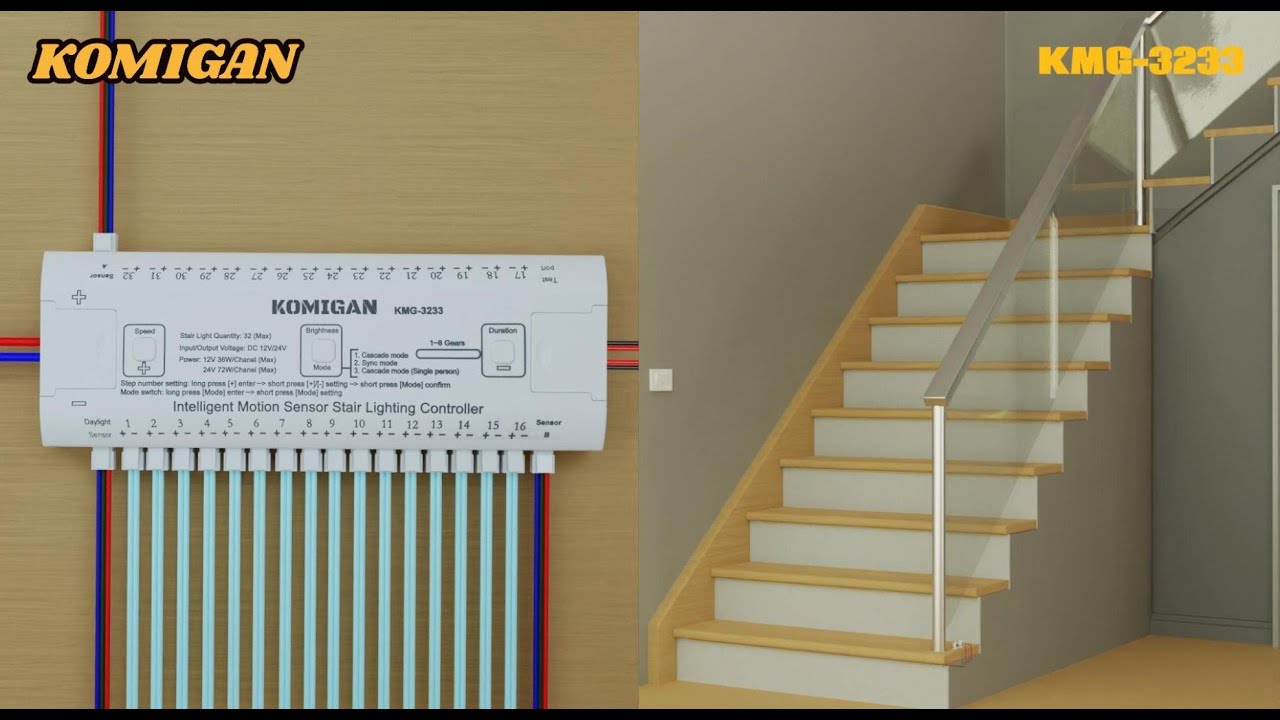
Showing 0:01–0:09 of the source video.
What happens in this clip
Begin by measuring the length of each stair tread where the LED strips will be installed. Once measured, cut the flexible LED strips to the appropriate length. The video shows cutting the strip at marked intervals, indicated by '+ DC12V' and '-' symbols. After cutting, carefully remove the adhesive backing from the LED strips, exposing the sticky surface for mounting. Repeat this process for all stair treads.
Goal: Measure, cut, and prepare LED strips for installation.
What's used
Tools
- Measuring Tape
- Yardstick
- Scissors
Materials
- LED Strips Komigan
About the full video
This project provides detailed instructions on how to install a motion-activated LED lighting system for stairs, featuring individual LED strips for each step, motion sensors at the top and bottom of the staircase, a daylight sensor, and manual override switch panels. The system is controlled by a central intelligent motion sensor stair lighting controller and powered by a 12V DC power supply.
Step 2 of 7: Cut LED Strips to Length
Based on your layout plan, measure and cut the LED strips to the appropriate length for each stair tread. Most LED strips have designated cut marks; ensure you cut only at these points to avoid damaging the circuitry. You will likely need to cut multiple strips, one for each stair.
Other videos for this step
Staircase Lighting
This project involves installing motion-activated LED strip lights on a staircase to provide automatic illumination and enhance safety and ambiance. The process includes planning the layout, selecting appropriate materials, wiring the lights and sensors, and mounting the components.
Read the full guide Browse all guides
Planning this project? Shop Oak Valley Designs.

Subscribe for exclusive updates
Be the first to know about promotions, new products, and sales.