
Final Wiring and Installation
From Staircase Lighting · Step 7 of 7 · Video by LEDOF
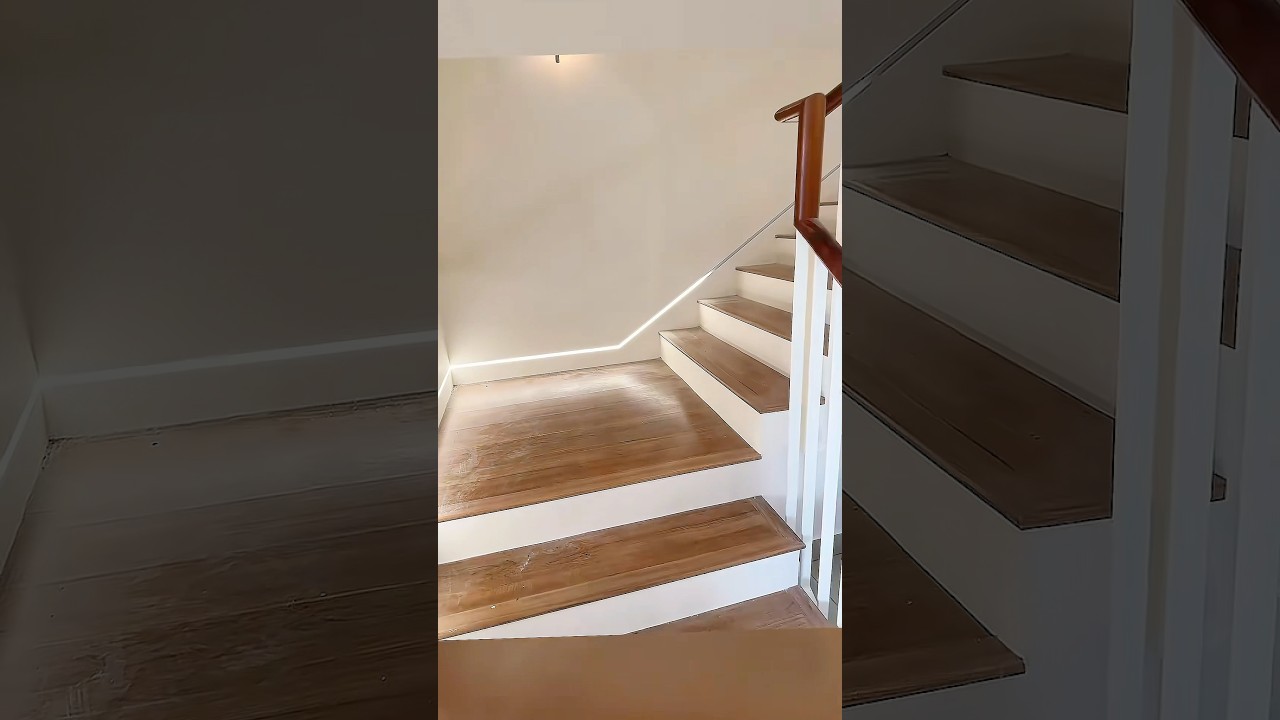
Showing 0:11–0:18 of the source video.
What happens in this clip
After all components are tested and confirmed working, proceed with the final wiring and concealment of the power supply, controller, and motion sensors. Route all wiring discreetly behind walls or trim. Mount the power supply and controller in an accessible but hidden location, such as a closet or behind a kick plate. Install the motion sensors at appropriate heights and locations on the stairs to ensure optimal detection. Once all wiring is complete and components are secured, power on the system and enjoy your new integrated staircase lighting.
Goal: Complete all electrical connections and conceal components
What's used
Tools
- Electrical Tape
- LED Controller (tested)
- LED Power Supply (tested)
- LED Strip (installed)
- Motion Sensors (tested)
- Wire Connectors
- Wago connectors
- Terminal blocks
About the full video
This project involves installing custom LED strip lighting along the base of a staircase wall. It includes preparing the surface by removing old trim, securely attaching an LED channel, installing the LED strip and its diffuser, painting the channel to blend with the wall, and connecting the necessary electrical components like a power supply and motion sensors for an aesthetically pleasing and functional lighting solution.
Step 7 of 7: Conceal Wiring
Once you have confirmed the system is working correctly, neatly route and secure all wires. Use cable clips, raceways, or conduits to hide the wiring along the walls, under the stairs, or behind baseboards. The goal is to create a clean, professional look and prevent tripping hazards.
Other videos for this step
Staircase Lighting
This project involves installing motion-activated LED strip lights on a staircase to provide automatic illumination and enhance safety and ambiance. The process includes planning the layout, selecting appropriate materials, wiring the lights and sensors, and mounting the components.
Read the full guide Browse all guides
Planning this project? Shop Oak Valley Designs.

Subscribe for exclusive updates
Be the first to know about promotions, new products, and sales.