
Test Electrical Components
From Staircase Lighting · Step 6 of 7 · Video by LEDOF
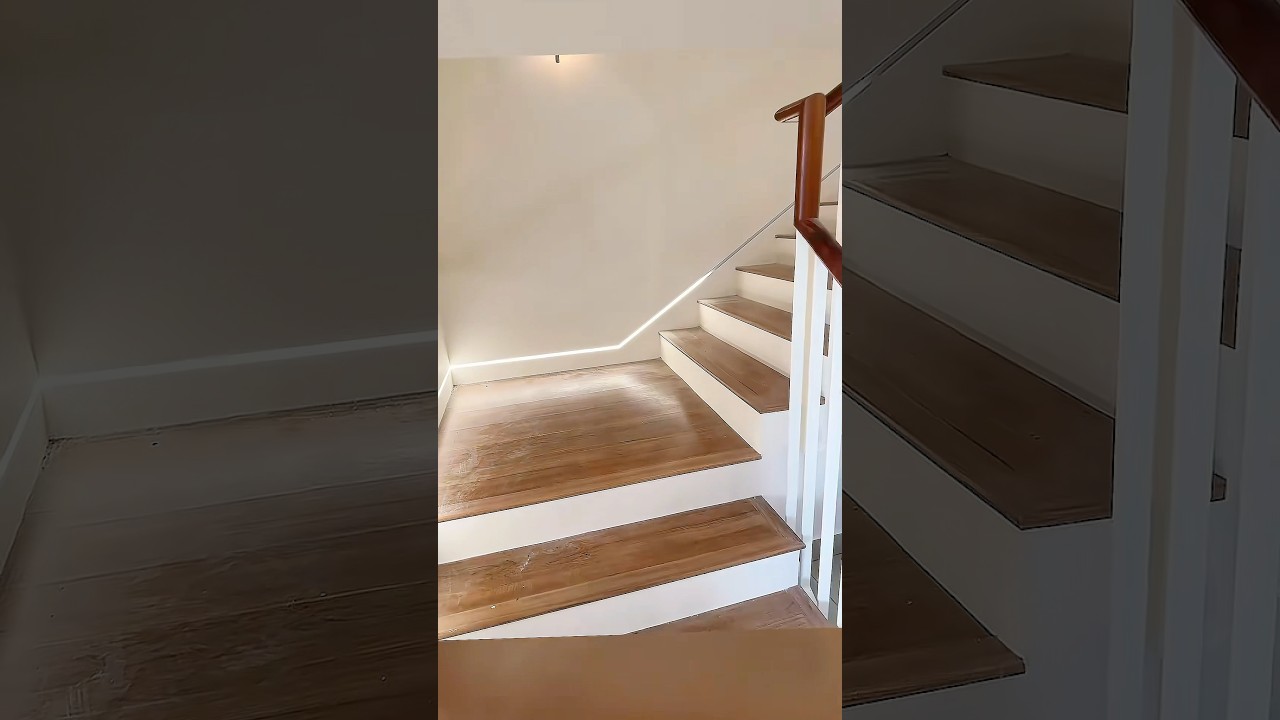
Showing 0:07–0:10 of the source video.
What happens in this clip
Before final installation, connect and test the electrical components. This includes the LED strip, the LED power supply (transformer), the LED controller, and any motion sensors. Ensure all connections are secure and the correct voltage is supplied. Temporarily power on the system to verify that the LED strip illuminates, the controller functions as expected, and the motion sensors trigger the lights. This pre-check helps identify any wiring issues before everything is permanently mounted.
Goal: Verify functionality of LED strip, power supply, and sensors
What's used
Tools
- LED Controller
- color temperature
- or on/off functions.
- LED Power Supply
- Transformer
- LED Strip
- Motion Sensors
- Radar sensors
- Multimeter
- Wire Strippers
About the full video
This project involves installing custom LED strip lighting along the base of a staircase wall. It includes preparing the surface by removing old trim, securely attaching an LED channel, installing the LED strip and its diffuser, painting the channel to blend with the wall, and connecting the necessary electrical components like a power supply and motion sensors for an aesthetically pleasing and functional lighting solution.
Step 6 of 7: Test the System
Before permanently concealing wiring, turn on the power to the system and test its functionality. Walk past the motion sensors to ensure the LED lights illuminate. Check that they turn off after the designated delay period. Troubleshoot any issues with connections or sensor sensitivity.
Other videos for this step
Staircase Lighting
This project involves installing motion-activated LED strip lights on a staircase to provide automatic illumination and enhance safety and ambiance. The process includes planning the layout, selecting appropriate materials, wiring the lights and sensors, and mounting the components.
Read the full guide Browse all guides
Planning this project? Shop Oak Valley Designs.

Subscribe for exclusive updates
Be the first to know about promotions, new products, and sales.