
Connect LED Strips (Plug-and-Play or Soldering)
From Staircase Lighting · Step 3 of 7 · Video by Chris Maher
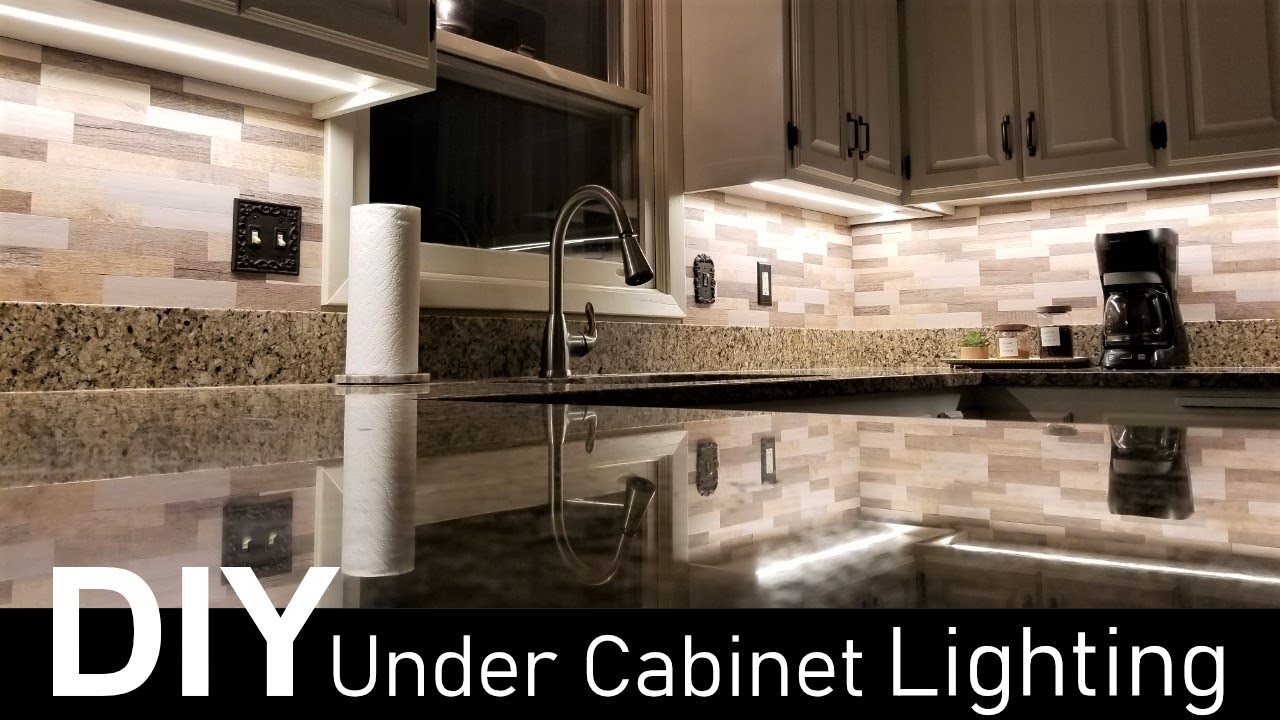
Showing 1:47–5:03 of the source video.
What happens in this clip
For connecting multiple LED strip sections, you have two main options: plug-and-play connectors or soldering. For plug-and-play, cut a strip at a cut point, insert each end of the LED strip into the transparent connector, and press down on the silver clamps with pliers to secure the connection. To connect two strips separated by a distance, insert the strip ends into the connector, then insert 18-gauge red and black wires into the other side of the connector and clamp them. For longer distances, you can extend these wires by cutting them in the middle, stripping all four ends, and using WAGO connectors to splice in additional lengths of 18-gauge silicone wires. Test the connections by temporarily plugging in the setup.
Goal: Connect individual LED strips for continuous lighting
What's used
Tools
- Helping Hands Unspecified
- Pliers (Needle-Nose) Unspecified
- Soldering Iron Unspecified
- Wire Strippers Unspecified
Materials
- 18 Gauge Silicone Wire (Red/Black) Unspecified
- COB LED Strip Unspecified
- Plug-and-Play Connectors Unspecified
- Solder Unspecified
- WAGO Connectors WAGO
- Soldering with heat shrink
About the full video
This project guides you through installing sleek and bright under-cabinet LED strip lighting in a kitchen. It covers selecting low-profile aluminum channels and high CRI COB LED strips, precise measurement and cutting, connecting LED strips using either plug-and-play connectors or soldering, and discreetly routing power and control wires for a clean, professional finish. The project includes options for dimming and various control methods.
Step 3 of 7: Connect LED Strips
Connect the cut segments of LED strips using appropriate connectors. If your strips are designed for continuous runs, you'll need to solder or use specific clip-on connectors to join them. Ensure all connections are secure and insulated to prevent short circuits. This step will create a single, continuous run of LEDs or separate runs for each stair as planned.
Other videos for this step
Staircase Lighting
This project involves installing motion-activated LED strip lights on a staircase to provide automatic illumination and enhance safety and ambiance. The process includes planning the layout, selecting appropriate materials, wiring the lights and sensors, and mounting the components.
Read the full guide Browse all guides
Planning this project? Shop Oak Valley Designs.

Subscribe for exclusive updates
Be the first to know about promotions, new products, and sales.