

How to Hang Heavy Pictures on Drywall in a Stairwell
About This Guide
This project outlines the steps for securely hanging heavy pictures on drywall in a stairwell, ensuring safety and stability. It involves selecting appropriate mounting hardware, locating studs or using heavy-duty anchors, and proper installation techniques.
Tools & Materials
Steps
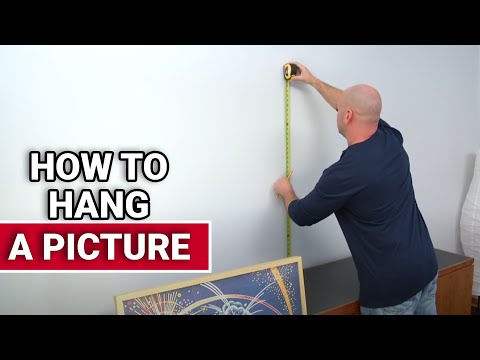
Locate Wall Studs
In a stairwell, locating wall studs is critical for securely hanging heavy pictures. Use an electronic stud finder to scan the wall surface at the desired hanging location. When the stud finder indicates a stud, mark its edges with a pencil. Repeat this process to locate all possible studs within the area where the picture will be mounted. If studs cannot be found, heavy-duty drywall anchors will be necessary.

Determine Picture Weight and Hardware Needs
First, accurately weigh the picture using a reliable scale. This weight is crucial for selecting the appropriate mounting hardware. For heavy items, it's recommended to choose hardware that is rated to support at least twice the actual weight of the picture to ensure safety and longevity. Consider D-rings and sturdy picture wire for the back of the frame, and heavy-duty screws or specialized picture hanging systems designed for significant loads. Ensure any chosen hardware is compatible with the wall material (studs or anchors).
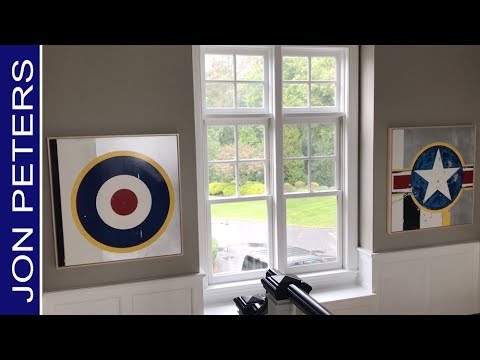
Mark Hanging Points
Determine the exact location where you want to hang the picture. Use a tape measure to mark the desired height from the floor or ceiling, and the desired horizontal center point. If you located studs, align the intended hanging points of your hardware with the center of the studs. If you are using anchors, mark the precise spots where the anchors will be installed, ensuring they are level and at the correct height for the picture. Double-check all measurements for accuracy before proceeding.

Install Hardware into Studs
At the marked locations that align with the center of the wall studs, drill pilot holes slightly smaller than the diameter of your screws. This makes driving the screws easier and prevents the wood from splitting. Then, drive your selected heavy-duty screws or appropriate picture hanging hardware directly into the studs. Ensure the screws are driven deep enough to provide a strong, stable anchor point. If using a specialized picture hanging system, follow the manufacturer's instructions for installation into studs.
Install Heavy-Duty Drywall Anchors
If you were unable to locate studs at the desired hanging points, you must use heavy-duty drywall anchors. There are various types, such as toggle bolts or screw-in anchors, designed for significant weight. Carefully follow the manufacturer's instructions for the specific type of anchor you are using. This typically involves drilling a hole of a specific size, inserting the anchor, and then securing it. Ensure the anchor is firmly seated and rated to hold well over the picture's weight.
Attach Hanging Hardware to Picture Frame
On the back of the picture frame, locate the positions for the D-rings. Typically, these are placed a few inches down from the top of the frame and towards the sides. Use the screws provided with the D-rings or appropriate wood screws to attach them securely to the frame. Once the D-rings are in place, thread the heavy-duty picture wire through them. Ensure the wire is taut but not overly tight, creating a slight arc. The length of the wire should be appropriate for the hanging hardware on the wall, allowing the picture to hang straight without excessive slack.
Hang the Picture
With assistance if the picture is very heavy, carefully lift the picture. Align the picture wire with the installed screws or hooks on the wall. Gently lower the picture, ensuring the wire is fully seated on the hardware. Give the picture a slight nudge to confirm it is stable and securely hanging. Check that the picture is level. Adjust as needed.
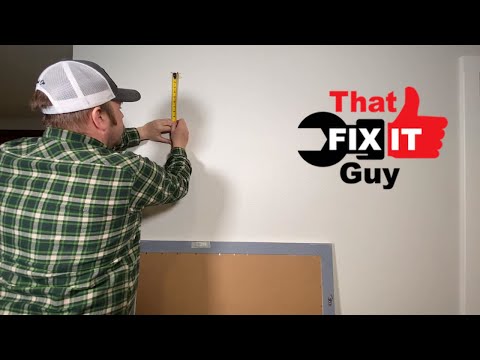
Final Check and Leveling
After hanging, step back and view the picture from a distance to ensure it is centered and positioned correctly. Use a level placed on the top edge of the frame to check if it is perfectly horizontal. Make small adjustments to the picture's position on the hanging hardware as needed until it is perfectly straight and level. Confirm that the hardware is holding the weight securely and there are no signs of strain.
Questions about your project or which product fits? Oak Valley Designs's team is happy to help. Mon–Fri 9–5 ET
Related Guides
See All



Subscribe for exclusive updates
Be the first to know about promotions, new products, and sales.