
Attach Hanging Hardware and Wire
From How to Hang Heavy Pictures on Drywall in a Stairwell · Step 6 of 8 · Video by Skate then Create
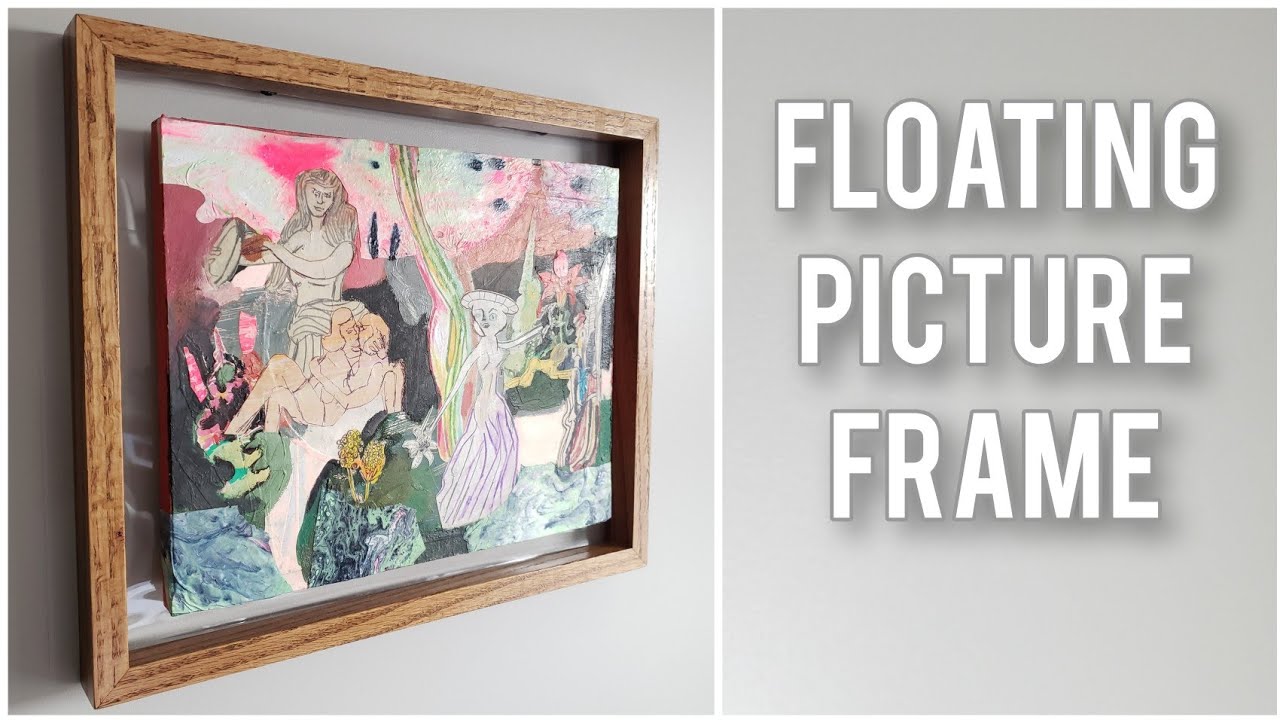
Showing 6:59–7:55 of the source video. Watch the full video with every moment.
What happens in this clip
Determine the optimal placement for the hanging hardware on the back of the frame, typically one-third of the way down from the top edge. Mark the positions for two D-rings. Drill pilot holes and then screw the D-rings securely into the wooden frame. Thread picture hanging wire through the D-rings. Use a crimping tool and metal crimps to create loops at each end of the wire, firmly attaching it to the D-rings. Ensure the wire is taut and securely fastened to create a reliable hanging mechanism.
Goal: Install D-rings onto the back of the frame, then attach and crimp hanging wire to them for secure wall mounting.
What's used
Tools
- Crimp Tool
- Drill/Driver
- Screwdriver
- Wire Cutters
Materials
- D-rings
- Metal Crimps
- Picture Hanging Wire
About the full video
This video provides a detailed guide on constructing a floating wood frame for artwork, utilizing custom jigs for precise cuts and secure anchoring techniques for wall mounting. The process covers milling the frame pieces, assembling the mitered joints, preparing and bending acrylic sheets for the 'floating' effect, and installing the artwork with hanging hardware.
Step 6 of 8: Attach Hanging Hardware to Picture Frame
On the back of the picture frame, locate the positions for the D-rings. Typically, these are placed a few inches down from the top of the frame and towards the sides. Use the screws provided with the D-rings or appropriate wood screws to attach them securely to the frame. Once the D-rings are in place, thread the heavy-duty picture wire through them. Ensure the wire is taut but not overly tight, creating a slight arc. The length of the wire should be appropriate for the hanging hardware on the wall, allowing the picture to hang straight without excessive slack.
Every video in How to Hang Heavy Pictures on Drywall in a Stairwell
Step 1: Locate Wall Studs
- 1:46–1:55 Locate Wall Studs for Heavy Frames
- 0:15–0:34 Locate Wall Studs
- 0:29–0:38 Scan for Wall Studs
Step 2: Determine Picture Weight and Hardware Needs
- 0:43–1:06 Select Appropriate Hanging Hardware
- 3:08–3:29 Mount Heavy Frames with D-Ring Hangers
- 0:39–1:17 Securely Hang Wall Art
Step 3: Mark Hanging Points
- 2:46–3:32 Mark Wall for Picture Placement
- 10:44–11:53 Hang Pictures and Final Adjustments
- 1:23–3:53 Measure and Mark Picture Placement
Step 4: Install Hardware into Studs
- 1:36–1:52 Install Nail into Stud (Heavy/Permanent)
Step 5: Install Heavy-Duty Drywall Anchors
Step 6: Attach Hanging Hardware to Picture Frame
- 0:47–1:09 Prepare Picture Wire on Frame
- 5:34–8:32 Attach Hanging Wire to D-Rings
- 6:59–7:55 Attach Hanging Hardware and Wire (this video)
Step 7: Hang the Picture
- 3:57–4:39 Hang the Picture
- 3:57–4:39 Hang the Picture
- 3:56–4:39 Hang and Level the Picture
Step 8: Final Check and Leveling
- 6:12–6:23 Final Level Check and Cleanup
- 0:42–0:49 Hang and Level Picture
- 3:56–4:39 Hang and Level the Picture
How to Hang Heavy Pictures on Drywall in a Stairwell
This project outlines the steps for securely hanging heavy pictures on drywall in a stairwell, ensuring safety and stability. It involves selecting appropriate mounting hardware, locating studs or using heavy-duty anchors, and proper installation techniques.
Read the full guide Browse all guides
Planning this project? Shop Oak Valley Designs.

Subscribe for exclusive updates
Be the first to know about promotions, new products, and sales.