
Size and Customize Anti-Slip Materials
From How to Add Grip to Stair Nosings · Step 2 of 4 · Video by Ezvid Wiki
Showing 1:10–1:11 of the source video. Watch the full video with every moment.
What happens in this clip
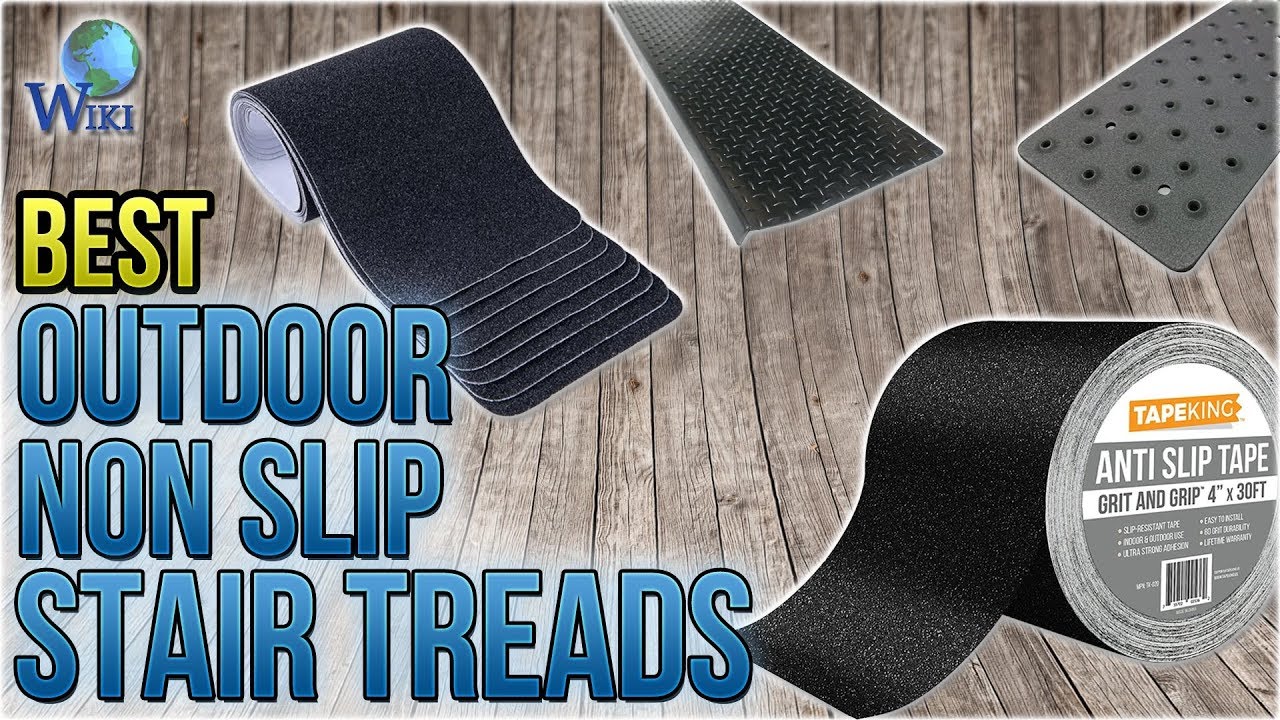
When working with anti-slip tapes or strips, it's often necessary to customize their size. Products like 'MBigM Grits' can be cut to a desired length to precisely fit individual stair treads or specific sections of a walkway. For ease of application and to minimize peeling, some products, such as 'Slip Guard Safety' strips, come pre-cut with rounded corners. Accurately measure the application area before cutting to ensure a perfect fit.
Goal: Achieve precise sizing for anti-slip materials to fit the application area.
What's used
Tools
- Measuring tape
- Scissors
- Utility knife
About the full video
This guide compiles information from a product review video to offer generalized steps for selecting and installing various outdoor anti-slip stair treads and tapes that predominantly utilize adhesive bonding or are made of rubberized materials. While the video primarily showcases different commercial products, these instructions extrapolate best practices for surface preparation, customization, and application of such materials for enhanced safety on stairs and walkways, adhering to the context of rubber walkway installation with adhesive bond.
Step 2 of 4: Prepare Anti-Slip Tape
Measure the length and width of each stair nosing. Using sharp scissors or a utility knife, cut the anti-slip tape to the measured dimensions, ensuring a snug fit without overlapping the edges of the nosing. For curved nosings, consider cutting the tape into smaller segments for a smoother application or using a flexible anti-slip tape.
Every video in How to Add Grip to Stair Nosings
Step 1: Clean Stair Nosing Surface
- 0:04–0:07 Clean the Staircase
- 0:36–0:41 Clean and Smooth Stairs
- 0:18–0:31 Clean the Stairs
Step 2: Prepare Anti-Slip Tape
- 0:20–0:25 Measure and Cut Anti-Slip Tape
- 0:02 Measure and Cut Anti-Slip Strip
- 1:10–1:11 Size and Customize Anti-Slip Materials (this video)
Step 3: Apply Anti-Slip Tape
- 0:02–0:06 Apply Anti-Slip Strip
- 0:25–0:39 Position and Adhere Tape
- 0:39–0:52 Activate Adhesive with Roller
Step 4: Allow Tape to Cure
- 3:44–4:26 Final Curing and Caulking
- 0:39–0:46 Allow Tuff Grip to Dry and Cure
How to Add Grip to Stair Nosings
This project outlines methods for adding enhanced grip to stair nosings to improve safety and prevent slips. Options include applying anti-slip tapes, coatings, or installing specialized stair tread covers.
Read the full guide Browse all guides
Planning this project? Shop Oak Valley Designs.

Subscribe for exclusive updates
Be the first to know about promotions, new products, and sales.