
Measure, Mark, and Install Eye Straps on Posts
From Cable Railing Installation · Step 4 of 11 · Video by Tootaci Railing
Showing 0:21–0:32 of the source video.
What happens in this clip
Begin by measuring the desired length of the wire rope and marking the spacing on your wooden posts. The video shows marking on a single post, but this process would be repeated for all posts that will support the wire rope. Use a tape measure and a marker to accurately indicate the positions for each wire. Then, using a cordless drill fitted with an M4 drill bit, create pilot holes at each marked position. Finally, screw in the M5 wire eye straps into these pilot holes until they are securely fastened.
Goal: Prepare wooden posts by marking spacing and installing attachment points for the wire ropes.
What's used
Tools
- Cordless Drill
- M4 Drill Bit
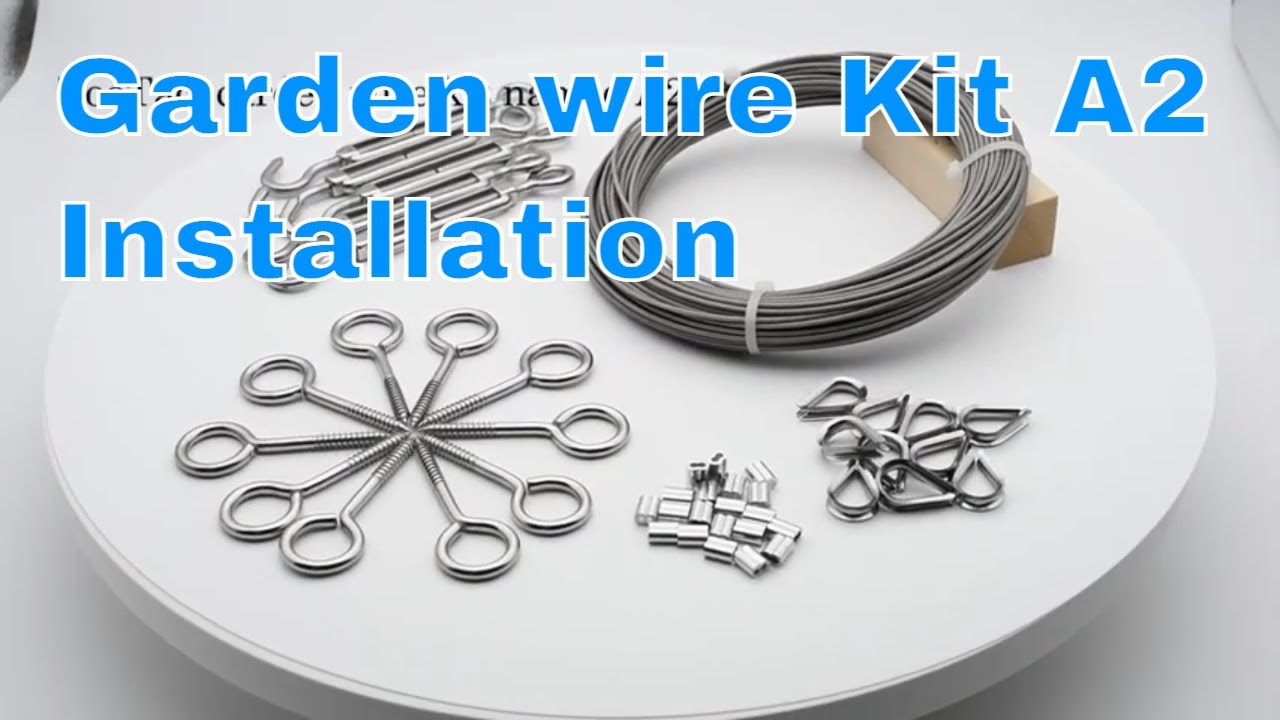
- M5 Wire Eye Straps TooTaci
- Marker
- Tape Measure
About the full video
This project demonstrates how to install a wire rope railing system using a 'TooTaci' kit, suitable for garden or terrace projects. It involves measuring and marking posts, drilling pilot holes, installing screw eye straps, preparing the PVC-coated wire rope with aluminum crimping sleeves and thimbles, attaching the wire rope to turnbuckles, and finally connecting and tensioning the wires to create a sleek and modern railing.
Step 4 of 11: Mark Cable Attachment Points
Determine the desired height for your cable runs. Typically, cables are spaced 3 to 4 inches apart. Using a tape measure and a pencil, mark the exact locations on each post where the cable termination hardware (like threaded terminals or swage fittings) will be installed. Ensure these marks are at the same height on all posts for a level and aesthetically pleasing cable run. For stair runs, mark points that follow the angle of the stairs.
Other videos for this step
Cable Railing Installation
This project outlines the steps to install a cable railing system on an existing staircase, enhancing safety and aesthetics. It involves measuring, cutting, drilling, and assembling the railing components, including posts, cables, and tensioners.
Read the full guide Browse all guides
Planning this project? Shop Oak Valley Designs.

Subscribe for exclusive updates
Be the first to know about promotions, new products, and sales.