
Install Carpet Runner
From How to Protect Stairs from Dog Nail Scratches · Step 5 of 5 · Video by The Home Depot
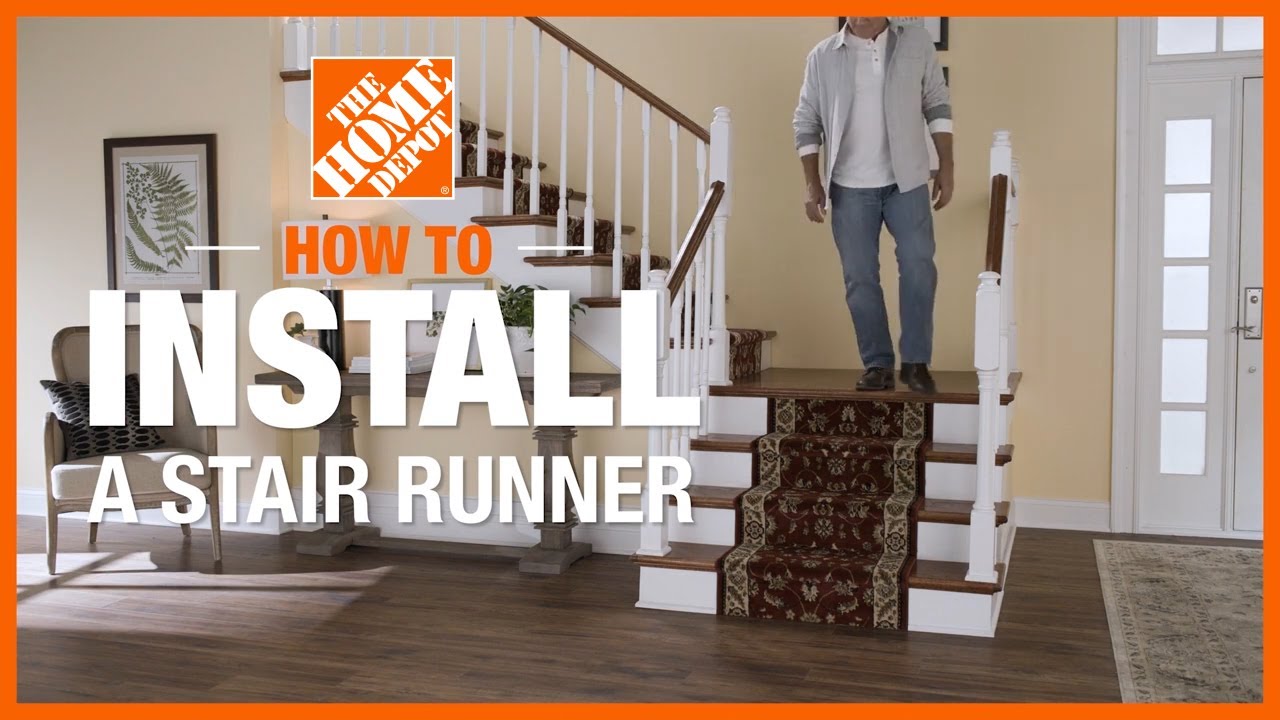
Showing 2:27–3:42 of the source video. Watch the full video with every moment.
What happens in this clip
If your stair treads hang over the riser, you will use the 'wrap' installation method. If the treads do not hang over the riser, you can use the 'waterfall' method, which is similar but without tucking the runner under the nose. You can choose to start installing the runner from either the bottom or the top of the staircase, depending on the room's size and space. If necessary, use a crowbar to carefully remove any shoe molding at the base of the stairs. Cut a strip of double-sided tape that is slightly shorter than the width of the rug. Press this tape along the top edge of the riser of the first tread, just under the nose or the base of the riser. Next, line up the edge of the carpet runner with the tape and press firmly to adhere it. Use a staple gun to staple the runner to the bottom of the riser. Then, use a bolster chisel to create a hard crease under the nose of the stair. Staple the center of the rug to the underside of the nose, and then staple every three inches on either side. Smooth the rug against the riser and use a carpet stretcher to create a tight crease at the next tread. Staple the center of the rug to the bottom of that riser, then every three inches on either side. Continue stapling the base of the riser and underneath the nose of each stair until you reach the end of the runner.
Goal: Securely install the carpet runner on the stairs using the wrap or waterfall method.
What's used
Tools
- Bolster Chisel
- Carpet Stretcher
- Crowbar
- Double-Sided Tape Roberts Max Grip Carpet Tape
- Stair Runner
- Staple Gun Milwaukee
- Pneumatic stapler
- Staples Arrow T50
About the full video
This project provides a comprehensive guide on how to measure stairs, cut and install carpet padding, and then install a carpet runner on a flight of stairs. It covers both the 'wrap' and 'waterfall' installation methods and includes an optional step for adding decorative stair rods.
Step 5 of 5: Install Stair Treads/Runners (Option 2)
Follow the manufacturer's instructions for your chosen covering. This may involve adhering them directly to the stairs with double-sided tape or a strong adhesive, or using a staple gun for carpet runners. Ensure the covering is securely fastened and lies flat on each step, with no wrinkles or loose edges.
Every video in How to Protect Stairs from Dog Nail Scratches
Step 1: Inspect Stairs
- 0:00–0:53 Assess Damage & Prepare for Repair
Step 2: Clean Stairs
- 0:48–1:19 Cleaning and Edge Preparation
- 0:03–0:05 Clean Stairs with Detergent
- 0:54–2:44 Vacuum the Staircase
Step 3: Repair Minor Damage
- 2:07–2:28 Minor Damage Repair with Wood Filler
- 4:13–4:24 Repair Wood Imperfections
- 9:35–10:24 Patch Holes and Imperfections with Filler
Step 4: Apply Protective Finish (Option 1)
- 1:07–1:12 Apply Protective Finish Sealer
- 2:19:00–2:24:00 Apply Protective Topcoat
- 19:45–20:00 Apply Protective Topcoat for Durability
Step 5: Install Stair Treads/Runners (Option 2)
- 0:27–0:47 Install and Secure the Stair Runner
- 2:27–3:42 Install Carpet Runner (this video)
- 0:58–1:50 Position and Secure Stair Runner
How to Protect Stairs from Dog Nail Scratches
Outline for protecting wooden stairs from dog nail scratches by applying a protective finish or covering.
Read the full guide Browse all guides
Planning this project? Shop Oak Valley Designs.

Subscribe for exclusive updates
Be the first to know about promotions, new products, and sales.