
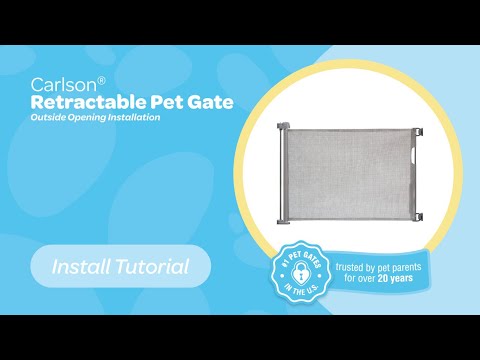
Carlson® Retractable Pet Gate (Outside Opening Installation) - Install Tutorial
Video by Carlson Pet Products · 2 moments used in Oak Valley Designs's DIY guides · 2:32 long
Moments in this video
- 0:30–0:47 Mark Gate Mount Positions
From How to Install a Retractable Baby Gate on Stairs, Step 2: Mark Bracket Positions
Take the prepared paper wall mounting Template A. Carefully position it on the wall where the main retractable gate unit will be installed. Ensure the template is smooth and flush against the wall. Use masking tape to temporarily secure it in place if needed. Once positioned correctly, use your pencil to mark the exact locations of the screw holes for both the lower and upper gate mounts, as indicated on the template, directly onto the wall.
- 1:18–1:38 Install Left Gate Mounts
From How to Install a Pet Gate at the Bottom of Stairs, Step 3: Install Mounting Hardware
Now, align the lower gate mount with the drilled holes on the main gate side of the opening. If there is a baseboard or trim creating a gap between the mount and the wall, use the wall spacers to fill this gap. Make sure the width of the wall spacers matches the width of your trim for a flush fit. Once correctly positioned, use your screwdriver to fasten the 1-inch screws through the mount and into the wall (and anchors if applicable). Repeat this process for the upper gate mount, ensuring it's vertically aligned with the lower mount.
Guides that use this video
Transcript
0:04 Carlson retractable gate included parts are retractable gate six wall spacers ten one-inch screws and plastic wall anchors 10 2 inch screws and plastic wall anchors one Lower Gate Mount one upper gate Mount two handle mounts paper wall mounting template a and paper wall mounting template B recommended tools are a screwdriver a drill a pencil and a hammer cut the paper while mounting template at the dotted line use the paper wall mounting template to help you mark the exact locations to attach the gate mounting parts smooth the template so it's flush with the wall Mark the locations of the screw holes of the gate mounting Parts through the template and onto the wall repeat on the opposite side of the wall
0:49 mounting template to help you mark the exact locations to attach the handle mounts from the outside of the wall make sure to use the template on the right remove the template to reveal the markings you made for all stud surfaces drill a 1 8 inch three millimeter hole through guide marks for drywall surfaces drill a one-quarter six millimeter hole through guide marks and insert plastic wall anchors align Upper and Lower Gate mounts and handle mounts to designated areas by using a screwdriver to fasten the one inch screws use wall spacers with wall mounts to fill gap between wall and skirt slash baseboard make sure the width of the wall spacers matches the
1:34 width of your trim align Upper and Lower Gate mounts and handle mounts to designated areas by using a screwdriver to fasten the one inch screws make sure you have a wall spacer behind the gate mounts on the drywall section to attach retractable gate align bottom of gate onto Lower Gate Mount while sliding down with bottom of gate connected to Lower Gate Mount push top of gate towards upper gate Mount to secure in place to lock it in place push down on upper cap and turn counterclockwise until stop make sure gate is locked by checking green indicator window extend gate by pulling
2:20 gate handle to handle mounts and hooking onto upper and lower handle mounts enjoy your new gate
Automatically transcribed from the source video.
More from the Oak Valley Designs DIY Hub
Read the guide Browse all guides
Planning this project? Shop Oak Valley Designs.

Subscribe for exclusive updates
Be the first to know about promotions, new products, and sales.