
Building a MASSIVE Deck Part 8 - How to Install Cable Railings
Video by Premier Outdoor Living · 2 moments used in Oak Valley Designs's DIY guides · 31:11 long
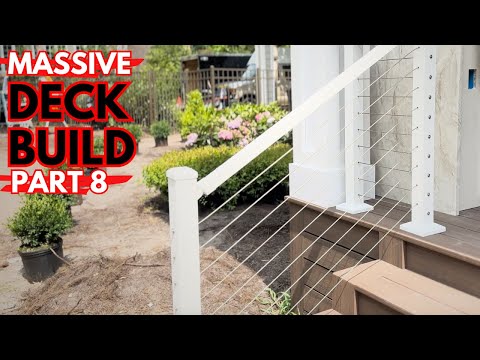
Moments in this video
- 12:30–13:00 Tension Cable Lines
From How to Tension and Adjust Stair Cable Railing, Step 6: Fine-Tuning Tension
Once all cable lines are threaded and fixed at one end, begin the tensioning process. Using a ratcheting wrench and an Allen key (Cobalt brand shown) on the tensioning hardware located on the exterior of the posts, tighten each cable. Work incrementally, tightening all cables evenly to avoid over-stressing any single line or distorting the posts. Continuously check the tension and ensure that the cables are taut and straight. The goal is to achieve a tight, secure railing system that has minimal deflection and meets local building codes for safety (typically less than 4-inch spacing between cables).
- 12:30–13:00 Tension Cable Lines
From How to Tension and Adjust Stair Cable Railing, Step 7: Secure Tensioning Device
Once all cable lines are threaded and fixed at one end, begin the tensioning process. Using a ratcheting wrench and an Allen key (Cobalt brand shown) on the tensioning hardware located on the exterior of the posts, tighten each cable. Work incrementally, tightening all cables evenly to avoid over-stressing any single line or distorting the posts. Continuously check the tension and ensure that the cables are taut and straight. The goal is to achieve a tight, secure railing system that has minimal deflection and meets local building codes for safety (typically less than 4-inch spacing between cables).
The guide that use this video
More from the Oak Valley Designs DIY Hub
Read the guide Browse all guides
Planning this project? Shop Oak Valley Designs.

Subscribe for exclusive updates
Be the first to know about promotions, new products, and sales.