
Cut the Ceiling Hole
From How to Install Recessed Step Lights in a Stairwell Wall · Step 2 of 7 · Video by Home Love Construction
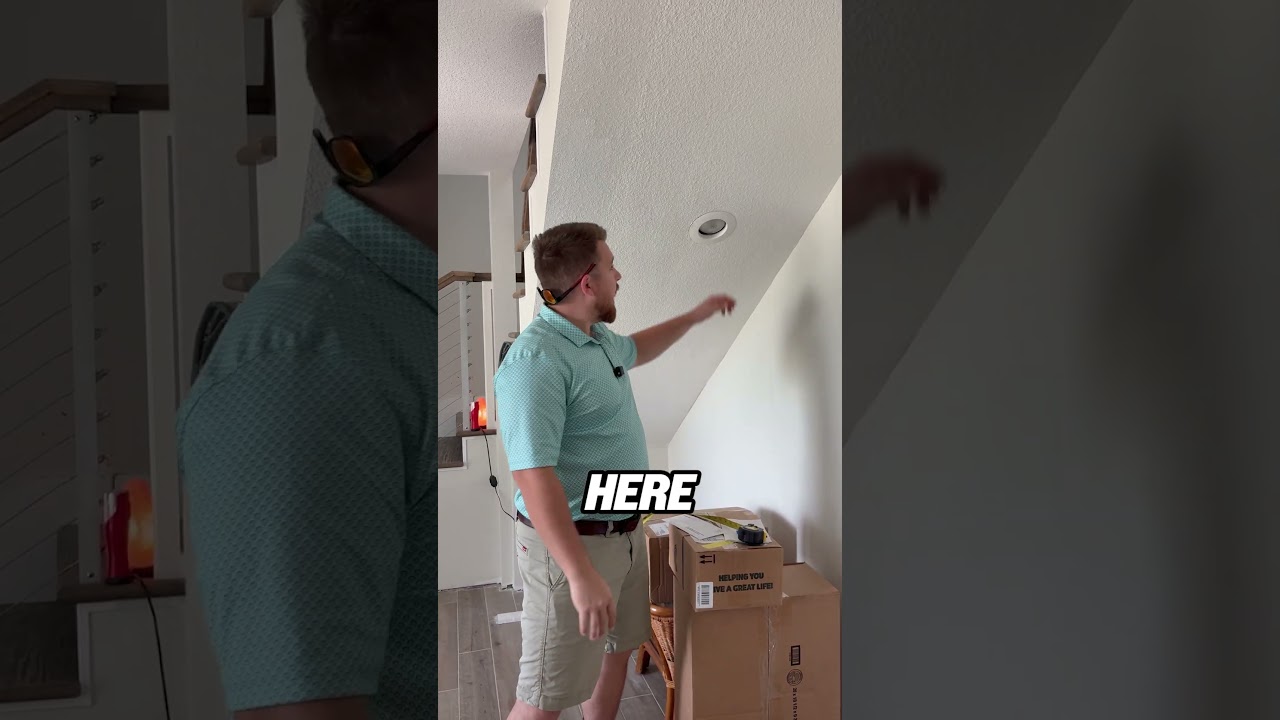
Showing 0:17–0:22 of the source video. Watch the full video with every moment.
What happens in this clip
Using the template provided with your recessed can light kit (or the can itself), trace the outline for the hole onto the ceiling at your planned location. Ensure the mark is clear and centered between joists. Attach the appropriate size hole saw bit to your drill. Carefully cut the circular hole in the drywall following your traced line. Start slowly to avoid damaging the ceiling, and maintain a firm grip on the drill. Once the hole is cut, carefully remove the drywall slug.
Goal: Create the opening for the can light housing
What's used
Tools
- Cordless Drill DeWalt
- Dust Mask 3M
- Hole Saw (appropriate size) Milwaukee
- Pencil
- Recessed Can Light Kit Template Various (e.g.
- Halo
- Commercial Electric)
- Safety Glasses
About the full video
This project provides detailed instructions on how to install a recessed can light in the ceiling of an under-stair area, transforming a potentially dark and unused space into a well-lit, functional, and aesthetically pleasing corner. It covers planning, safety precautions, the actual installation process, and final testing.
What's said in this clip
light underneath a set of stairs like what I'm standing under right under right here. This would normally be kind of like a Harry Potter closet, but no closet here. So, the issue that you have with these is your light isn't going to come down from the second story, so you kind of get a dark corner here. Adding a little can light being here like this homeowner has in the existing home is actually a pretty cool and efficient way to light this little area so you can put some furniture here and maybe put some art. It's a nice touch.
Automatically transcribed from the source video.
Step 2 of 7: Cut Fixture Openings
Using the template provided with the recessed light fixture (or the fixture's housing itself), trace the outline onto the wall at each marked center point. Carefully cut along the traced lines using a drywall saw or oscillating tool, taking care not to cut into any electrical wires or plumbing that may be behind the wall. Ensure the cut is clean and slightly larger than the trim of the light fixture to allow for adjustment.
Every video in How to Install Recessed Step Lights in a Stairwell Wall
Step 1: Plan Light Layout
- 0:34–0:49 Mark Light Placement
- 5:10–6:00 Integrate Stair Niche Lights
- 0:00–0:27 Planning and Safety
Step 2: Cut Fixture Openings
- 0:04–0:10 Mark and Cut Drywall Hole
- 0:00–0:01 Trace Cutout with Template
- 0:17–0:22 Cut the Ceiling Hole (this video)
Step 3: Run Electrical Wire
- 0:59–1:18 Run Electrical Wires
- 4:35–5:25 Run New Electrical Wires
- 1:57–2:46 Run Electrical Wires to Light Fixtures
Step 4: Connect Fixtures to Power
- 2:01–3:49 Connect Electrical Wires
- 0:41–0:51 Connect Electrical Wires
- 0:00–0:02 Connect Electrical Wires to Fixture
Step 5: Install Light Fixtures
- 4:51–5:50 Mount the Fixture in the Ceiling
- 0:18–0:22 Install Recessed Light
- 0:11–0:18 Connect and Install Recessed Light Fixture
Step 6: Restore Power and Test
- 0:00–0:30 Test and Finalize Installation
- 1:36–1:44 Restore Power and Test Functionality
- 0:24–0:26 Test New Lighting System
Step 7: Finishing Touches
- 0:16–0:33 Install Decorative Trim
- 2:19–2:48 Install Trims
- 2:19–2:28 Final Installation and Snap into Place
How to Install Recessed Step Lights in a Stairwell Wall
This project outlines the steps for installing recessed lighting fixtures into the walls alongside a stairwell. This involves planning the layout, cutting openings, running electrical wire, connecting the fixtures to a power source, and finishing the installation.
Read the full guide Browse all guides
Planning this project? Shop Oak Valley Designs.

Subscribe for exclusive updates
Be the first to know about promotions, new products, and sales.