
stair tread installation
About This Guide
Are your stairs looking worn, dated, or unsafe? Replacing old wooden treads is a transformative DIY project that builds value and style into the heart of your home. This comprehensive guide provides a solution-oriented path from start to finish. We’ll walk you through preparing your staircase, installing new wood, and applying a beautiful, durable finish. This is the first step to creating a solid, stunning staircase—the perfect foundation to later make your stairs safer and more stylish for your family.
Tools & Materials

Steps
Step 1: Prepare the Foundation
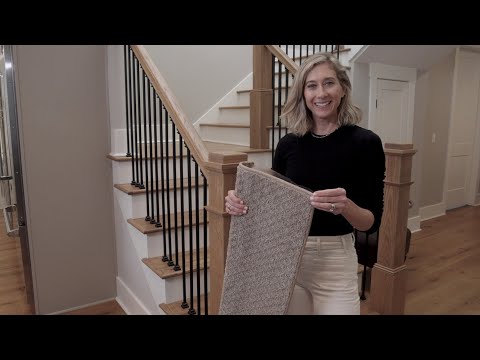
Let's begin by clearing the way for your beautiful new stairs. Carefully remove any old carpet, padding, or underlayment using a utility knife or carpet scraper. Once the old material is gone, use a putty knife or floor scraper to remove any stubborn adhesive residue. With the treads clear, it's time to sand. For your safety and the best results, start with a coarser 60-grit sandpaper to remove old finish and smooth out imperfections, then follow up with a 120-grit paper for a flawless surface. A thorough vacuum is essential to remove every bit of dust before moving on.
Step 2: Measure Twice, Cut Once
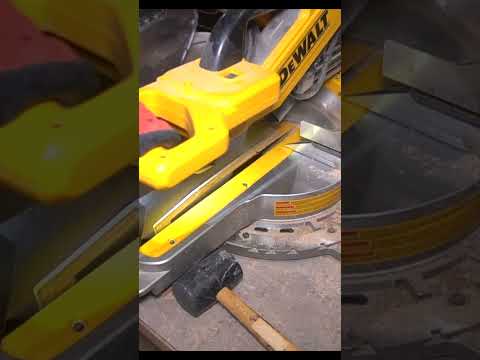
To achieve that seamless, built-in look, every cut needs to be precise. For each step, measure the depth from the back of the tread to the front of the riser. Remember to add your desired nosing overhang, typically between 1 and 1.5 inches, which helps with foot placement and safety. Next, measure the width from one skirting board to the other. Since older homes can have slight variations, measure at both the front and back of the tread and use the larger measurement. Use these exact dimensions to mark your new tread material, ensuring your cuts are perfectly square for a snug, professional fit.
Step 3: Install Your New Treads
While our own carpet treads offer a 'No nails, no glue, no stress' installation, securing structural wood treads requires a permanent bond for safety. Apply a generous bead of high-quality wood glue along the back edge of the new tread and onto the existing stair structure. Carefully position the new tread, making sure the nosing overhang is even. Use a level to confirm it’s perfectly horizontal—this is critical for safe footing. Secure the tread by driving finish nails or wood screws into the riser and the underlying stringer. Countersink screws slightly below the surface for a smooth finish.
Step 4: Fit Risers and Skirting Boards
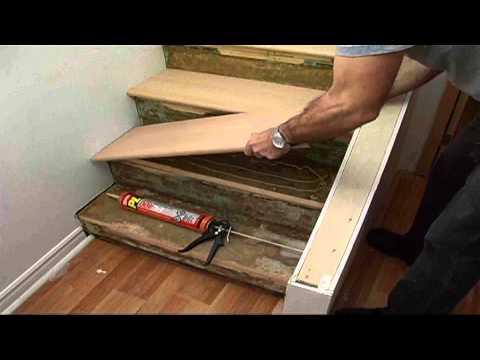
Now let's frame your beautiful new treads. Measure the height and width for each riser and cut your riser boards for a snug fit between the treads. Secure them with wood glue and finish nails. Next, measure and cut the skirting boards that run along the sides of the staircase, ensuring your angles are precise for a clean fit. Attach the skirting boards to the wall studs and stair stringer using wood glue and nails. A tight, flush fit here prevents dust accumulation and elevates the entire look of your staircase.
Step 5: The Finishing Touches: Fill and Sand
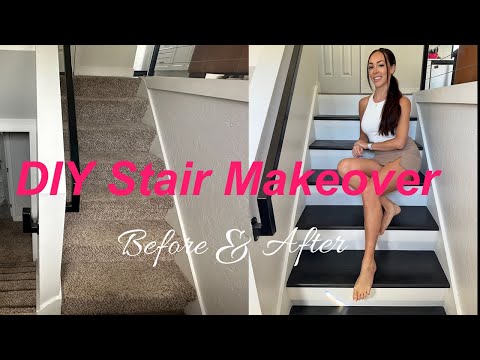
Attention to detail is what separates a DIY project from a professional one. Using a putty knife, press wood filler firmly into all nail holes, screw holes, and any small gaps on your treads, risers, and skirting. Follow the manufacturer's instructions and allow the filler to dry completely. Once dry, give all surfaces a final, light sanding with a fine-grit sandpaper (150-grit to 220-grit) to create a perfectly smooth canvas. Wipe everything down with a tack cloth to remove all dust, ensuring a pristine surface for staining.

Step 6: Stain and Seal for Lasting Beauty
The final step is to protect your hard work and bring out the natural beauty of the wood. Apply your chosen stain with a brush or rag, following the product's directions for penetration time before wiping off the excess. Allow it to dry completely. Now for the crucial protective layer: apply a durable, high-traffic polyurethane. For a busy area like a staircase, we recommend a minimum of three thin, even coats for lasting protection. Lightly sand with very fine (320-grit) sandpaper between coats for an ultra-smooth finish, always wiping away dust. This beautiful, sealed surface provides peace of mind and is the perfect base for adding our non-slip carpet treads to combine safety and style.
Questions about your project or which product fits? Oak Valley Designs's team is happy to help. Mon–Fri 9–5 ET

Subscribe for exclusive updates
Be the first to know about promotions, new products, and sales.