
Carpet Stair Tread Installation
About This Guide
Ready to transform your staircase into a safer, more stylish centerpiece of your home? This simple guide will walk you through our signature 'Clean, peel, and stick' installation process. It's a DIY-friendly project that adds instant warmth, comfort, and peace of mind, all without nails, glue, or stress. Let's get started on bringing beauty and safety to your steps!
Tools & Materials

Steps
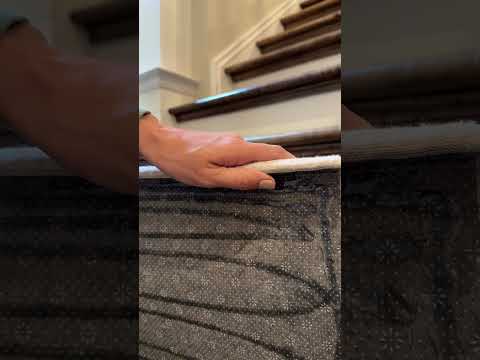
Peel Away the Protective Liner
Starting at one corner, carefully pull back the protective plastic film from the adhesive backing of your Oak Valley Designs tread. Take your time to remove the liner completely. Exposing the full adhesive surface is the key to ensuring a secure, long-lasting bond with your stair.
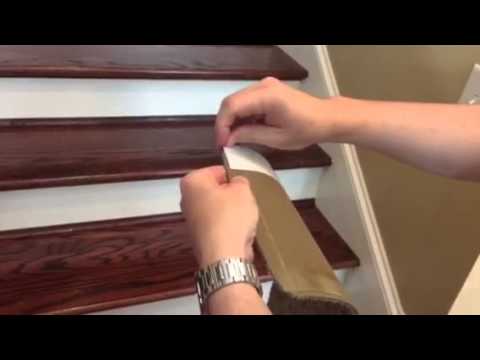
Position and Press Firmly
Carefully place the tread onto the stair, aligning it according to your preference. When it's perfectly positioned, apply firm, even pressure across the entire surface, from the center out to the edges. This simple action creates a strong bond for a non-slip fit. That's it! No nails, no glue, no stress—just a beautiful, safer step.
Questions about your project or which product fits? Oak Valley Designs's team is happy to help. Mon–Fri 9–5 ET

Subscribe for exclusive updates
Be the first to know about promotions, new products, and sales.