
How to Install a Deck Railing - DIY Network
Video by DIY Network · 2 moments used in Oak Valley Designs's DIY guides · 2:06 long
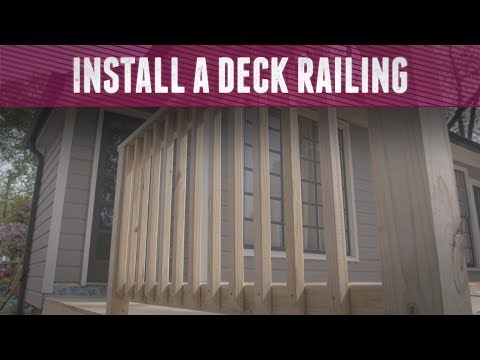
Moments in this video
- 0:51–1:08 Install Top and Bottom Rails
From How to Install a Deck Stair Railing, Step 3: Install Top and Bottom Rails
Now, prepare and install the top and bottom rails that will run horizontally between the posts. First, measure the distance between the installed posts to determine the length needed for these rails. Use a miter saw to cut the rail pieces to size. To ensure even installation, use small wood blocks as spacers to set the desired height for the bottom rail. Nail the bottom rail in place first, then attach the top rail, making sure it is flush with the top of the posts.
- 1:10–1:35 Install Balusters
From How to Install a Deck Stair Railing, Step 4: Install Balusters (Spindles)
Next, you'll install the balusters, which are the vertical pieces between the top and bottom rails. These are typically made from 2x2 lumber and can be bought pre-cut. The number of balusters and their spacing depend on the size of the balusters and the distance between your posts. Code generally requires a gap of no more than 4 inches for safety. Once you've determined your spacing, mark the locations on the rails, and then nail the balusters to both the top and bottom railings.
The guide that use this video
More from the Oak Valley Designs DIY Hub
Read the guide Browse all guides
Planning this project? Shop Oak Valley Designs.

Subscribe for exclusive updates
Be the first to know about promotions, new products, and sales.