Smooth and Level the Patch
From Concrete Step Repair · Step 4 of 5 · Video by QUIKRETE
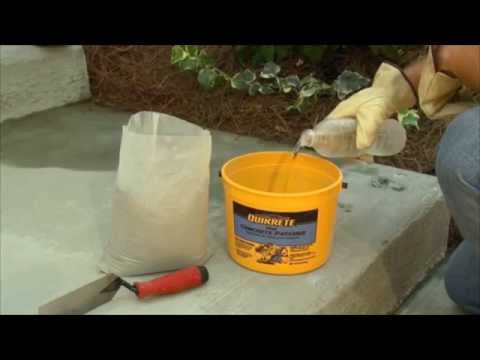
Showing 0:32–0:37 of the source video.
What happens in this clip
After applying the concrete patcher, use the margin trowel to smooth and level the surface of the patch. Work with long, even strokes to ensure the repaired area is flush and seamless with the surrounding undamaged concrete. This creates a neat finish and helps prevent trip hazards.
Goal: Achieve a smooth, level, and finished concrete repair
What's used
Tools
- Margin Trowel
- Steel float
About the full video
This project demonstrates how to repair chipped, spalled, or damaged concrete surfaces using Quikrete Vinyl Concrete Patcher. The process involves preparing the damaged area by removing loose material, mixing the patching compound with water, applying it to the repair site, and smoothing it to match the surrounding concrete. The video also emphasizes the importance of proper curing and protection of the repaired area to ensure durability.
Step 4 of 5: Smooth and Finish the Surface
Once the patching compound has begun to set but is still workable, use a clean trowel to smooth the surface, striking off any excess material and feathering the edges into the surrounding concrete. For texture, you can use a stiff brush, a broom, or a concrete finishing brush to mimic the existing surface texture. This may involve light stippling or sweeping motions.
Other videos for this step
Concrete Step Repair
This project outlines the process for repairing cracked or chipped concrete steps using a suitable patching compound. The steps involve cleaning the damaged area, preparing it for repair, applying the patching material, and finishing the surface to match the surrounding concrete.
Read the full guide Browse all guides
Planning this project? Shop Oak Valley Designs.