
QUIKRETE Vinyl Concrete Patcher (Product Feature)
Video by QUIKRETE · 2 moments used in Oak Valley Designs's DIY guides · 0:46 long
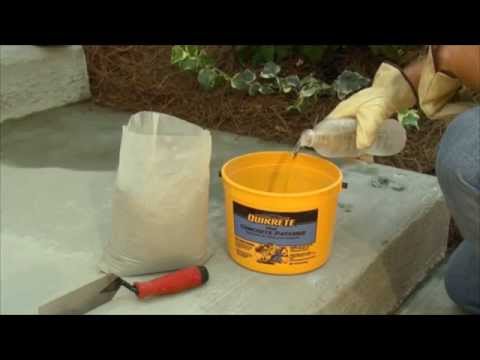
Moments in this video
- 0:32–0:37 Smooth and Level the Patch
From Concrete Step Repair, Step 4: Smooth and Finish the Surface
After applying the concrete patcher, use the margin trowel to smooth and level the surface of the patch. Work with long, even strokes to ensure the repaired area is flush and seamless with the surrounding undamaged concrete. This creates a neat finish and helps prevent trip hazards.
- 0:37–0:46 Cure and Protect the Repaired Area
From How to Repair a Chipped Concrete Step Edge, Step 6: Cure the Repair
Once the concrete patch is applied and smoothed, it needs adequate time to cure and harden. Protect the repaired area from any foot traffic for at least 24 hours. If the repaired area is in a location with vehicle traffic, it must be protected for a minimum of three days to achieve its full strength and prevent damage. Ensure the patch is protected from extreme weather conditions like heavy rain or freezing temperatures during the curing process.
Guides that use this video
More from the Oak Valley Designs DIY Hub
Read the guide Browse all guides
Planning this project? Shop Oak Valley Designs.

Subscribe for exclusive updates
Be the first to know about promotions, new products, and sales.