
Smooth and Finish Concrete Patch
From How to Repair a Chipped Concrete Step Edge · Step 5 of 6 · Video by Mike Day Concrete (Everything About Concrete)
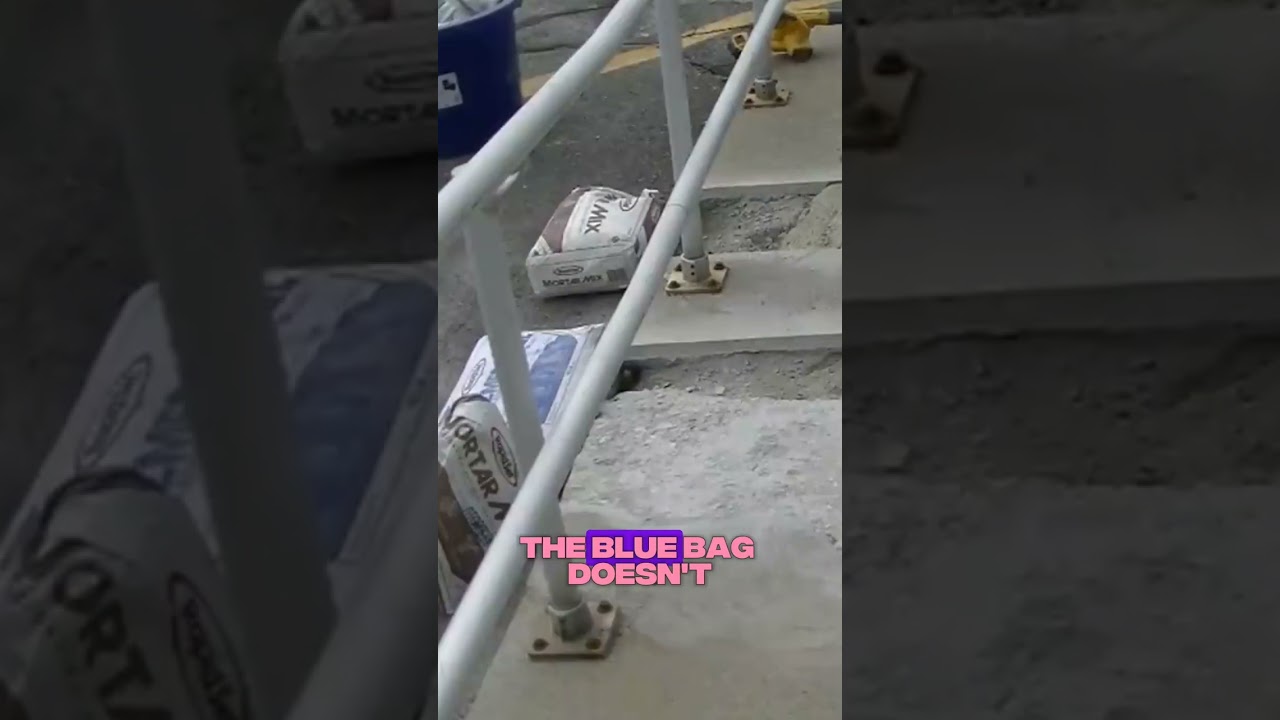
Showing 0:52–1:02 of the source video. Watch the full video with every moment.
What happens in this clip
Once the patching mix is roughly in place, use the hand trowel to perform detailed smoothing and shaping. Work the trowel across the surface with light, even pressure, gradually feathering the edges of the new patch into the existing concrete. The goal is to achieve a seamless transition and a smooth, uniform surface that matches the surrounding undamaged areas of the step. For edges and corners, use the corner of the trowel or a specialized corner tool to create clean, sharp lines. Continue smoothing until the desired finish and shape are achieved, ensuring the patch is level and integrated with the original structure. After finishing, allow the concrete to cure properly, following the mix manufacturer's recommendations, which typically involves keeping it damp for several days to prevent cracking.
Goal: Achieve a smooth, uniform, and seamlessly integrated concrete patch.
What's used
Tools
- Hand Trowel
- Margin trowel
- shaping
- and finishing the concrete surface.
- Plastic Sheeting
- Water Mister
About the full video
This project details the process of repairing damaged concrete stairs using pre-mixed cement or mortar products. It covers selecting the appropriate patching material based on the repair's thickness, applying the mix to the damaged areas, and meticulously smoothing the surface with a hand trowel to achieve a seamless and durable finish.
What's said in this clip
aggregate in it, so it's it doesn't have rocks in it, but it's kind of a little sandier than the blue bag. So, depending on how thick your patch is, you know, you can use any of those. The thinner the patch, you go with a blue bag. Go over there. Go over there. Go over there. Go over there.
Automatically transcribed from the source video.
Step 5 of 6: Shape and Finish the Surface
While the repair compound is still wet and workable, use a damp trowel or float to smooth the surface. Work from one side to the other, feathering the edges of the repair to blend with the surrounding concrete. Aim to recreate the original rounded or square edge profile of the step. Use a damp brush or sponge for final texturing if needed to match the surrounding concrete.
Every video in How to Repair a Chipped Concrete Step Edge
Step 1: Clean the Chipped Area
- 0:12–0:55 Clean and Prepare the Damaged Area
- 0:46–1:13 Clean Out Debris and Loose Chunks
- 1:36–3:50 Clean Out Loose Concrete and Debris
Step 2: Undercut the Edge (if necessary)
- 0:46–1:13 Clean Out Debris and Loose Chunks
- 1:36–3:50 Clean Out Loose Concrete and Debris
- 0:43–1:02 Prepare Damaged Concrete and Install Forms
Step 3: Mix the Concrete Repair Compound
- 0:39–0:49 Mix Patching Cement
- 1:41–1:54 Mix Concrete Patching Compound
- 1:03–2:18 Mix the Concrete Patcher
Step 4: Apply the Repair Compound
- 1:55–2:11 Apply Concrete Patch to Chips
- 1:15–4:04 Apply Two-Part Epoxy Filler
- 1:32–1:46 Fill Damaged Areas
Step 5: Shape and Finish the Surface
- 3:40–5:58 Smooth and Finish Concrete Step Repair
- 0:52–1:02 Smooth and Finish Concrete Patch (this video)
- 3:15–5:02 Shape and Texture the Patch
Step 6: Cure the Repair
- 0:37–0:46 Cure and Protect the Repaired Area
- 0:28–0:29 Allow Compound to Cure
- 11:58–12:06 Cure and Protect Repaired Steps
How to Repair a Chipped Concrete Step Edge
This project outlines the steps to repair a chipped edge on a concrete step, restoring its appearance and preventing further damage. It involves cleaning the area, applying a suitable concrete repair compound, and finishing the surface.
Read the full guide Browse all guides
Planning this project? Shop Oak Valley Designs.

Subscribe for exclusive updates
Be the first to know about promotions, new products, and sales.