
Clean Out Loose Concrete and Debris
From How to Repair a Chipped Concrete Step Edge · Step 2 of 6 · Video by The Fixer
Showing 1:36–3:50 of the source video. Watch the full video with every moment.
What happens in this clip
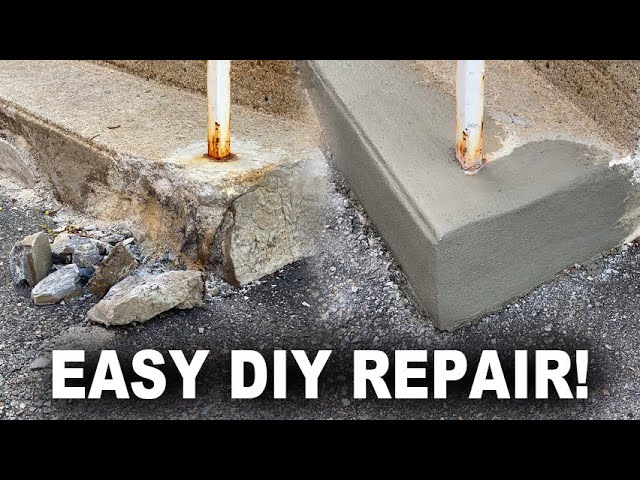
The first step in the repair process is to thoroughly clean out all loose and unstable concrete from the damaged areas. Use a hammer and a cold chisel (ensure it's not a wood chisel) to chip away any pieces that are not firmly attached. Remove all sand, small fragments, and debris, ensuring that any remaining concrete is solid enough to bond with the new material. A wire brush can help remove smaller loose particles and dust.
Goal: Remove unstable concrete and prepare a clean, solid base for repair
What's used
Tools
- Cold Chisel
- Dustpan and Brush
- Leaf blower
- Hammer
- Wire Brush
About the full video
This project guides you through repairing damaged concrete stairs, focusing on crumbling edges and corners. It involves removing loose debris, reinforcing the structure with concrete screws, applying a bonding adhesive, and then patching the area with quick-setting cement that can be molded and shaped.
Step 2 of 6: Undercut the Edge (if necessary)
If the chip has sharp, feather-edged concrete, use a chisel and hammer to slightly undercut the edges of the damaged area. This creates a small 'keyway' or 'dovetail' shape that helps to lock the repair material in place. Aim for an undercut of about 1/4 inch deep. Brush away any dust created by this process.
Every video in How to Repair a Chipped Concrete Step Edge
Step 1: Clean the Chipped Area
- 0:12–0:55 Clean and Prepare the Damaged Area
- 0:46–1:13 Clean Out Debris and Loose Chunks
- 1:36–3:50 Clean Out Loose Concrete and Debris
Step 2: Undercut the Edge (if necessary)
- 0:46–1:13 Clean Out Debris and Loose Chunks
- 1:36–3:50 Clean Out Loose Concrete and Debris (this video)
- 0:43–1:02 Prepare Damaged Concrete and Install Forms
Step 3: Mix the Concrete Repair Compound
- 0:39–0:49 Mix Patching Cement
- 1:41–1:54 Mix Concrete Patching Compound
- 1:03–2:18 Mix the Concrete Patcher
Step 4: Apply the Repair Compound
- 1:55–2:11 Apply Concrete Patch to Chips
- 1:15–4:04 Apply Two-Part Epoxy Filler
- 1:32–1:46 Fill Damaged Areas
Step 5: Shape and Finish the Surface
- 3:40–5:58 Smooth and Finish Concrete Step Repair
- 0:52–1:02 Smooth and Finish Concrete Patch
- 3:15–5:02 Shape and Texture the Patch
Step 6: Cure the Repair
- 0:37–0:46 Cure and Protect the Repaired Area
- 0:28–0:29 Allow Compound to Cure
- 11:58–12:06 Cure and Protect Repaired Steps
How to Repair a Chipped Concrete Step Edge
This project outlines the steps to repair a chipped edge on a concrete step, restoring its appearance and preventing further damage. It involves cleaning the area, applying a suitable concrete repair compound, and finishing the surface.
Read the full guide Browse all guides
Planning this project? Shop Oak Valley Designs.

Subscribe for exclusive updates
Be the first to know about promotions, new products, and sales.