
Shut Off Power to the Circuit
From How to Remove a Ceiling Light Cover to Change the Bulbs · Step 1 of 7 · Video by Family Handyman
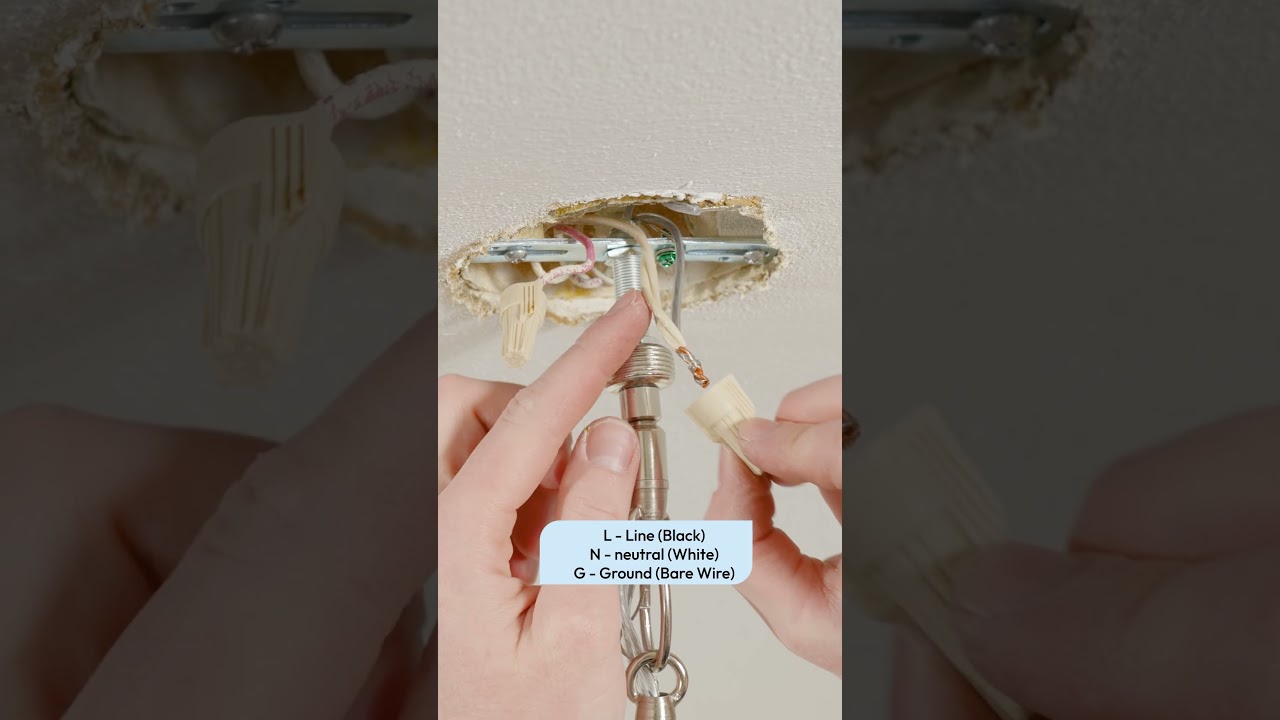
Showing 0:03–0:05 of the source video. Watch the full video with every moment.
What happens in this clip
Before beginning any work on the light fixture, locate the electrical panel (breaker box) in your home. Identify the circuit breaker that controls the power to the light fixture you intend to remove. Flip the switch on this specific circuit breaker to the 'OFF' position to cut off all electrical current to the fixture. This is a crucial first step for safety, preventing accidental electrocution.
Goal: Safely de-energize the circuit connected to the light fixture.
What's used
Tools
- Electrical Panel/Breaker Box
About the full video
This video provides a step-by-step guide on how to safely disconnect and remove an existing ceiling light fixture, highlighting the critical importance of cutting power at the circuit breaker and verifying electrical safety. It then demonstrates the subsequent installation of a new light fixture, showcasing the complete replacement process from start to finish.
Step 1 of 7: Turn off power to the light fixture
Go to your home's electrical panel and identify the circuit breaker that controls the ceiling light fixture you will be working on. Flip the breaker to the 'OFF' position. This is a critical safety step to prevent electric shock.
Every video in How to Remove a Ceiling Light Cover to Change the Bulbs
Step 1: Turn off power to the light fixture
- 0:50–1:05 Turn Off Power at Circuit Breaker
- 0:47–0:52 Turn Off Power at Circuit Breaker
- 0:03–0:05 Shut Off Power to the Circuit (this video)
Step 2: Remove the light fixture cover
- 1:50–2:38 Remove Old Light Fixture Glass Cover and Bulbs
- 1:03–1:50 Remove Light Fixture Cover
- 0:17–0:23 Remove Light Bulb Cover and Bulbs
Step 3: Remove old light bulbs
- 0:34–0:50 Unscrew Old Bulb
- 1:50–2:05 Remove Light Bulbs
- 0:38–1:04 Remove the Old Bulb
Step 4: Install new light bulbs
- 1:15–1:30 Install New Light Bulb
- 1:04–1:12 Install the New Bulb
- 0:26–0:31 Install the New Light Bulb
Step 5: Reattach the light fixture cover
- 6:11–6:23 Replace the Fixture Cover
- 0:57–1:08 Reinstall Dome Light Cover
- 0:55–1:09 Install the Light Cover
Step 6: Restore power to the light fixture
- 10:35–10:39 Restore Power and Test the New Fixtures
- 2:59–3:02 Restore Power
- 2:11–2:21 Restore Power and Test
Step 7: Test the light fixture
- 9:22–9:55 Restore Power and Test
- 8:04–8:19 Restore Power and Test
- 2:47–2:52 Test New Light Fixture
How to Remove a Ceiling Light Cover to Change the Bulbs
Outline for removing a ceiling light cover to change bulbs.
Read the full guide Browse all guides
Planning this project? Shop Oak Valley Designs.

Subscribe for exclusive updates
Be the first to know about promotions, new products, and sales.