
Install LED Strips on Stair Treads
From How to Make Stairs Safer for Seniors · Step 1 of 4 · Video by Smart Bright LEDs
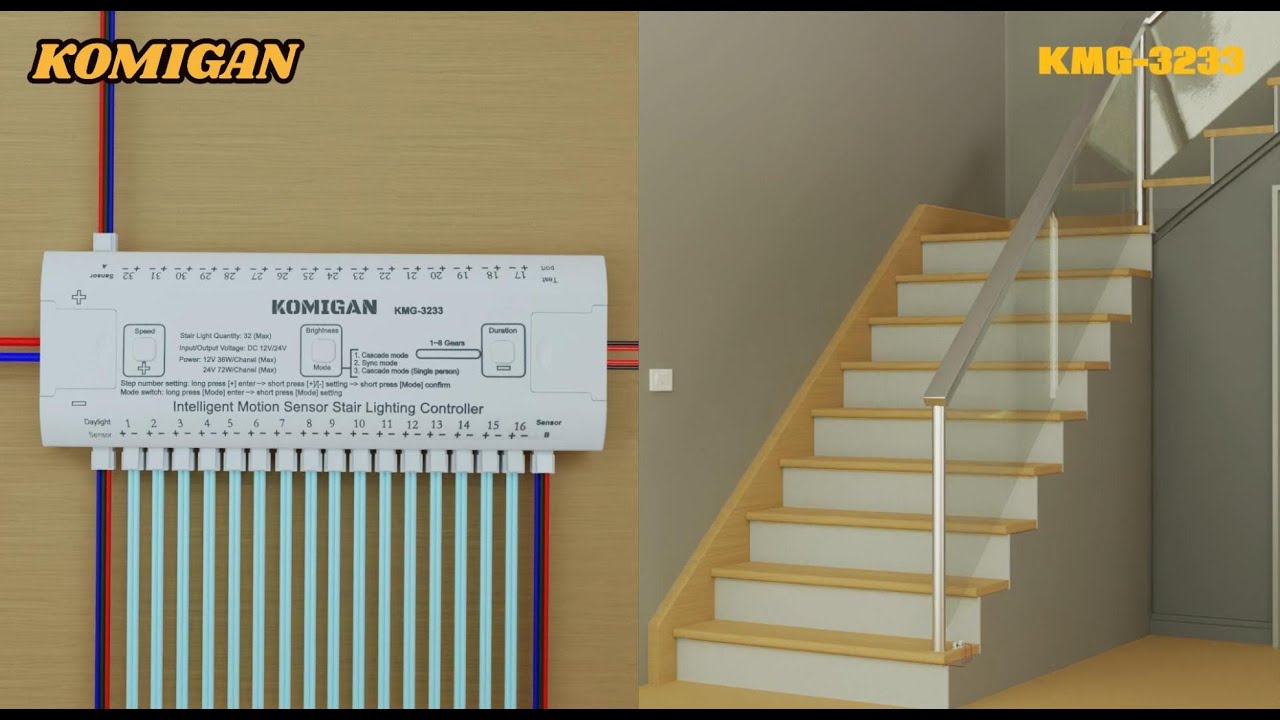
Showing 0:10–0:12 of the source video. Watch the full video with every moment.
What happens in this clip
Carefully adhere each prepared LED strip to the underside of each stair tread. The video demonstrates applying the strips directly to the surface, ensuring they are straight and firmly pressed into place. This step will make the lighting discreetly illuminate the steps from below.
Goal: Affix LED strips to the underside of each stair tread.
What's used
Materials
- Prepared LED Strips Komigan
About the full video
This project provides detailed instructions on how to install a motion-activated LED lighting system for stairs, featuring individual LED strips for each step, motion sensors at the top and bottom of the staircase, a daylight sensor, and manual override switch panels. The system is controlled by a central intelligent motion sensor stair lighting controller and powered by a 12V DC power supply.
Step 1 of 4: Install Stair Lighting
Measure and cut LED strip lights to fit the length of each stair tread or the desired illuminated area. Clean the surface where the lights will be adhered using an appropriate cleaner to ensure good adhesion. Peel the backing from the LED strip and carefully press it into place. Connect the lights to a low-voltage power source, such as a transformer or battery pack, ensuring all wiring is concealed and secured. For puck lights, mark the mounting positions, drill pilot holes if necessary, and attach the lights using screws or adhesive. Connect puck lights to their power source and secure wiring.
Every video in How to Make Stairs Safer for Seniors
Step 1: Install Stair Lighting
- 0:10–0:12 Install LED Strips on Stair Treads (this video)
- 4:23–4:48 Cut and Install LED Strips
- 0:00–0:19 Install Flexible LED Strip Lighting
Step 2: Extend Handrails
- 4:50–5:54 Measure and Cut Handrail
- 8:14–10:25 Attach Handrail and Final Review
- 1:29–1:57 Cut New Handrails for Wall Attachment
Step 3: Apply Non-Slip Treads
- 0:54–1:07 Prepare Anti-Slip Tread
- 0:02–0:06 Apply Anti-Slip Strip
- 1:12–1:19 Prepare Steps and Apply Non-Skid Strips
Step 4: Add Visual Contrast to Stair Edges
- 0:10–0:16 Prime and Paint Stair Treads and Risers
- 0:20–0:31 Painting the Staircase
- 5:12–6:08 Apply First Paint Coat to Stair Risers and Treads
How to Make Stairs Safer for Seniors
This project outlines common modifications to improve stair safety for seniors, focusing on enhancements like improved lighting, handrail extensions, non-slip treads, and visual contrast.
Read the full guide Browse all guides
Planning this project? Shop Oak Valley Designs.

Subscribe for exclusive updates
Be the first to know about promotions, new products, and sales.